How To Use A Microscope Worksheet Answers ?
The answers to a "how to use a microscope" worksheet may vary depending on the specific questions asked. However, some general tips for using a microscope include:
1. Start by placing the slide on the stage and securing it with the stage clips.
2. Use the coarse adjustment knob to bring the specimen into focus at the lowest magnification.
3. Once the specimen is in focus, use the fine adjustment knob to sharpen the image.
4. Adjust the diaphragm to control the amount of light passing through the specimen.
5. Increase the magnification by rotating the objective lens to the next level and refocusing the specimen.
6. Use the stage controls to move the slide and view different areas of the specimen.
7. When finished, turn off the light source and return the microscope to its proper storage location.
It is important to follow proper microscope handling and cleaning procedures to ensure accurate and clear images.
1、 Parts of a microscope
1. Eyepiece: This is the part of the microscope that you look through. It contains a lens that magnifies the image produced by the objective lens.
2. Objective lens: This is the lens closest to the object being viewed. It magnifies the image and produces a clear, detailed view of the specimen.
3. Stage: This is the platform on which the specimen is placed for viewing. It can be moved up and down to adjust the focus of the image.
4. Diaphragm: This is a circular disk with different sized holes that controls the amount of light that passes through the specimen.
5. Coarse focus knob: This is used to adjust the focus of the image by moving the stage up and down.
6. Fine focus knob: This is used to make small adjustments to the focus of the image for a clearer view.
7. Arm: This is the part of the microscope that connects the eyepiece and objective lens to the base.
8. Base: This is the bottom of the microscope that provides stability and support.
Using a microscope worksheet answers:
To use a microscope, first, place the specimen on the stage and secure it in place with the stage clips. Adjust the diaphragm to control the amount of light passing through the specimen. Look through the eyepiece and use the coarse focus knob to bring the specimen into focus. Once the specimen is in focus, use the fine focus knob to make small adjustments for a clearer view. To change the magnification, rotate the objective lens to the desired magnification. When finished, remove the specimen and clean the lenses with lens paper to prevent damage. It is important to handle the microscope with care and follow proper safety procedures to avoid accidents.

2、 Adjusting the focus
Adjusting the focus is an essential step in using a microscope. It allows you to see the specimen clearly and in detail. To adjust the focus, start by placing the slide on the stage and securing it with the clips. Then, turn on the microscope's light source and adjust the diaphragm to control the amount of light that passes through the specimen.
Next, use the coarse adjustment knob to bring the specimen into focus. This knob moves the stage up and down, bringing the specimen closer or further away from the objective lens. Start with the lowest magnification objective lens and adjust the focus until the specimen is in clear view.
Once the specimen is in focus, switch to a higher magnification objective lens and use the fine adjustment knob to make small adjustments to the focus. This knob moves the stage very slightly, allowing you to fine-tune the focus and see even more detail.
It's important to remember that different specimens may require different lighting and focus adjustments. Additionally, some microscopes may have different types of focus adjustment knobs or controls. Always refer to the microscope's manual or instructions for specific guidance.
In conclusion, adjusting the focus is a crucial step in using a microscope. By following the steps outlined above and experimenting with different lighting and focus adjustments, you can get the most out of your microscope and see your specimens in incredible detail.
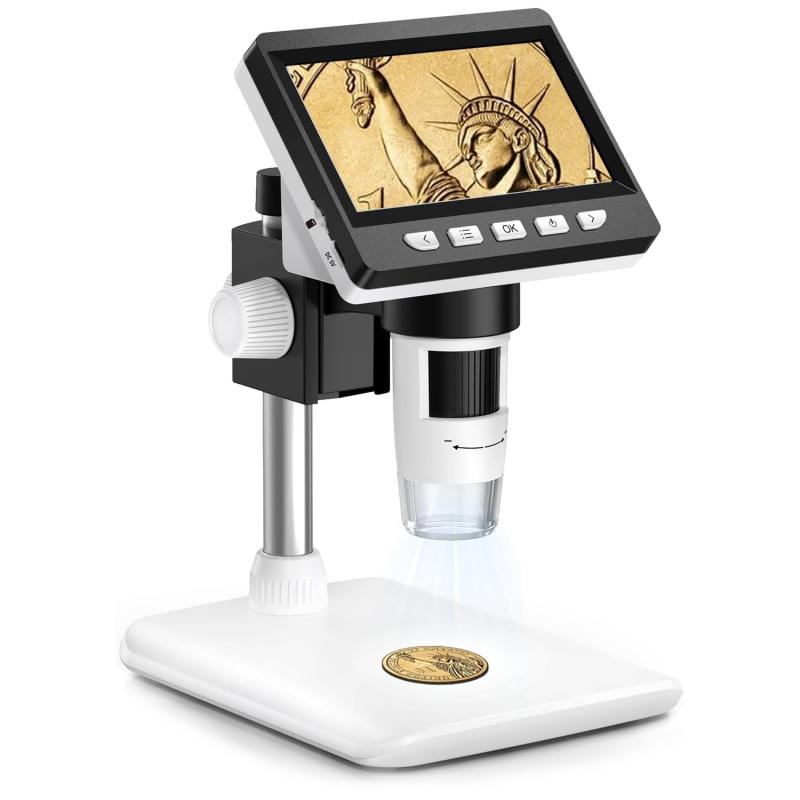
3、 Preparing a slide
Preparing a slide is an essential step in using a microscope. It involves selecting a specimen, preparing it for observation, and placing it on a slide. Here are the steps to prepare a slide:
1. Select a specimen: Choose a specimen that you want to observe under the microscope. It can be a plant, animal, or any other object that you want to examine.
2. Collect the specimen: Collect the specimen using a scalpel or tweezers. Be careful not to damage the specimen.
3. Prepare the specimen: Depending on the type of specimen, you may need to prepare it before placing it on the slide. For example, if you are observing a plant, you may need to cut a thin section of the leaf or stem and stain it to make it more visible.
4. Place the specimen on the slide: Place the specimen on a clean glass slide. If the specimen is small, you can use a cover slip to hold it in place.
5. Add a drop of water: Add a drop of water to the slide to prevent the specimen from drying out.
6. Observe the specimen: Place the slide under the microscope and adjust the focus until you can see the specimen clearly.
It is important to note that different specimens may require different preparation techniques. For example, some specimens may require staining to make them more visible, while others may need to be mounted in a specific way. Always follow the instructions for preparing the specimen to ensure accurate observations.
4、 Using the stage and objective lenses
Using the stage and objective lenses is a crucial part of using a microscope. To begin, place the slide on the stage and secure it with the stage clips. Adjust the stage height so that the slide is close to the objective lens.
Next, select the lowest magnification objective lens and adjust the focus using the coarse focus knob. Once the image is in focus, adjust the fine focus knob for a clearer image.
To switch to a higher magnification, rotate the objective lens turret to select the desired lens. Refocus using the coarse and fine focus knobs as necessary.
It is important to note that as the magnification increases, the field of view decreases and the depth of field becomes shallower. This means that only a small portion of the slide will be visible at higher magnifications and the focus will need to be adjusted more frequently.
Additionally, it is important to handle the microscope carefully and avoid touching the lenses with fingers or other objects as this can damage the delicate lenses and affect the quality of the image.
In conclusion, using the stage and objective lenses is a fundamental skill in using a microscope. With practice and care, one can achieve clear and detailed images of microscopic specimens.
