How To Use A Nd Filter?
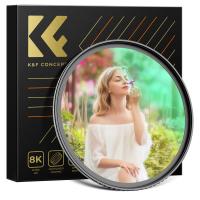
To use an ND filter, simply screw it onto the front of your camera lens. Adjust the filter's density based on the lighting conditions and the effect you want to achieve. When shooting in bright conditions, the ND filter reduces the amount of light entering the lens, allowing you to use a wider aperture or slower shutter speed without overexposing the image. This is particularly useful for capturing motion blur in bright light or achieving a shallow depth of field in daylight.
1、 Understanding ND Filters
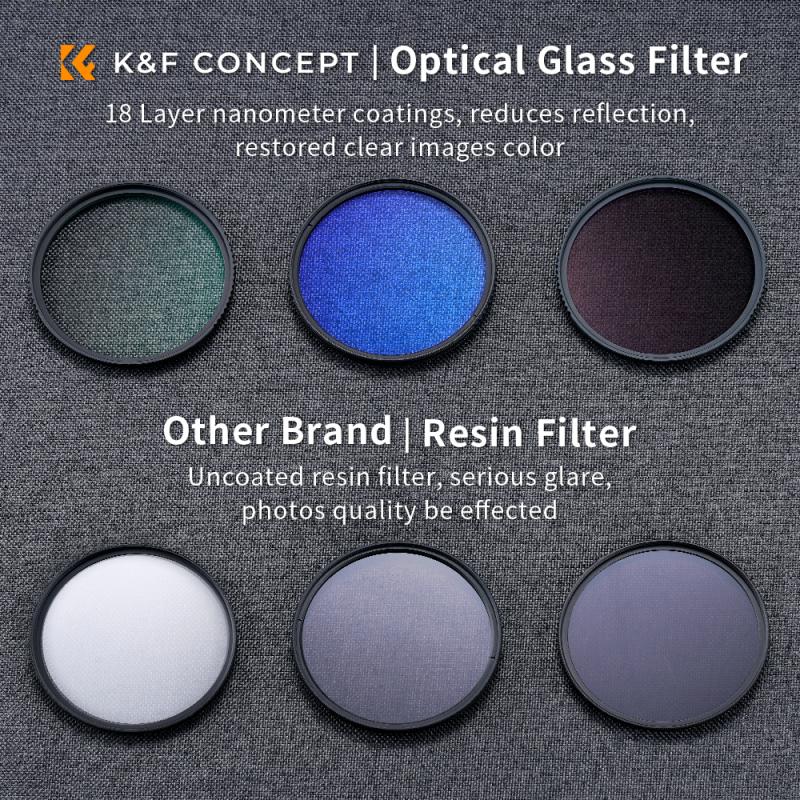
"Understanding ND Filters"
To use an ND filter, follow these steps:
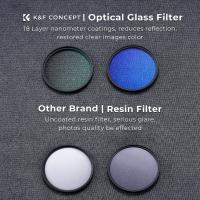
1. Attach the ND filter to the front of your camera lens. Most ND filters are screw-on, so simply twist it onto the lens threads. Some filters may require an adapter ring if the lens diameter is different.
2. Set your camera to manual mode or aperture priority mode. This allows you to control the exposure settings while the ND filter is in place.
3. Adjust the filter's density according to the lighting conditions. ND filters come in different strengths, such as ND2, ND4, ND8, etc., which correspond to the amount of light they block. Choose the appropriate density based on the amount of light you want to reduce.
4. Compose your shot and focus as usual. The ND filter will reduce the amount of light entering the lens, allowing you to use slower shutter speeds or wider apertures without overexposing the image.
5. Experiment with different settings to achieve the desired effect. ND filters are commonly used to create long exposure effects in bright conditions, blur motion, or achieve a shallow depth of field in daylight.
The latest point of view on using ND filters emphasizes their versatility in various photography scenarios, from landscape and architecture to portrait and street photography. Additionally, advancements in filter technology have led to the development of high-quality ND filters that maintain color accuracy and sharpness, making them essential tools for photographers seeking creative control over exposure in challenging lighting conditions.
2、 Choosing the Right ND Filter Strength

"Choosing the Right ND Filter Strength"
When it comes to using an ND filter, the first step is to choose the right filter strength for your specific photography needs. ND filters come in various strengths, typically denoted by the number of stops they reduce the light by, such as ND2, ND4, ND8, and so on. The higher the number, the more light the filter will block.
To use an ND filter effectively, start by assessing the lighting conditions of your shooting environment. If you are shooting in bright sunlight and want to achieve a long exposure effect, a higher ND filter strength, such as ND8 or ND10, would be suitable. On the other hand, if you are shooting in slightly overcast conditions, a lower ND filter strength, like ND4, may be sufficient to achieve the desired effect without darkening the image too much.
When using an ND filter, it's important to adjust your camera settings accordingly. Since the filter reduces the amount of light entering the lens, you will need to compensate by either increasing the exposure time, widening the aperture, or adjusting the ISO to maintain proper exposure.
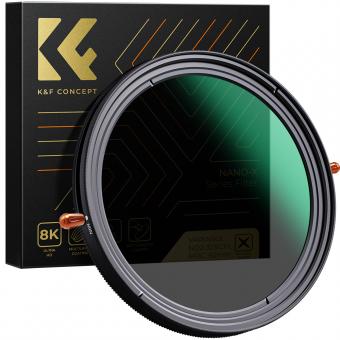
In the latest point of view, with the advancement of technology, some photographers also use variable ND filters, which allow for adjustable light reduction by rotating the filter. This provides greater flexibility in controlling the amount of light entering the lens without needing to switch between different filter strengths.
Ultimately, the key to using an ND filter effectively is to understand the lighting conditions, choose the appropriate filter strength, and adjust your camera settings to achieve the desired creative effect.
3、 Attaching ND Filter to Camera Lens
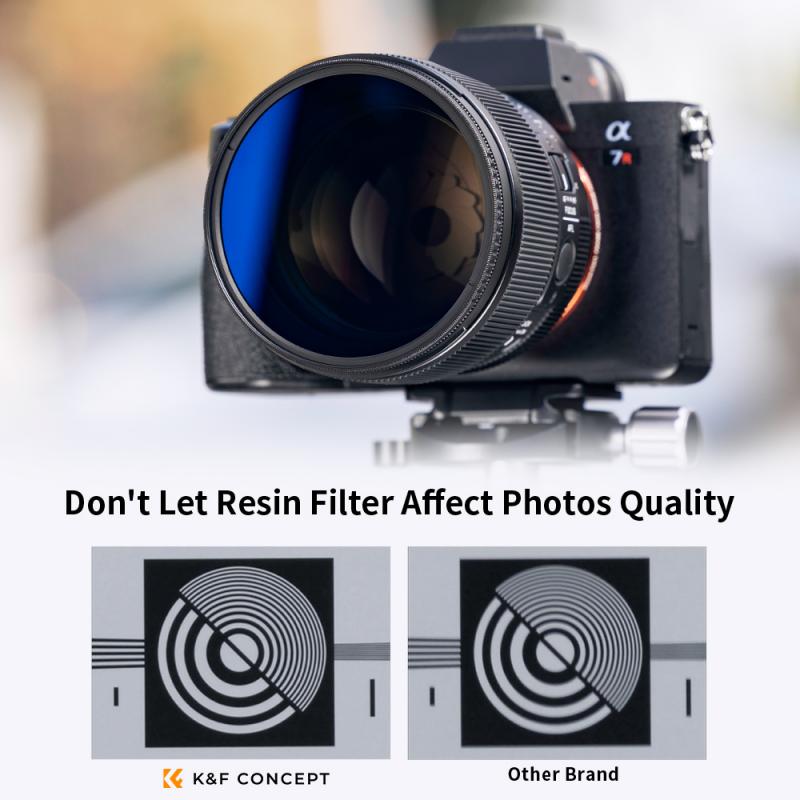
To use an ND filter, you first need to attach it to your camera lens. Here's how to do it:
1. Select the correct size: Ensure that the ND filter you have is the correct size for your camera lens. Most filters come in various diameters to fit different lenses, so make sure you have the right one.
2. Screw it on: Once you have the correct size, simply screw the ND filter onto the front of your camera lens. Be gentle to avoid cross-threading or damaging the filter or lens.
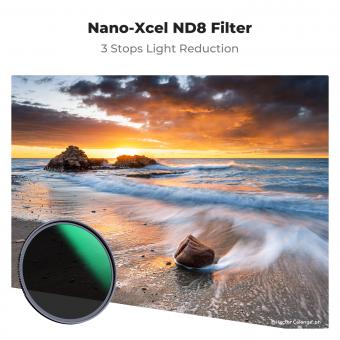
3. Adjust the strength: ND filters come in different strengths, usually measured in stops. You can choose the strength based on the amount of light you want to block. For example, a 3-stop ND filter will reduce the light entering the lens by three stops.
4. Set your camera settings: Once the ND filter is attached, adjust your camera settings accordingly. Since the filter reduces the amount of light entering the lens, you may need to compensate by adjusting the aperture, shutter speed, or ISO settings.
5. Capture your shot: With the ND filter in place and your camera settings adjusted, you're ready to capture your shot. The filter will help you achieve the desired exposure in bright conditions, allowing you to create long exposures or use wider apertures for creative effects.
From a latest point of view, ND filters continue to be essential tools for photographers and videographers, especially in outdoor and bright light conditions. They enable creative control over exposure and allow for stunning visual effects, making them a valuable addition to any photographer's kit.
4、 Adjusting Camera Settings with ND Filter
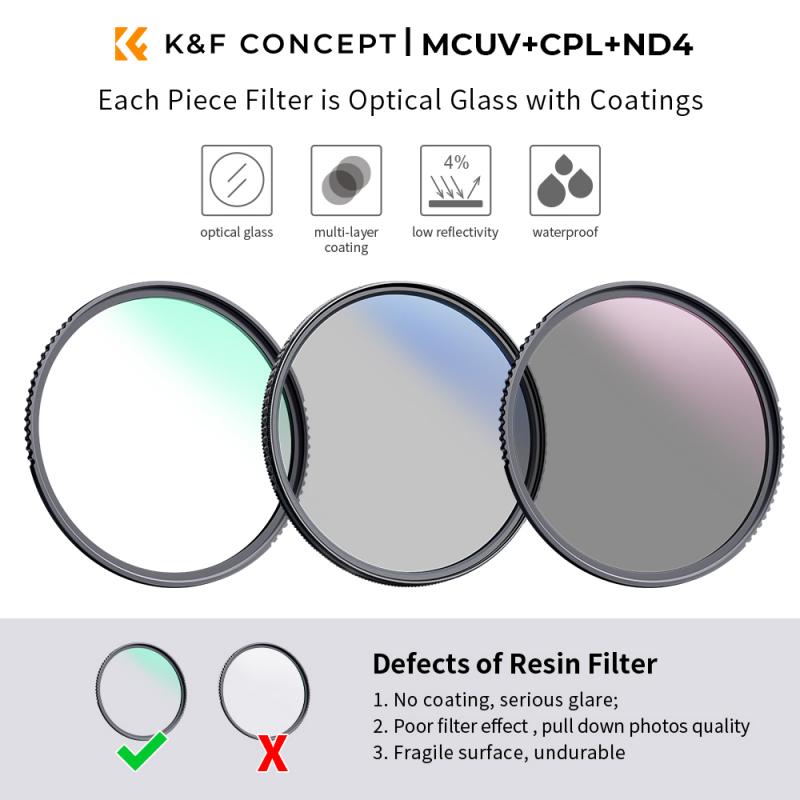
Using an ND filter is a great way to control the amount of light entering your camera, especially in bright conditions. To use an ND filter effectively, follow these steps:
1. Attach the ND filter to your camera lens: Screw the filter onto the front of your lens, ensuring it is securely attached and aligned properly.
2. Adjust your camera settings: With the ND filter in place, you'll need to compensate for the reduced light by adjusting your camera settings. This may include lowering your ISO, using a wider aperture, or slowing down your shutter speed.
3. Compose your shot: Once your camera settings are adjusted, compose your shot as desired.
4. Focus: Use manual or auto-focus to ensure your subject is sharp and in focus.
5. Capture your image: Press the shutter button to capture your image with the ND filter in place.
The latest point of view on using an ND filter emphasizes the importance of maintaining image quality while controlling light. With advancements in filter technology, photographers can now choose from a wide range of ND filters with varying strengths to achieve the desired effect. Additionally, some modern cameras have built-in ND filters, allowing for seamless integration and control. It's important to experiment with different filter strengths and camera settings to find the optimal combination for your specific shooting conditions. Overall, using an ND filter can greatly enhance your photography by giving you more control over exposure and allowing for creative effects in various lighting situations.


