How To Use A Neutral Density Filter ?
To use a neutral density filter, first attach it to the front of your camera lens. Make sure it is securely screwed on or properly mounted. Once attached, adjust the settings on your camera to compensate for the reduced amount of light entering the lens. This can be done by either increasing the exposure time or widening the aperture. The exact adjustments will depend on the strength of the neutral density filter and the lighting conditions. Experiment with different settings to achieve the desired effect. Keep in mind that using a neutral density filter will result in longer exposure times, so it is important to use a tripod or stabilize your camera to avoid camera shake. Additionally, be aware that the filter may introduce color casts or affect the white balance, so you may need to adjust these settings as well.
1、 Understanding Neutral Density Filters: Types and Uses
Understanding Neutral Density Filters: Types and Uses
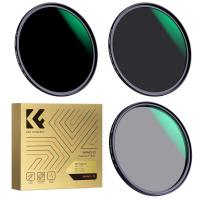
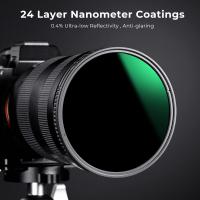
A neutral density (ND) filter is a versatile tool that every photographer should have in their kit. It is a filter that reduces the amount of light entering the camera without affecting the color or tone of the image. This allows photographers to achieve creative effects and overcome challenging lighting conditions.
To use a neutral density filter, follow these steps:
1. Choose the right ND filter: ND filters come in various strengths, indicated by their filter factor or f-stop reduction. The higher the filter factor, the more light it blocks. Select the appropriate strength based on the desired effect and lighting conditions.
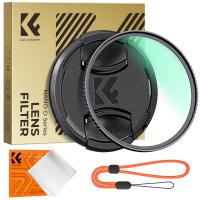
2. Attach the filter: Screw the filter onto the front of your camera lens or use a filter holder system if you have one. Ensure it is securely attached to prevent any light leakage.
3. Adjust camera settings: With the ND filter in place, the camera will receive less light. Adjust your camera settings accordingly to maintain proper exposure. This may involve increasing the shutter speed, opening up the aperture, or increasing the ISO.
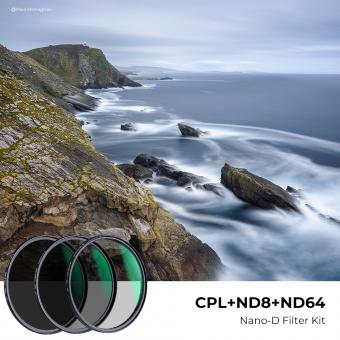
4. Experiment with creative effects: The primary use of an ND filter is to achieve long exposure effects. By reducing the amount of light, you can capture motion blur in waterfalls, rivers, or clouds. Additionally, ND filters can be used to create shallow depth of field in bright conditions or to capture motion in crowded places by blurring moving subjects.
5. Be mindful of color casts: Some ND filters may introduce a color cast to your images. To minimize this, consider using high-quality filters or shoot in RAW format, which allows for easier color correction in post-processing.
It's worth noting that the latest advancements in camera technology, such as high dynamic range (HDR) and in-camera image stacking, can simulate some of the effects achieved with ND filters. However, ND filters still offer unique creative possibilities and are essential for photographers who prefer to capture these effects in-camera rather than relying on post-processing techniques.
In conclusion, understanding how to use a neutral density filter opens up a world of creative possibilities for photographers. By selecting the right filter, adjusting camera settings, and experimenting with different effects, you can capture stunning images in challenging lighting conditions and add a unique touch to your photography.
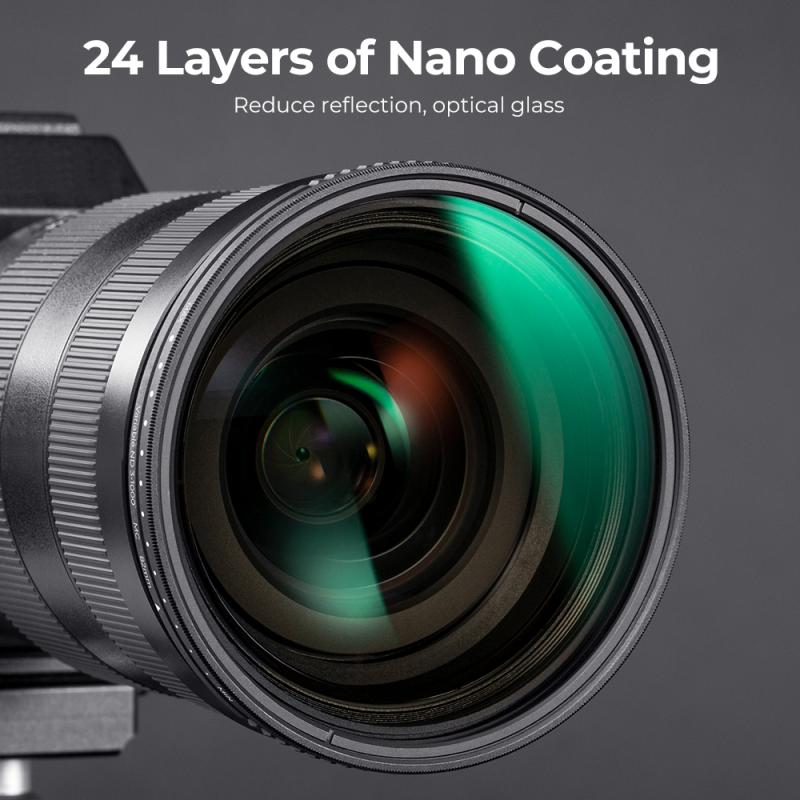
2、 Step-by-Step Guide: Attaching a Neutral Density Filter to Your Lens
Step-by-Step Guide: Attaching a Neutral Density Filter to Your Lens
Neutral density (ND) filters are essential tools for photographers and videographers looking to control the amount of light entering their camera lens. These filters are particularly useful in situations where you want to achieve long exposure effects, such as capturing smooth waterfalls or creating motion blur in a busy cityscape. Here's a step-by-step guide on how to use a neutral density filter:
1. Choose the right filter: Neutral density filters come in various strengths, indicated by their filter factor or stops. Determine the amount of light reduction you need based on your desired effect and lighting conditions.
2. Remove lens cap: Before attaching the filter, remove the lens cap from your camera lens.
3. Screw on the filter: Align the threads of the neutral density filter with those on your lens. Gently screw the filter onto the lens in a clockwise direction until it is securely attached.
4. Adjust camera settings: Once the filter is attached, adjust your camera settings accordingly. Since the ND filter reduces the amount of light entering the lens, you will need to compensate by increasing the exposure time or widening the aperture.
5. Compose your shot: Frame your subject and compose your shot as desired. Take into consideration the longer exposure times that may be required when using an ND filter.
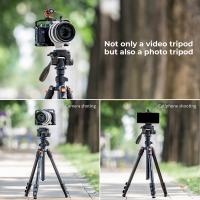
6. Use a tripod: To avoid camera shake and ensure sharp images, it is recommended to use a tripod when shooting with an ND filter. This will help maintain stability during longer exposure times.
7. Experiment and practice: ND filters offer creative possibilities, so don't be afraid to experiment with different exposure times and subjects. Practice using the filter in various lighting conditions to understand its effects better.
Remember, using a neutral density filter requires some trial and error to achieve the desired results. With practice, you'll be able to master the art of long exposure photography and capture stunning images.
3、 Adjusting Exposure: Using Neutral Density Filters for Long Exposures
Adjusting Exposure: Using Neutral Density Filters for Long Exposures
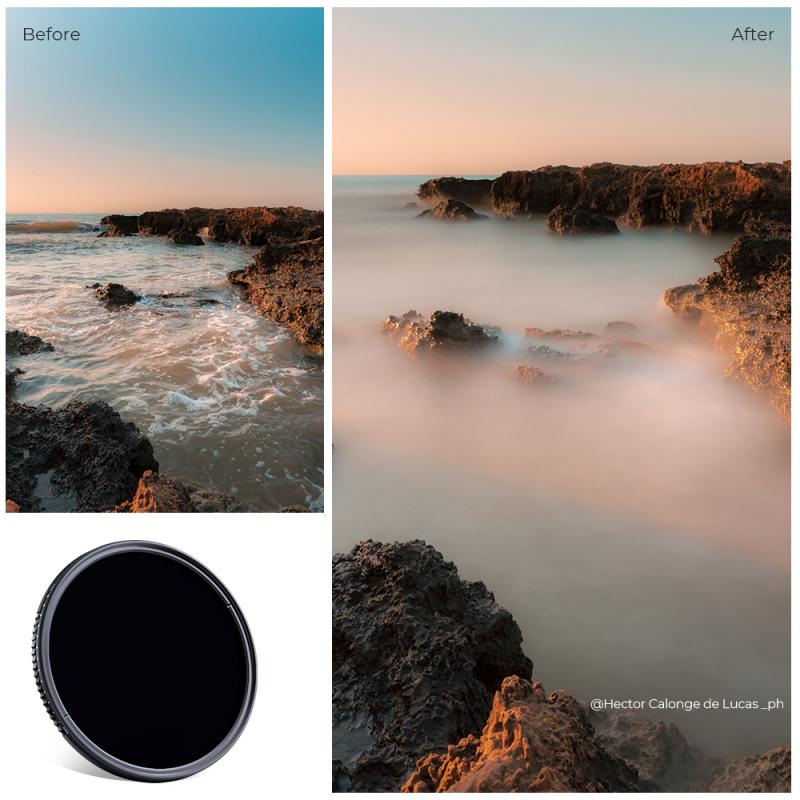
Neutral density (ND) filters are essential tools for photographers looking to control exposure and create stunning long exposure images. These filters are designed to reduce the amount of light entering the camera without affecting the color or quality of the image. By using ND filters, photographers can achieve longer shutter speeds, which allow for creative effects such as motion blur in water or clouds.
To use a neutral density filter, follow these steps:
1. Choose the right filter: ND filters come in various strengths, measured in stops. The higher the number of stops, the darker the filter and the longer the exposure. Select a filter based on the desired effect and lighting conditions.
2. Attach the filter: Screw the filter onto the front of your camera lens or use a filter holder system if you have multiple filters or different lens sizes. Ensure it is securely attached to prevent light leaks.
3. Set up your camera: Switch your camera to manual mode and adjust the ISO, aperture, and shutter speed settings to achieve the desired exposure. Keep in mind that with an ND filter, the exposure time will be significantly longer.
4. Compose your shot: Frame your subject and consider the elements that will be affected by the longer exposure, such as moving water or clouds. Use a tripod to keep the camera steady during the extended exposure.
5. Calculate the exposure time: With an ND filter, the exposure time will be longer than usual. To determine the correct exposure, you can use a smartphone app or a dedicated exposure calculator. Alternatively, you can use the camera's built-in light meter and adjust accordingly.
6. Take the shot: Once everything is set up, press the shutter button and let the camera capture the image for the desired duration. Be patient and avoid any movement or vibrations that could affect the sharpness of the image.
The latest point of view on using ND filters emphasizes the importance of experimenting and practicing to achieve the desired results. Each situation may require different filter strengths and exposure times, so it's crucial to test and adjust accordingly. Additionally, using a remote shutter release or the camera's self-timer function can further minimize camera shake during long exposures.
By mastering the use of neutral density filters, photographers can unlock a world of creative possibilities and capture stunning long exposure images that convey a sense of motion and tranquility.
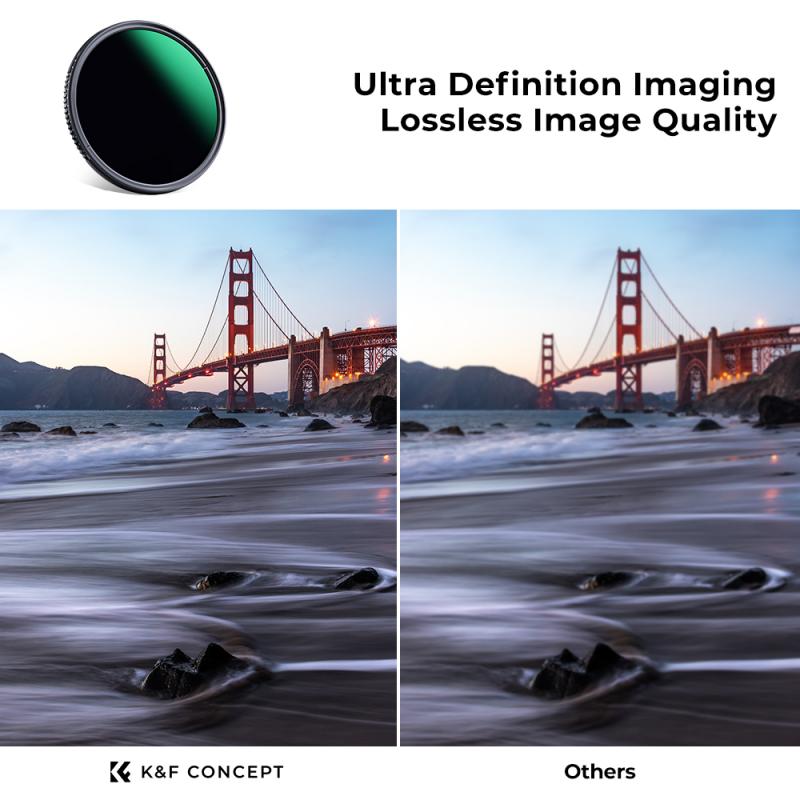
4、 Creative Techniques: Achieving Motion Blur with Neutral Density Filters
How to Use a Neutral Density Filter: Creative Techniques for Achieving Motion Blur
Neutral density (ND) filters are essential tools for photographers and videographers looking to control the amount of light entering their cameras. These filters are particularly useful in situations where there is too much light, such as when shooting in bright daylight or capturing long exposures. One creative technique that can be achieved with ND filters is motion blur.
To use a neutral density filter for motion blur, follow these steps:
1. Choose the right filter: ND filters come in various strengths, indicated by their filter factor or f-stop reduction. The higher the filter factor, the darker the filter and the longer the exposure time required. Select a filter that suits your desired effect and the lighting conditions.
2. Set up your camera: Mount your camera on a tripod to ensure stability during the long exposure. Adjust your camera settings to manual mode, and set a low ISO to minimize noise. Choose a small aperture (high f-stop number) to increase the depth of field.
3. Compose your shot: Determine the subject and the direction of motion you want to capture. Consider elements in the frame that will enhance the sense of movement, such as flowing water, moving clouds, or people walking.
4. Attach the ND filter: Screw the ND filter onto the front of your lens. Make sure it is securely attached to prevent any light leaks.
5. Calculate the exposure time: With the ND filter in place, your camera's light meter may not accurately measure the exposure. Use a light meter app or the camera's built-in metering system to determine the correct exposure time. Alternatively, you can use the "bulb" mode and manually time the exposure.
6. Take the shot: Once you have determined the exposure time, press the shutter button and keep the camera steady until the exposure is complete. This will create a smooth, blurred effect on any moving elements in the frame.
The latest point of view on using ND filters for motion blur is that it allows photographers and videographers to add a sense of dynamism and energy to their images. By intentionally blurring moving subjects, such as flowing water or passing cars, the viewer's attention is drawn to the contrast between the static and the dynamic elements in the frame. This technique can be particularly effective in landscape photography, where it can create a dreamy, ethereal atmosphere.
In conclusion, using a neutral density filter for motion blur is a creative technique that can add a unique and artistic touch to your photographs or videos. By following the steps outlined above and experimenting with different filter strengths and exposure times, you can achieve stunning results that capture the beauty of motion in a still image.
