How To Use A Panoramic Tripod Head ?
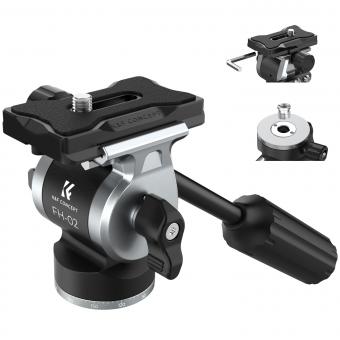
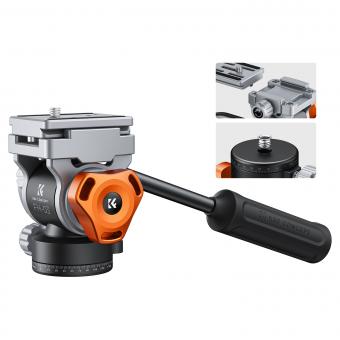
To use a panoramic tripod head, first attach it to your tripod. Then, mount your camera onto the head and adjust the position of the camera so that it is level. Next, adjust the horizontal and vertical rotation knobs on the head to set the desired angle of rotation. Use the markings on the head to ensure that you are rotating the camera at the correct angle.
Once you have set up the head, take a series of overlapping photos while rotating the camera. Make sure that each photo overlaps with the previous one by about 30%. This will ensure that the photos can be stitched together seamlessly later on.
After you have taken all of the photos, use software such as Adobe Photoshop or PTGui to stitch them together into a panoramic image. Adjust the settings as necessary to ensure that the final image is level and free of distortion.
Overall, using a panoramic tripod head can help you create stunning panoramic images with ease. With a little practice, you can master the technique and create beautiful images that capture the full scope of your surroundings.
1、 Types of panoramic tripod heads
How to use a panoramic tripod head:
1. Mount the panoramic tripod head onto your tripod. Make sure it is securely attached.
2. Attach your camera to the panoramic tripod head using the quick release plate. Make sure it is securely attached.
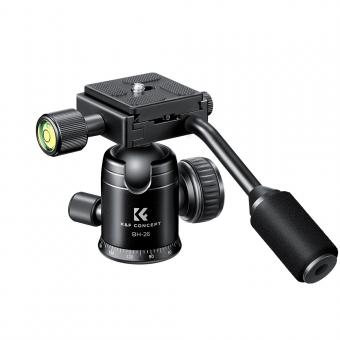
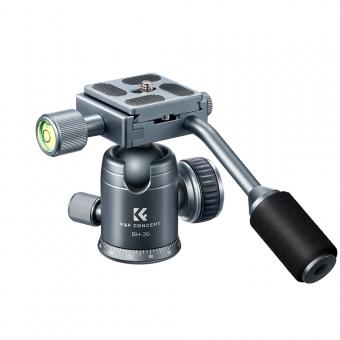
3. Adjust the camera so that it is level. Use the built-in bubble level or a separate level to ensure that the camera is perfectly level.
4. Set the rotation angle on the panoramic tripod head. This will depend on the type of panoramic tripod head you are using. Some have a fixed rotation angle, while others allow you to adjust the angle.
5. Start taking photos. Rotate the panoramic tripod head to capture a series of overlapping images. Make sure that each image overlaps the previous one by about 30%.
6. Stitch the images together using software. There are many software programs available that can stitch panoramic images together. Some popular options include Adobe Photoshop, PTGui, and Hugin.
Types of panoramic tripod heads:
1. Manual panoramic tripod heads: These are the most basic type of panoramic tripod head. They require you to manually rotate the camera to capture a series of overlapping images.
2. Motorized panoramic tripod heads: These are more advanced panoramic tripod heads that use a motor to rotate the camera. This allows for more precise and consistent rotations.
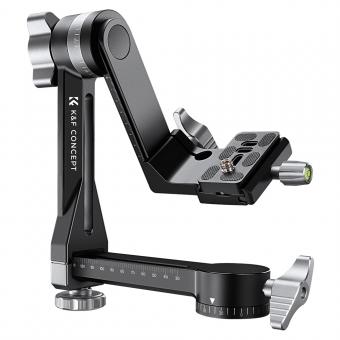
3. Gimbal panoramic tripod heads: These are designed for use with telephoto lenses. They allow you to rotate the camera around its center of gravity, which makes it easier to balance the camera and lens.
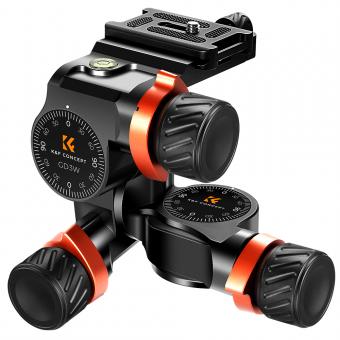
4. Multi-row panoramic tripod heads: These are designed for capturing panoramic images in multiple rows. They allow you to adjust the vertical angle of the camera to capture images above and below the horizon.
The latest point of view is that panoramic tripod heads are becoming increasingly popular among photographers who want to capture stunning panoramic images. With advances in technology, panoramic tripod heads are becoming more affordable and easier to use. They are a great tool for landscape photographers, real estate photographers, and anyone who wants to capture a wide-angle view of a scene.
2、 Setting up the panoramic tripod head
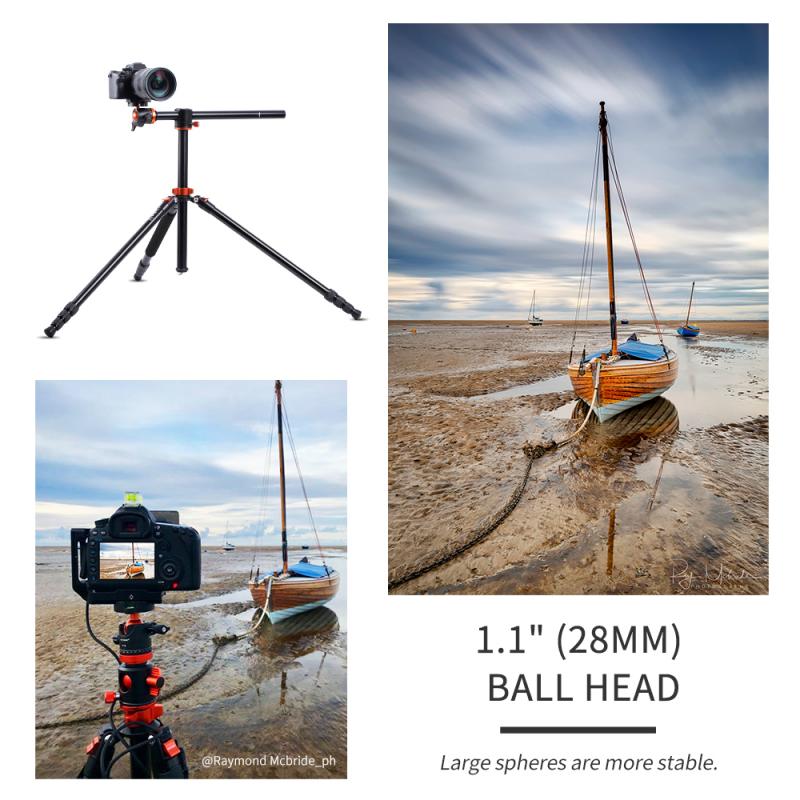
Setting up the panoramic tripod head is the first step in using it effectively. The first thing to do is to attach the tripod head to the tripod legs. Make sure that the tripod head is securely attached to the legs to avoid any accidents. Once the tripod head is attached, you can then attach your camera to the head.
To use the panoramic tripod head, you need to adjust the head to the desired angle. This can be done by loosening the knobs on the head and adjusting the angle of the head. Once you have the head at the desired angle, you can then lock it in place by tightening the knobs.
To take a panoramic shot, you need to rotate the head in a circular motion. This can be done by loosening the knob on the base of the head and rotating the head in a circular motion. Make sure that you rotate the head smoothly to avoid any jerky movements that can ruin the shot.
The latest point of view on using a panoramic tripod head is to use it in conjunction with a remote shutter release. This will allow you to take the shot without touching the camera, which can cause movement and blur. Additionally, using a remote shutter release will allow you to take multiple shots at different angles, which can be stitched together to create a seamless panoramic image.
In conclusion, setting up and using a panoramic tripod head is a simple process that can greatly enhance your photography skills. With a little practice, you can create stunning panoramic images that will impress your friends and family.
3、 Mounting the camera on the panoramic tripod head
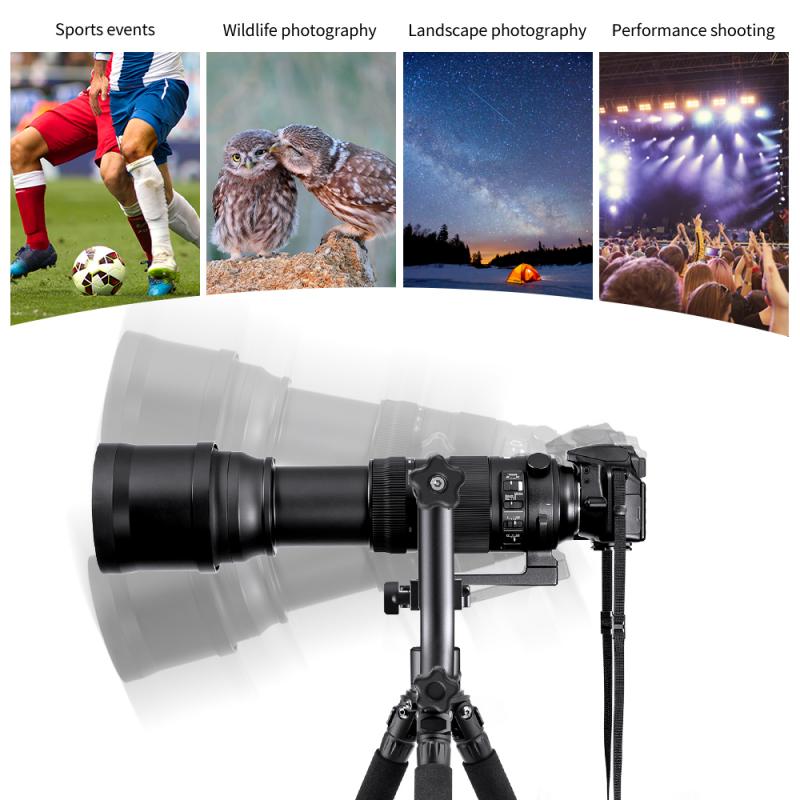
Mounting the camera on the panoramic tripod head is the first step in using a panoramic tripod head. To do this, you need to attach the camera to the quick-release plate that comes with the tripod head. The quick-release plate is usually attached to the camera using a screw or a clamp. Once the camera is securely attached to the quick-release plate, you can then attach the plate to the panoramic tripod head.
To use the panoramic tripod head, you need to adjust the head to the desired angle and position. This can be done by loosening the knobs or levers on the head and adjusting the position of the camera. Once you have the camera in the desired position, you can then lock the knobs or levers to secure the camera in place.
When taking panoramic photos, it is important to ensure that the camera is level. Most panoramic tripod heads come with a built-in level or bubble level that can help you ensure that the camera is level. You can also use a separate level to ensure that the camera is perfectly level.
Another important aspect of using a panoramic tripod head is to ensure that the camera is aligned with the center of the tripod head. This can be done by adjusting the position of the camera on the quick-release plate until it is centered.
In conclusion, using a panoramic tripod head involves mounting the camera on the quick-release plate, adjusting the head to the desired angle and position, ensuring that the camera is level, and aligning the camera with the center of the tripod head. With these steps, you can take stunning panoramic photos with ease.
4、 Adjusting the panoramic tripod head for level and alignment
How to use a panoramic tripod head:
1. Mount the panoramic tripod head onto your tripod legs. Make sure it is securely attached.
2. Attach your camera to the panoramic tripod head using the quick release plate. Make sure it is securely attached.
3. Adjust the height of your tripod legs so that the camera is at the desired height.
4. Adjust the tilt of the panoramic tripod head so that the camera is level. Use the bubble level on the tripod head to ensure that it is perfectly level.
5. Adjust the rotation of the panoramic tripod head so that the camera is aligned with the horizon. Use the markings on the tripod head to ensure that it is aligned correctly.
6. Use the panoramic function on your camera to take a panoramic photo. Move the camera from left to right, keeping it level and aligned with the horizon.
7. Repeat the process for each section of the panoramic photo, making sure to overlap each section slightly.
Adjusting the panoramic tripod head for level and alignment:
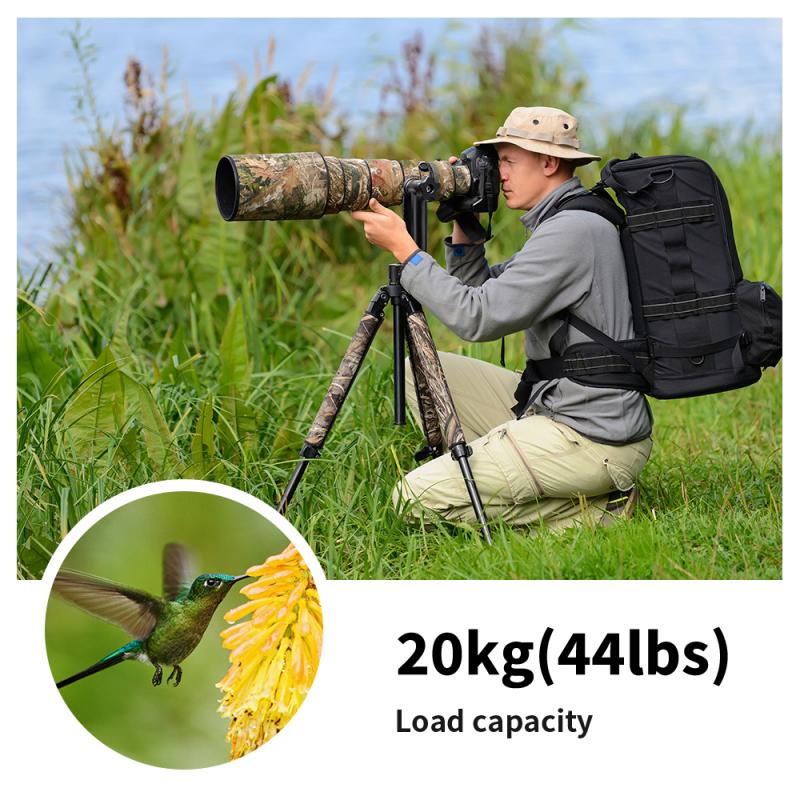
To ensure that your panoramic photos are level and aligned correctly, it is important to adjust the panoramic tripod head for level and alignment. Use the bubble level on the tripod head to ensure that it is perfectly level. Use the markings on the tripod head to ensure that the camera is aligned correctly with the horizon. It is also important to make sure that the tripod legs are securely attached to the panoramic tripod head and that the camera is securely attached to the quick release plate. By taking the time to adjust the panoramic tripod head for level and alignment, you can ensure that your panoramic photos are of the highest quality and are free from distortion.
