How To Use A Polarising Lens Filter ?
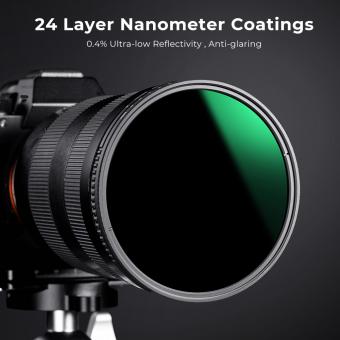
To use a polarizing lens filter, simply screw it onto the front of your camera lens. Rotate the filter until you achieve the desired effect. The filter helps to reduce glare and reflections from non-metallic surfaces, such as water or glass, and also enhances color saturation and contrast in your photographs.
1、 Understanding Polarisation: Basics of Polarising Lens Filters
Understanding Polarisation: Basics of Polarising Lens Filters
A polarising lens filter is a valuable tool for photographers and videographers looking to enhance their images by reducing glare and increasing color saturation. This filter works by selectively blocking certain light waves, allowing only polarised light to pass through the lens. Here is a step-by-step guide on how to use a polarising lens filter effectively:
1. Attach the filter: Screw the polarising filter onto the front of your camera lens. Ensure it is securely attached and aligned correctly.
2. Adjust the angle: Rotate the filter to achieve the desired effect. The filter has a rotating ring that allows you to control the amount of polarisation. Experiment with different angles to find the optimal position for your shot.
3. Observe the effect: Look through the viewfinder or LCD screen and observe the changes in the scene. A polarising filter can reduce reflections on non-metallic surfaces such as water or glass, making them appear clearer and more vibrant. It can also darken skies, enhance contrast, and improve overall image quality.
4. Fine-tune the effect: If needed, make further adjustments to the filter angle to achieve the desired outcome. Keep in mind that the effect may vary depending on the lighting conditions and the angle of the sun.
5. Remove the filter when not needed: Remember to remove the polarising filter when shooting in low-light conditions or when it is not necessary. The filter can reduce the amount of light entering the lens, which may result in longer exposure times or the need to increase ISO settings.
It is important to note that polarising filters work best when the light source is at a 90-degree angle to the subject. Additionally, they are not effective when shooting with wide-angle lenses as the polarisation effect may not be consistent across the frame.
In recent years, advancements in digital post-processing have allowed photographers to mimic some polarisation effects in software. However, using a polarising lens filter during the capture process still offers distinct advantages. It allows photographers to see the effect in real-time, reduces the need for excessive editing, and can produce more natural and vibrant results.
In conclusion, understanding how to use a polarising lens filter can greatly enhance your photography. By reducing glare and increasing color saturation, this filter can help you capture stunning images with improved clarity and vibrancy. Experiment with different angles and lighting conditions to fully harness the power of a polarising filter and elevate your photography to the next level.
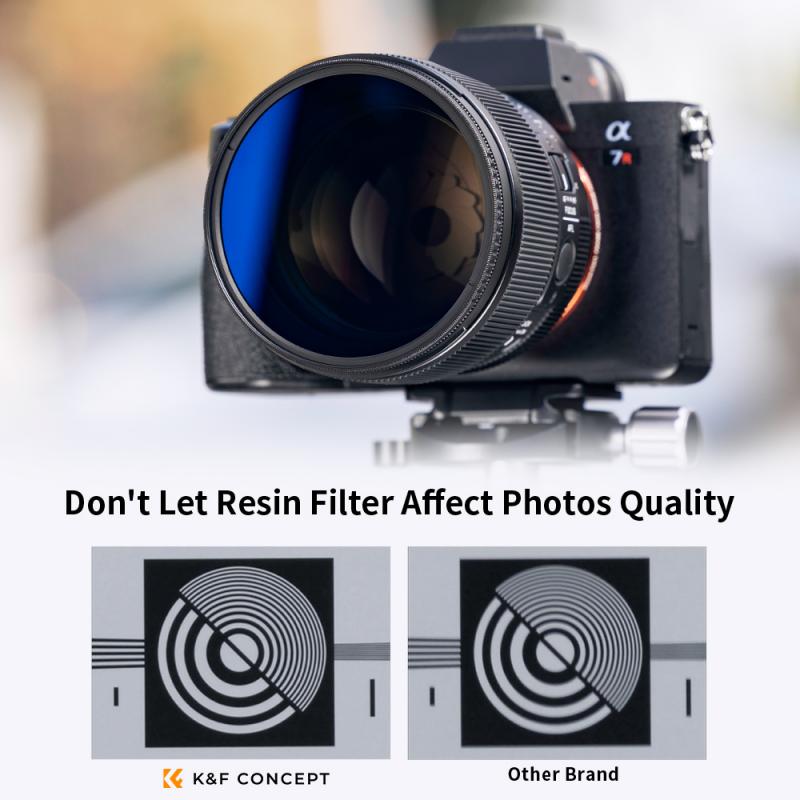
2、 Choosing the Right Filter: Factors to Consider for Polarising Lens Filters
Choosing the Right Filter: Factors to Consider for Polarising Lens Filters
A polarising lens filter is a valuable tool for photographers looking to enhance their images by reducing glare and increasing color saturation. However, it is important to understand how to use a polarising lens filter effectively to achieve the desired results. Here are some factors to consider when using a polarising lens filter:
1. Rotation: The key to using a polarising filter is to rotate it until you achieve the desired effect. By rotating the filter, you can control the amount of polarisation and adjust the level of glare reduction and color saturation in your image. Experiment with different rotations to find the optimal position for your specific scene.
2. Angle of Light: The effectiveness of a polarising filter depends on the angle of light hitting the subject. To maximize the polarising effect, position yourself at a 90-degree angle to the light source. This will help to reduce reflections and enhance the colors in your image.
3. Subject and Composition: Consider the subject and composition of your image when using a polarising filter. This filter works best for scenes with reflective surfaces such as water, glass, or foliage. It can help to eliminate unwanted reflections and bring out the natural colors and textures in these subjects.
4. Lens Compatibility: Ensure that the polarising filter you choose is compatible with your camera lens. Check the filter thread size of your lens and select a filter that matches. Additionally, consider the quality of the filter to avoid any loss of image sharpness or unwanted color casts.
5. Latest Point of View: With advancements in technology, some photographers argue that post-processing software can replicate the effects of a polarising filter. While this may be true to some extent, it is important to note that a polarising filter can still provide unique benefits. It allows you to capture the desired effect in-camera, reducing the need for extensive post-processing and preserving the original image quality.
In conclusion, using a polarising lens filter requires careful consideration of factors such as rotation, angle of light, subject, composition, and lens compatibility. While there may be alternative methods to achieve similar effects, a polarising filter remains a valuable tool for photographers looking to enhance their images and capture the desired effect directly in-camera.
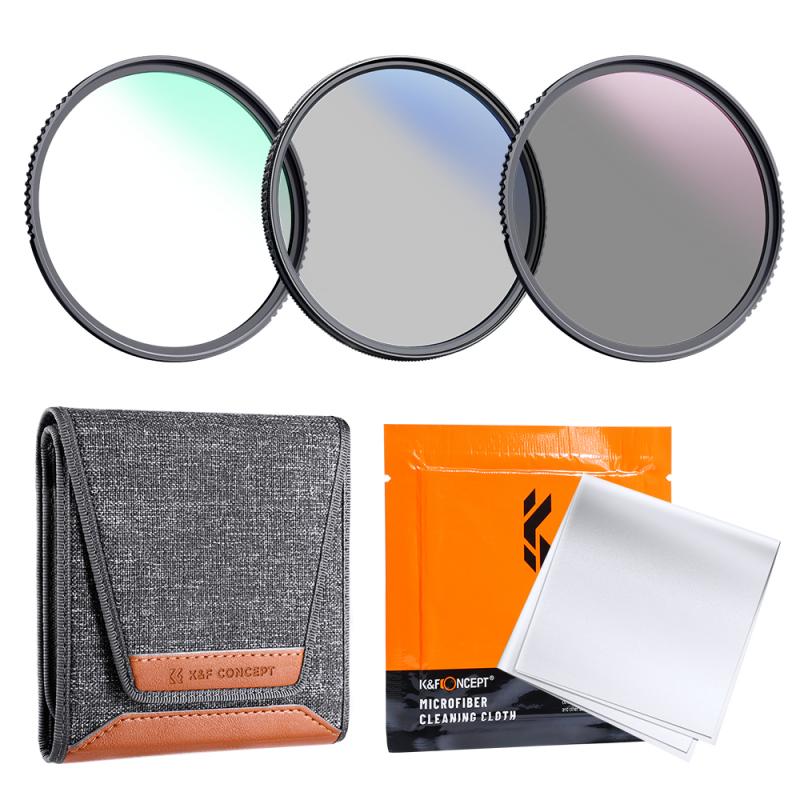
3、 Mounting the Filter: Step-by-Step Guide for Attaching a Polarising Lens Filter
Mounting the Filter: Step-by-Step Guide for Attaching a Polarising Lens Filter
A polarising lens filter is a valuable tool for photographers looking to enhance their images by reducing glare and increasing color saturation. Mounting the filter correctly is essential to ensure optimal results. Here is a step-by-step guide on how to attach a polarising lens filter:
1. Choose the correct filter size: Polarising lens filters come in various sizes, so it's important to select one that matches the diameter of your camera lens. The filter size is usually indicated on the front of the lens or in the camera's manual.
2. Remove the lens cap: Before attaching the filter, remove the lens cap from your camera lens. This will allow you to access the filter threads.
3. Align the filter threads: Hold the polarising lens filter in front of your camera lens and align the filter threads with the lens threads. Be gentle to avoid cross-threading, which can damage the filter or lens.
4. Rotate the filter: Once the threads are aligned, gently rotate the filter clockwise until it starts to tighten. Most polarising filters have a small indicator line or dot on the edge. This line should be positioned at the top or side of the lens, depending on your preference.
5. Secure the filter: Continue rotating the filter until it is securely attached to the lens. Ensure it is snug but not overly tight, as this can make it difficult to remove later.
6. Test the filter: With the filter attached, look through the camera's viewfinder or LCD screen and rotate the filter. You should notice a change in the level of glare and reflections. Experiment with different angles to achieve the desired effect.
It's worth noting that some modern cameras have built-in polarising filters that can be controlled electronically. In such cases, the physical attachment of a polarising lens filter may not be necessary.
Remember, practice makes perfect. Experiment with different lighting conditions and subjects to fully understand the impact of a polarising lens filter on your photography.
4、 Adjusting the Filter: Techniques for Maximising Polarisation Effectiveness
Adjusting the Filter: Techniques for Maximising Polarisation Effectiveness
Using a polarising lens filter can greatly enhance your photography by reducing glare and reflections, deepening colors, and increasing contrast. However, to fully harness the power of this filter, it is important to understand how to use it effectively. Here are some techniques to help you maximize the polarisation effectiveness:
1. Understand the direction of light: Polarising filters work best when the light source is at a 90-degree angle to the subject. To achieve this, position yourself or your subject accordingly. Keep in mind that the effectiveness of the filter may vary depending on the angle of the light.
2. Rotate the filter: Polarising filters have a rotating ring that allows you to adjust the level of polarization. To achieve the desired effect, rotate the filter while looking through the viewfinder or LCD screen. This will help you find the optimal position where the glare is minimized and the colors are enhanced.
3. Experiment with different angles: Depending on the scene, you may need to adjust the angle of the filter to achieve the desired effect. For example, when photographing a landscape with a blue sky, rotating the filter at different angles can intensify or reduce the polarization effect on the sky.
4. Be mindful of the background: Polarising filters can have a significant impact on the background of your image. Pay attention to how the filter affects the colors and contrast in the entire frame, not just the main subject. Adjust the filter accordingly to achieve a balanced and natural-looking result.
5. Combine with other filters: Polarising filters can be used in conjunction with other filters, such as neutral density filters or graduated filters, to further enhance your images. Experiment with different combinations to achieve the desired creative effect.
It is worth noting that the effectiveness of polarising filters can vary depending on the quality of the filter itself. Investing in a high-quality filter can ensure better results and minimize any potential loss of image quality.
In conclusion, using a polarising lens filter requires understanding the direction of light, rotating the filter to find the optimal position, experimenting with different angles, being mindful of the background, and considering the use of other filters. By employing these techniques, you can maximize the effectiveness of the polarising filter and capture stunning, glare-free images with enhanced colors and contrast.
