How To Use A Polarizing Filter ?
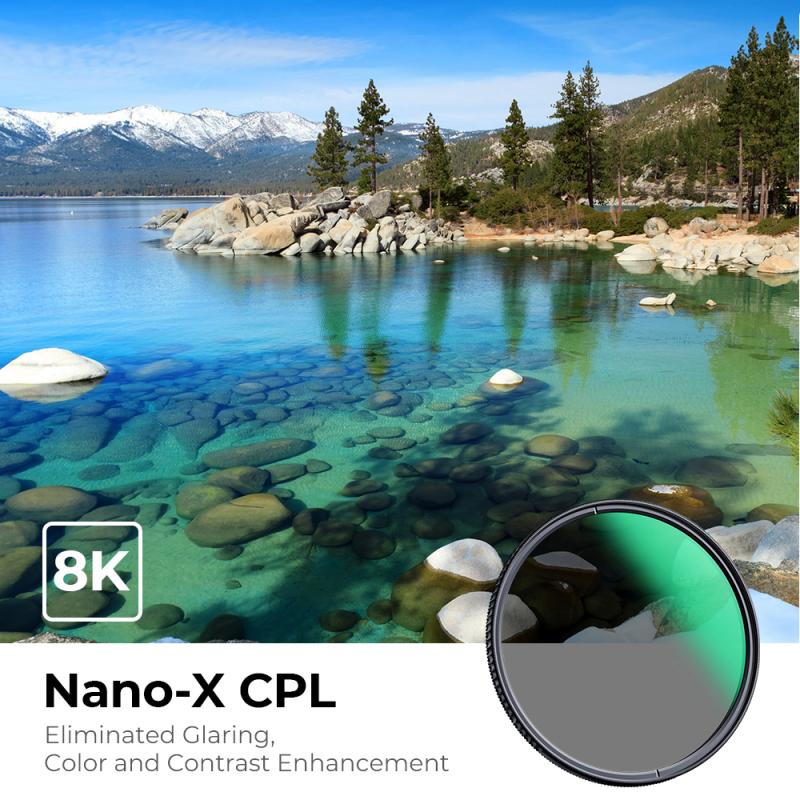
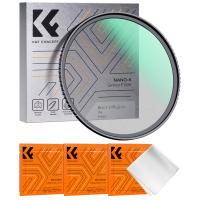
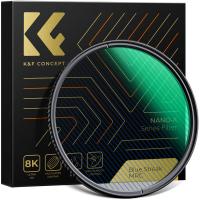
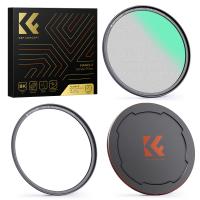
A polarizing filter is a camera accessory that can be screwed onto the front of a lens to reduce glare and reflections, enhance colors, and improve contrast in outdoor photography. To use a polarizing filter, follow these steps:
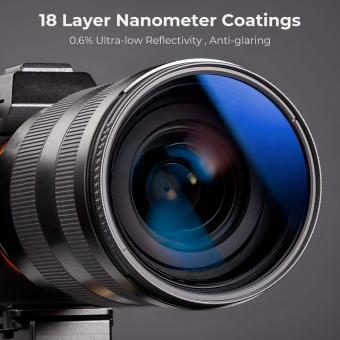
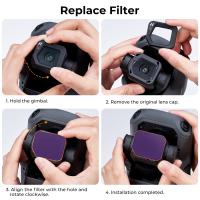
1. Screw the filter onto the front of your lens, making sure it is securely attached.
2. Look through the viewfinder or LCD screen and rotate the filter until you achieve the desired effect. You will see the effect change as you rotate the filter.
3. The most noticeable effect of a polarizing filter is the reduction of glare and reflections on shiny surfaces such as water, glass, or metal. To achieve this effect, rotate the filter until the glare disappears or is minimized.
4. A polarizing filter can also enhance colors and improve contrast in your photos. To achieve this effect, rotate the filter until the colors become more saturated and the contrast is increased.
5. Keep in mind that a polarizing filter will reduce the amount of light entering your lens, so you may need to adjust your exposure settings accordingly.
Overall, using a polarizing filter can greatly improve the quality of your outdoor photos by reducing glare and reflections, enhancing colors, and improving contrast.
1、 Definition and Function of Polarizing Filters
How to use a polarizing filter:
1. Screw the filter onto the front of your lens.
2. Look through your viewfinder or LCD screen and rotate the filter until you achieve the desired effect.
3. Take your photo.
Definition and Function of Polarizing Filters:
A polarizing filter is a camera accessory that is used to reduce glare and reflections from non-metallic surfaces such as water, glass, and foliage. It works by blocking certain light waves that are oriented in a specific direction, allowing only light waves that are oriented in a perpendicular direction to pass through. This results in a reduction of glare and reflections, and an increase in color saturation and contrast.
Polarizing filters are commonly used in landscape photography to enhance the colors of the sky, water, and foliage. They are also useful in architectural photography to reduce reflections on glass buildings and in product photography to reduce glare on shiny surfaces.
The latest point of view on polarizing filters is that they are still a valuable tool for photographers, especially in outdoor and nature photography. However, with the advancements in digital editing software, some photographers may choose to achieve similar effects in post-processing rather than using a polarizing filter. It ultimately comes down to personal preference and the desired outcome of the photo.
2、 Types of Polarizing Filters
How to use a polarizing filter:
1. Screw the filter onto the front of your lens.
2. Look through your viewfinder or LCD screen and rotate the filter until you see the desired effect.
3. Adjust the angle of the filter to control the amount of polarization.
Polarizing filters are a great tool for landscape and outdoor photographers. They can help reduce glare and reflections on water, glass, and other shiny surfaces. They can also enhance the colors in the sky and foliage, making them appear more vibrant.
Types of Polarizing Filters:
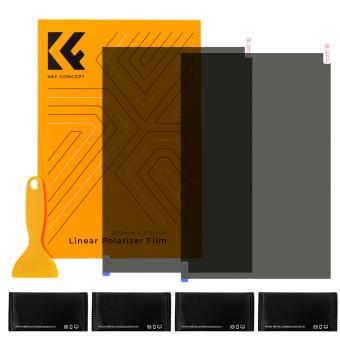
1. Linear Polarizing Filters: These are the traditional type of polarizing filters and work by blocking light waves that are vibrating in a certain direction. They are less expensive than circular polarizing filters but can cause issues with autofocus and metering on some cameras.
2. Circular Polarizing Filters: These filters are more advanced and work by using a quarter-wave plate to convert linearly polarized light into circularly polarized light. They are more expensive than linear polarizing filters but are compatible with all cameras and do not cause issues with autofocus or metering.
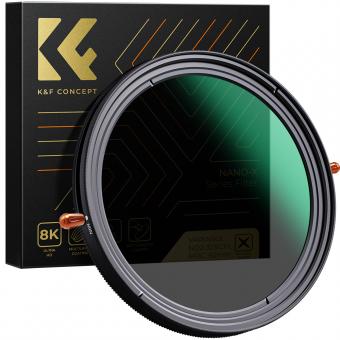
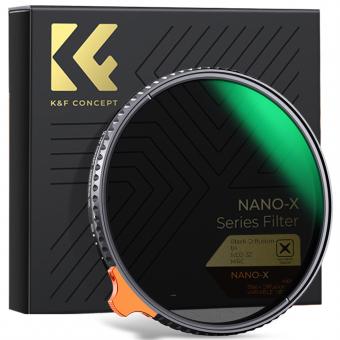
3. Variable ND and Polarizing Filters: These filters combine the benefits of a polarizing filter with a variable neutral density filter, allowing you to adjust the amount of light entering the lens while also controlling reflections and glare.
In recent years, there has been a growing trend towards using digital post-processing techniques to achieve similar effects to polarizing filters. However, polarizing filters still offer unique benefits and can be a valuable tool for photographers looking to capture stunning outdoor images.
3、 Choosing the Right Polarizing Filter for Your Camera
How to Use a Polarizing Filter:
1. Screw the filter onto the front of your lens.
2. Look through your viewfinder or LCD screen and rotate the filter until you achieve the desired effect.
3. Adjust the angle of the filter to control the amount of polarization.
Choosing the Right Polarizing Filter for Your Camera:
When choosing a polarizing filter for your camera, there are a few things to consider. First, make sure the filter is the correct size for your lens. Second, consider the quality of the filter. Cheap filters can degrade image quality and cause unwanted reflections. Look for filters made from high-quality materials and coatings. Third, consider the type of polarizing filter. Linear polarizers are less expensive but can cause issues with autofocus and metering on some cameras. Circular polarizers are more expensive but are compatible with all cameras and do not cause these issues.
It's also important to note that polarizing filters can have a significant impact on the colors in your image. They can enhance the blues in the sky and the greens in foliage, but can also reduce the saturation of other colors. It's important to experiment with different angles and strengths of polarization to achieve the desired effect.
In recent years, some photographers have questioned the need for polarizing filters, as many modern cameras have built-in polarizing effects that can be applied in post-processing. However, polarizing filters still have their place in photography, particularly for landscape and outdoor photography where they can help to reduce glare and enhance colors in a natural and subtle way.

4、 How to Attach and Adjust a Polarizing Filter
How to Attach and Adjust a Polarizing Filter:
A polarizing filter is a useful tool for photographers who want to reduce glare and reflections in their photos. It can also enhance the colors and contrast in your images. Here are the steps to attach and adjust a polarizing filter:
1. Choose the right size filter: Make sure you have the correct size filter for your lens. Most filters come in different sizes, so check the diameter of your lens before purchasing.
2. Screw on the filter: Attach the filter to the front of your lens by screwing it on. Make sure it is securely attached and aligned properly.
3. Adjust the filter: Rotate the filter to adjust the amount of polarization. Look through your viewfinder or LCD screen and rotate the filter until you achieve the desired effect. You will notice that the glare and reflections are reduced, and the colors and contrast are enhanced.
4. Be aware of the angle: Keep in mind that the effectiveness of the polarizing filter depends on the angle of the light source. The filter works best when the light source is perpendicular to the lens. If the light source is at an angle, you may need to adjust the filter accordingly.
5. Experiment with different settings: Try different settings and angles to see how the filter affects your images. You may find that certain settings work better for certain types of photos.
In conclusion, a polarizing filter is a valuable tool for photographers who want to improve the quality of their images. By following these steps, you can attach and adjust the filter to achieve the desired effect. Keep in mind that the effectiveness of the filter depends on the angle of the light source, so be aware of this when using it.
