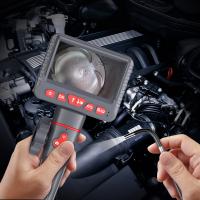
How To Use A Rangefinder For Photography ?
To use a rangefinder for photography, start by adjusting the focus on your lens to match the distance of your subject. Look through the viewfinder and align the two images in the rangefinder patch by turning the focusing ring. Once the images are aligned, the distance scale on the lens will indicate the correct focus distance. You can then compose your shot and take the photo. Rangefinders are known for their accuracy and ease of use, making them popular among photographers who prefer manual focusing.
1、 Understanding the basics of a rangefinder camera
Understanding the basics of a rangefinder camera is essential for photographers looking to utilize this unique tool in their photography. A rangefinder camera is a type of camera that uses a rangefinder mechanism to measure the distance between the camera and the subject being photographed. This mechanism allows for precise focusing and composition.
To use a rangefinder for photography, follow these steps:
1. Familiarize yourself with the camera: Understand the different controls, dials, and settings of your specific rangefinder camera model. This will help you navigate and adjust the camera quickly while shooting.
2. Set the focus: Use the rangefinder mechanism to focus on your subject. Align the two images in the viewfinder by adjusting the focus ring until they merge into one. This ensures accurate focus.
3. Compose your shot: Use the viewfinder to frame your subject. Rangefinder cameras typically have bright and clear viewfinders, allowing for precise composition.
4. Adjust exposure settings: Set the appropriate aperture, shutter speed, and ISO for your desired exposure. Rangefinder cameras often have manual controls, allowing for full creative control over exposure.
5. Capture the image: Once everything is set, press the shutter button to capture the image. Rangefinder cameras usually have quiet shutters, making them ideal for street and documentary photography.
It's important to note that while rangefinder cameras have a distinct charm and offer unique shooting experiences, they may not be suitable for all types of photography. They excel in street, documentary, and portrait photography, where quick and accurate focusing is crucial.
In recent years, rangefinder cameras have seen a resurgence in popularity among photographers who appreciate their compact size, discreet operation, and the ability to connect with the subject. Many modern rangefinder cameras now offer digital capabilities, combining the classic rangefinder experience with the convenience of digital technology.
Overall, understanding the basics of a rangefinder camera and practicing with it will help you master this unique tool and enhance your photography skills.
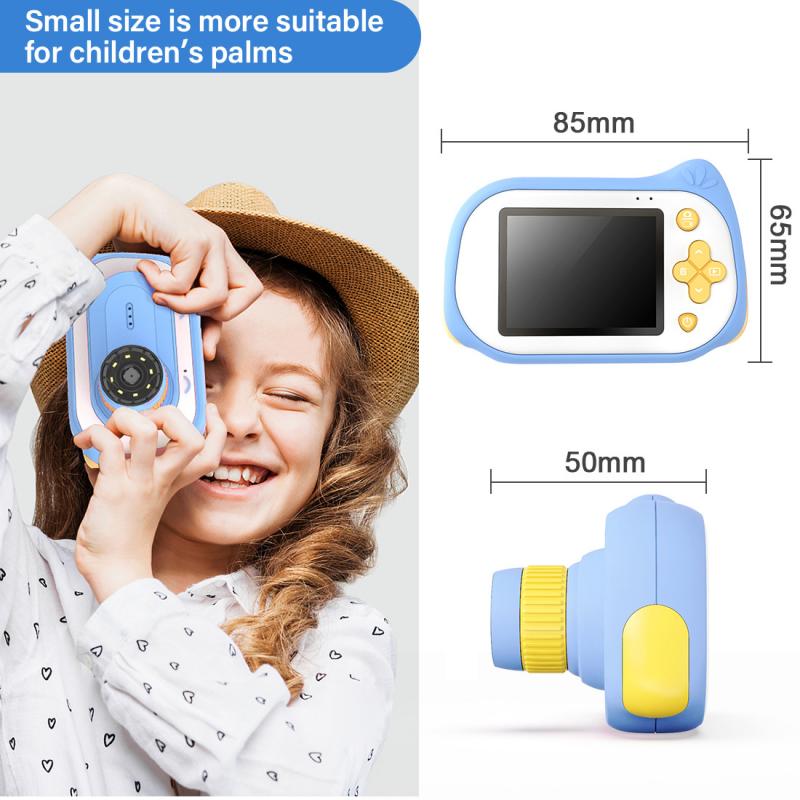
2、 Adjusting focus using the rangefinder mechanism
How to use a rangefinder for photography:
Rangefinders have been a popular tool for photographers for many years, and they continue to be used by both professionals and enthusiasts alike. These devices provide a unique way to measure distance and adjust focus, resulting in sharp and accurate images. Here is a step-by-step guide on how to use a rangefinder for photography:
1. Familiarize yourself with the rangefinder mechanism: Rangefinders typically consist of two windows, one for viewing and one for focusing. The focusing window contains a split image or a superimposed image that needs to be aligned for accurate focus.
2. Set the distance: Estimate the distance to your subject and adjust the rangefinder accordingly. Some rangefinders have a dial or lever to set the distance, while others require manual adjustment.
3. Look through the viewfinder: Peer through the viewfinder and align the two images in the focusing window. This can be done by rotating the focusing ring until the images merge into one.
4. Fine-tune the focus: Once the images are aligned, adjust the focus ring to achieve precise focus. Pay attention to the details and make small adjustments until the subject appears sharp and clear.
5. Capture the image: Once you have achieved the desired focus, press the shutter button to capture the image. Remember to hold the camera steady to avoid any blurring.
It is worth noting that while rangefinders offer a unique focusing mechanism, they do have limitations. They are most effective for subjects at a moderate distance and may struggle with close-up or long-distance shots. Additionally, rangefinders may not be suitable for fast-moving subjects, as the focusing process can be time-consuming.
In recent years, with the rise of digital photography, rangefinders have seen a decline in popularity. However, they still hold a special place in the hearts of many photographers who appreciate their simplicity and unique shooting experience.
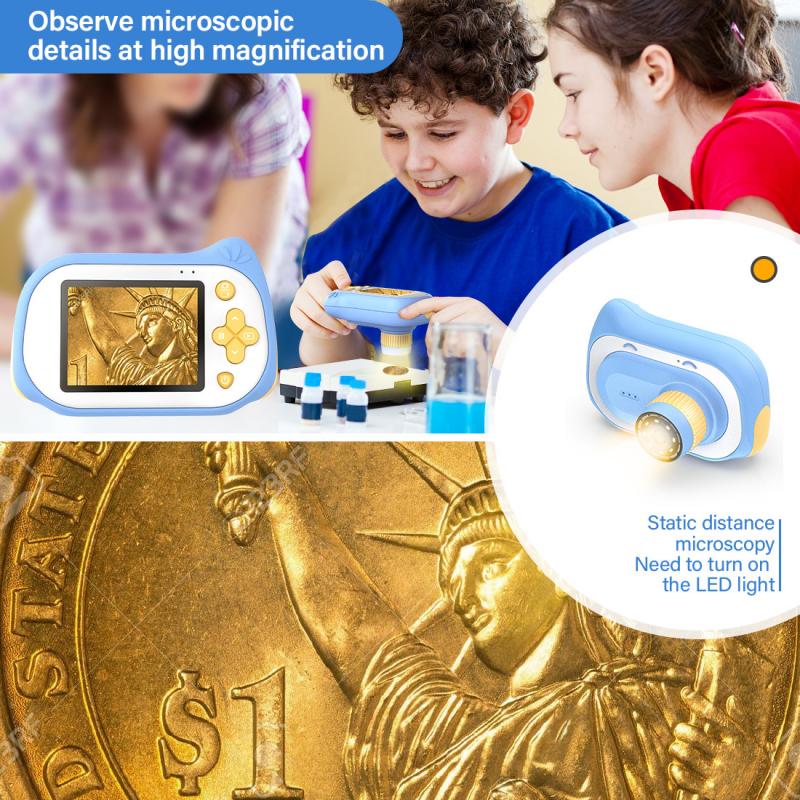
3、 Utilizing the rangefinder for accurate distance measurement
Utilizing a rangefinder for accurate distance measurement is an essential skill for photographers looking to capture precise and well-composed shots. Rangefinders have been a staple tool for photographers for many years, and with advancements in technology, they have become even more accurate and reliable.
To use a rangefinder for photography, follow these steps:
1. Familiarize yourself with the rangefinder: Read the user manual and understand the different buttons, settings, and modes available. This will help you navigate the device effectively.
2. Set the rangefinder to the appropriate mode: Most rangefinders offer different modes such as single-point, continuous, or manual focus. Choose the mode that suits your shooting style and subject.
3. Aim the rangefinder at your subject: Look through the viewfinder and align the rangefinder's focus point with your subject. Ensure that the focus point is sharp and clear.
4. Measure the distance: Press the measurement button on the rangefinder to calculate the distance between you and your subject. The rangefinder will display the distance on the screen or through the viewfinder.
5. Adjust your camera settings: Once you have the accurate distance measurement, adjust your camera's focus and aperture settings accordingly. This will ensure that your subject is in sharp focus and that the depth of field is appropriate for your desired effect.
6. Capture the shot: With the rangefinder's accurate distance measurement and your camera settings adjusted, you are now ready to capture the shot. Take your time to compose the image and ensure that your subject is in focus.
In recent years, rangefinders have seen advancements in technology, such as the integration of laser technology for even more precise distance measurement. Some rangefinders also offer features like image stabilization and built-in light meters, which can further enhance the accuracy and quality of your photographs.
Overall, utilizing a rangefinder for accurate distance measurement is a valuable skill for photographers. It allows for precise focusing, resulting in sharper images and better composition. With the latest advancements in technology, rangefinders have become even more reliable and user-friendly, making them an essential tool for photographers of all levels.

4、 Overcoming challenges and limitations of rangefinder focusing
How to use a rangefinder for photography:
Using a rangefinder for photography can be a unique and rewarding experience. Here are some steps to help you make the most of this classic focusing method:
1. Familiarize yourself with the rangefinder: Rangefinders have a different focusing mechanism compared to SLR or mirrorless cameras. Understand how the rangefinder works, including the split-image focusing patch and the coincident image rangefinder.
2. Calibrate the rangefinder: Ensure that the rangefinder is properly calibrated for accurate focusing. If you notice any misalignment, consult a professional to adjust it.
3. Master zone focusing: Rangefinders are known for their quick zone focusing capabilities. Learn to estimate distances and pre-focus your lens to capture subjects within a specific range. This technique is particularly useful for street photography.
4. Utilize the rangefinder's compactness: Rangefinders are typically smaller and lighter than other camera systems, making them ideal for travel and documentary photography. Take advantage of their portability to capture candid moments and blend into your surroundings.
Overcoming challenges and limitations of rangefinder focusing:
While rangefinders offer many advantages, they also have some limitations that photographers need to overcome:
1. Limited lens selection: Rangefinders often have a limited range of lenses available compared to SLR or mirrorless systems. However, this limitation is gradually being addressed by manufacturers, offering more lens options for rangefinder users.
2. Parallax error: Rangefinders suffer from parallax error, where the viewfinder's perspective differs from the lens's perspective, especially at close distances. To overcome this, some rangefinders have frame lines that adjust according to the focusing distance, while others require the photographer to compensate manually.
3. Focusing in low light: Rangefinders rely on the photographer's ability to see and align the split-image focusing patch. This can be challenging in low-light situations. However, advancements in technology have led to the development of rangefinders with improved low-light capabilities, such as brighter viewfinders and illuminated focusing patches.
In conclusion, using a rangefinder for photography requires understanding its unique focusing mechanism and making the most of its advantages, such as zone focusing and portability. Overcoming the challenges and limitations, such as limited lens selection and parallax error, can be achieved through practice and adapting to the latest advancements in rangefinder technology.
