How To Use A Sewer Camera ?
To use a sewer camera, first, ensure that you have the necessary equipment, including the camera itself, a monitor or display device, and appropriate cables. Next, locate the access point to the sewer line and remove the cover. Connect the camera to the cable and slowly insert it into the sewer line, feeding it through the pipe. Use the monitor or display device to view the live feed from the camera as it travels through the sewer line. As the camera moves, you can inspect the condition of the pipe, identify any blockages or damage, and locate the source of any issues. Make sure to maneuver the camera carefully to avoid getting it stuck or causing further damage. Once you have completed the inspection, carefully remove the camera from the sewer line and clean it thoroughly before storing it properly.
1、 Equipment setup and preparation for sewer camera inspection
Equipment setup and preparation for sewer camera inspection is crucial to ensure a successful and efficient inspection process. Here is a step-by-step guide on how to use a sewer camera:
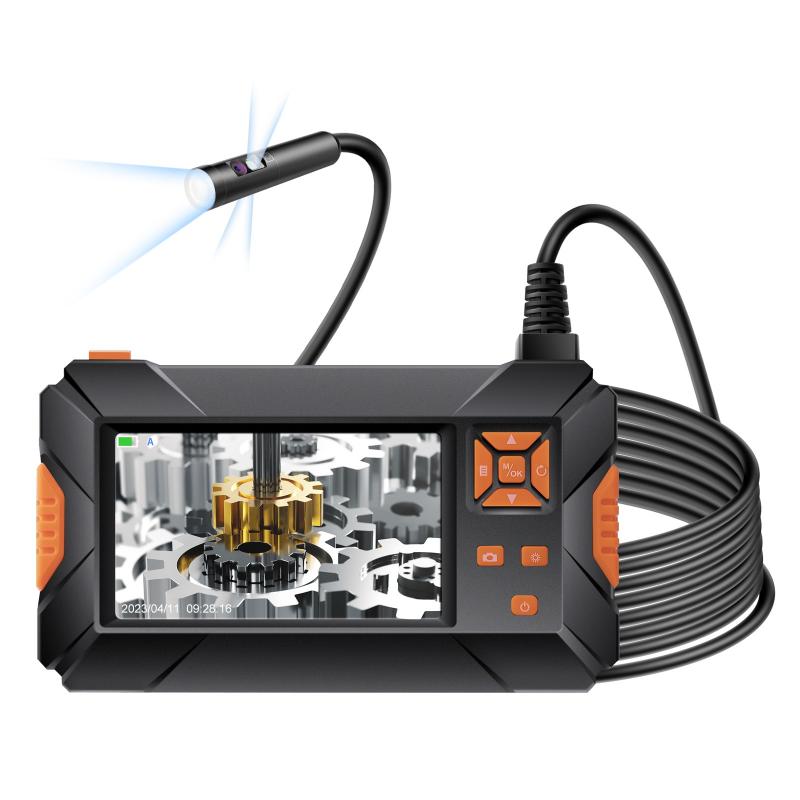
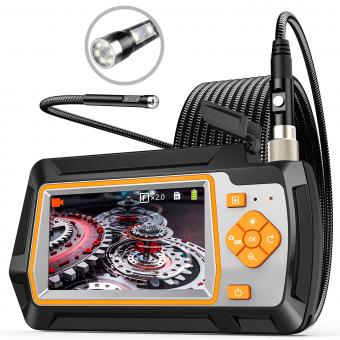
1. Gather the necessary equipment: You will need a sewer camera system, which typically includes a camera head, a flexible cable, a monitor, and a control unit. Make sure all components are in good working condition.
2. Inspect the sewer line: Before inserting the camera, visually inspect the sewer line for any visible blockages or damage. This will help you determine the best entry point for the camera.
3. Prepare the camera: Attach the camera head to the flexible cable and ensure it is securely fastened. Connect the cable to the control unit and power on the system. Adjust the camera settings, such as lighting and focus, as needed.
4. Insert the camera: Carefully insert the camera into the sewer line through the chosen entry point. Use gentle, steady pressure to guide the camera through the pipe. Monitor the live feed on the screen to ensure proper navigation.
5. Inspect the sewer line: As the camera progresses through the sewer line, observe the live feed for any signs of blockages, leaks, or other issues. Take note of any areas that require further investigation or repair.
6. Document findings: Use the camera's recording function to document any findings during the inspection. This will provide a visual record for future reference and analysis.
7. Retrieve the camera: Once the inspection is complete, slowly retract the camera from the sewer line. Clean and disinfect the camera head and cable to prevent contamination.
It is important to stay up-to-date with the latest advancements in sewer camera technology. New features such as high-definition imaging, wireless connectivity, and advanced software can enhance the accuracy and efficiency of sewer inspections. Regular maintenance and calibration of the equipment are also essential to ensure accurate results and prolong the lifespan of the camera system.
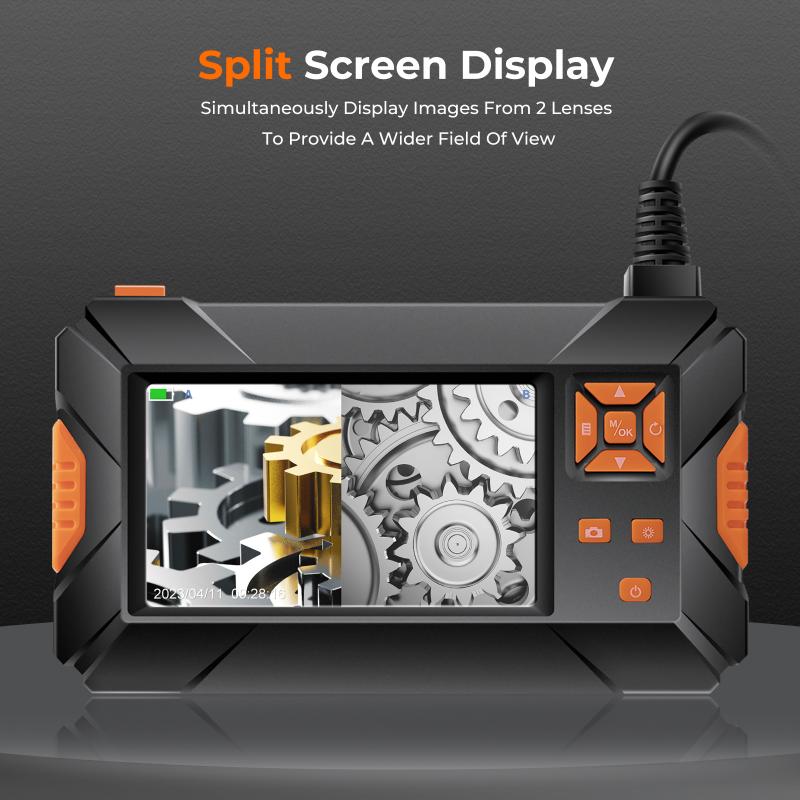
2、 Proper handling and operation of the sewer camera system
Proper handling and operation of a sewer camera system is essential to ensure accurate inspections and efficient maintenance of sewer lines. Here is a step-by-step guide on how to use a sewer camera:
1. Familiarize yourself with the equipment: Before using the sewer camera, read the user manual thoroughly to understand its features, controls, and safety precautions. Ensure that the camera is in good working condition and all necessary accessories are available.
2. Prepare the sewer line: Clear any debris or obstructions from the sewer line to ensure smooth camera movement. Use a high-pressure water jet or a sewer snake if needed.
3. Connect and calibrate the camera: Connect the camera to the control unit and ensure a secure connection. Calibrate the camera by adjusting the focus, lighting, and other settings to obtain clear and accurate images.
4. Insert the camera into the sewer line: Carefully insert the camera into the sewer line using a push rod or a crawler system. Slowly navigate the camera through the pipe, avoiding any sudden movements or excessive force that could damage the equipment or the pipe.
5. Observe and record: Monitor the live feed from the camera on the control unit's screen. Take note of any signs of damage, blockages, or other issues in the sewer line. Record the inspection for future reference and analysis.
6. Retrieve the camera: Once the inspection is complete, carefully retract the camera from the sewer line. Clean and disinfect the camera and accessories to prevent contamination.
7. Analyze and report findings: Review the recorded footage and images to identify any problems or areas that require maintenance or repair. Generate a detailed report with recommendations for further action.
It is important to stay updated with the latest advancements in sewer camera technology and follow industry best practices. New features like high-definition imaging, GPS tracking, and advanced software can enhance the accuracy and efficiency of sewer inspections. Regular training and certification programs are available to ensure proper handling and operation of sewer camera systems.
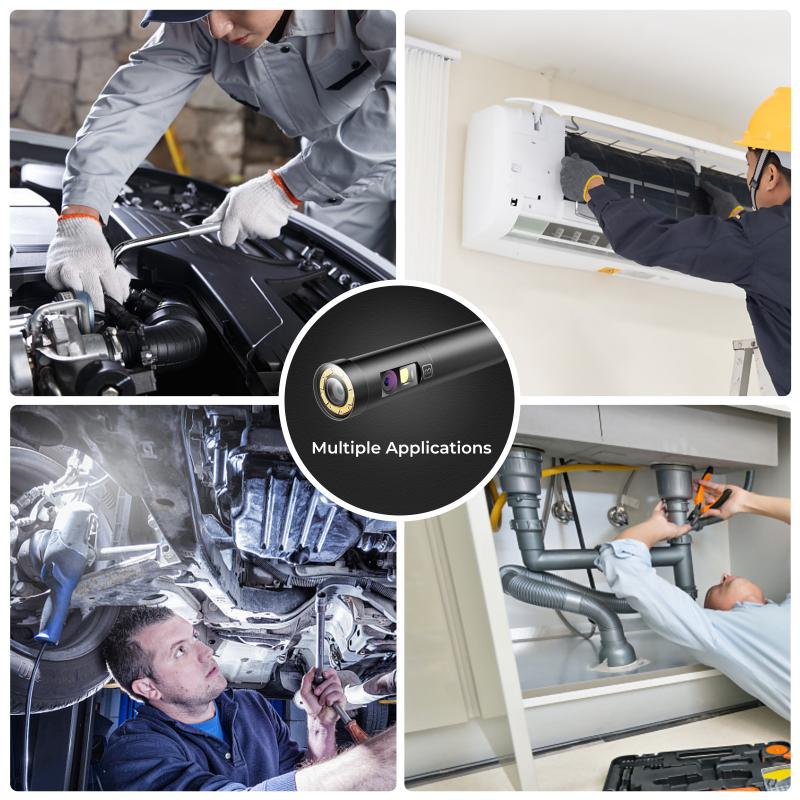
3、 Navigating and maneuvering the sewer camera within the sewer line
Navigating and maneuvering a sewer camera within the sewer line is a crucial aspect of conducting inspections and identifying potential issues. Here's a step-by-step guide on how to use a sewer camera effectively:
1. Preparation: Before starting, ensure that you have all the necessary equipment, including the sewer camera, monitor, cables, and protective gear such as gloves and goggles. Familiarize yourself with the camera's controls and settings.
2. Inspection Point: Locate the access point to the sewer line and remove the cover. This could be a cleanout or a vent stack. Make sure the area is clear of any debris or obstructions.
3. Camera Setup: Connect the camera to the monitor using the cables provided. Ensure a secure connection and power on both devices. Adjust the camera's focus and lighting settings as needed.
4. Insertion: Gently insert the camera into the sewer line through the access point. Use caution to avoid damaging the camera or the pipe. Slowly feed the cable while monitoring the live video feed on the monitor.
5. Navigation: As the camera progresses through the sewer line, use the controls to navigate and steer it in the desired direction. Most sewer cameras have a flexible cable that can be pushed, pulled, and rotated to maneuver around bends and obstacles.
6. Inspection: Keep a close eye on the monitor to identify any signs of damage, blockages, or other issues within the sewer line. Take note of any abnormalities or areas that require further investigation.
7. Documentation: Record or capture images of any findings that may require attention. This documentation will be useful for analysis, reporting, and future reference.
8. Retrieval: Once the inspection is complete, carefully retract the camera from the sewer line, ensuring that it is fully removed before disconnecting any cables.
It's important to note that sewer camera technology is constantly evolving, with advancements such as high-definition imaging, remote control capabilities, and integrated GPS systems. Staying updated with the latest features and techniques can enhance the efficiency and accuracy of sewer inspections.
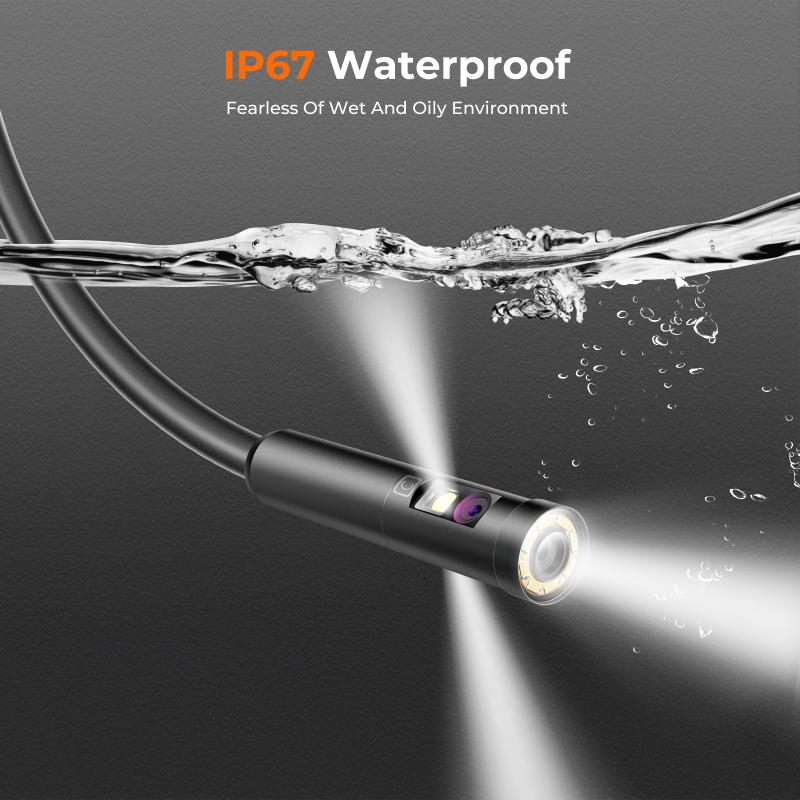
4、 Identifying and documenting sewer line issues using the camera
Identifying and documenting sewer line issues using a sewer camera is a crucial step in maintaining and repairing sewer systems. A sewer camera is a specialized tool that allows professionals to visually inspect the inside of sewer pipes, identifying any blockages, leaks, or other issues that may be affecting the system's functionality.
To use a sewer camera, start by locating the access point to the sewer line. This is typically a cleanout or an opening in the pipe where the camera can be inserted. Once the camera is connected to a monitor or recording device, it can be carefully inserted into the sewer line.
As the camera travels through the pipe, it captures high-resolution video footage, providing a real-time view of the interior. This allows professionals to identify any obstructions, cracks, root intrusions, or other issues that may be present. They can also document the condition of the pipe and any necessary repairs or maintenance that may be required.
The latest advancements in sewer camera technology have made the process even more efficient and accurate. Some cameras now feature high-definition imaging, allowing for clearer visuals and better identification of potential problems. Additionally, some cameras are equipped with built-in locators, which can help pinpoint the exact location of an issue within the sewer line.
Overall, using a sewer camera is an invaluable tool for identifying and documenting sewer line issues. It allows professionals to accurately assess the condition of the pipes, make informed decisions about repairs or maintenance, and ultimately ensure the proper functioning of the sewer system.
