How To Use A Star Filter ?
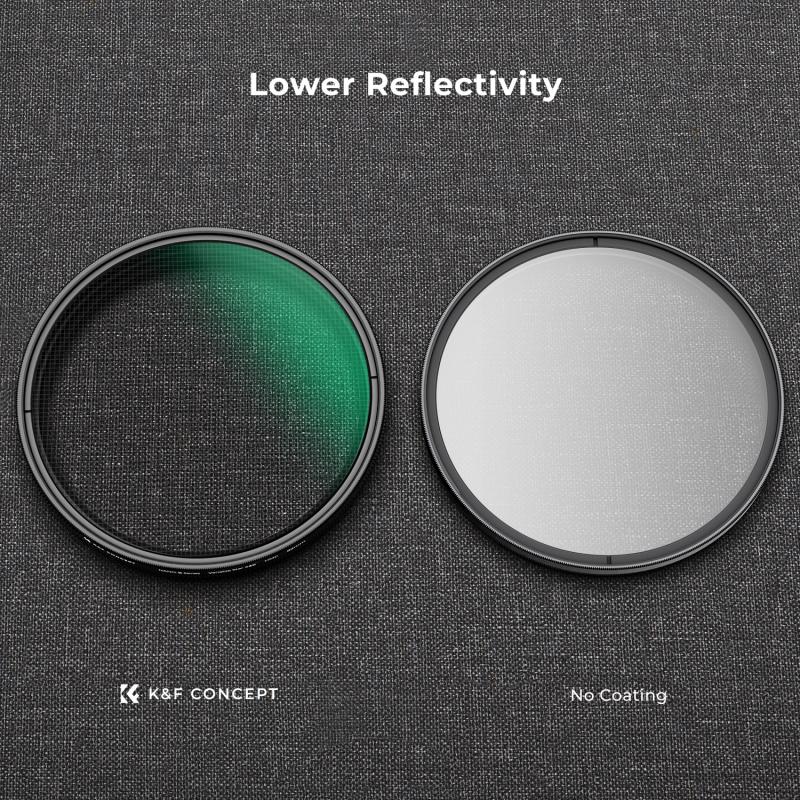
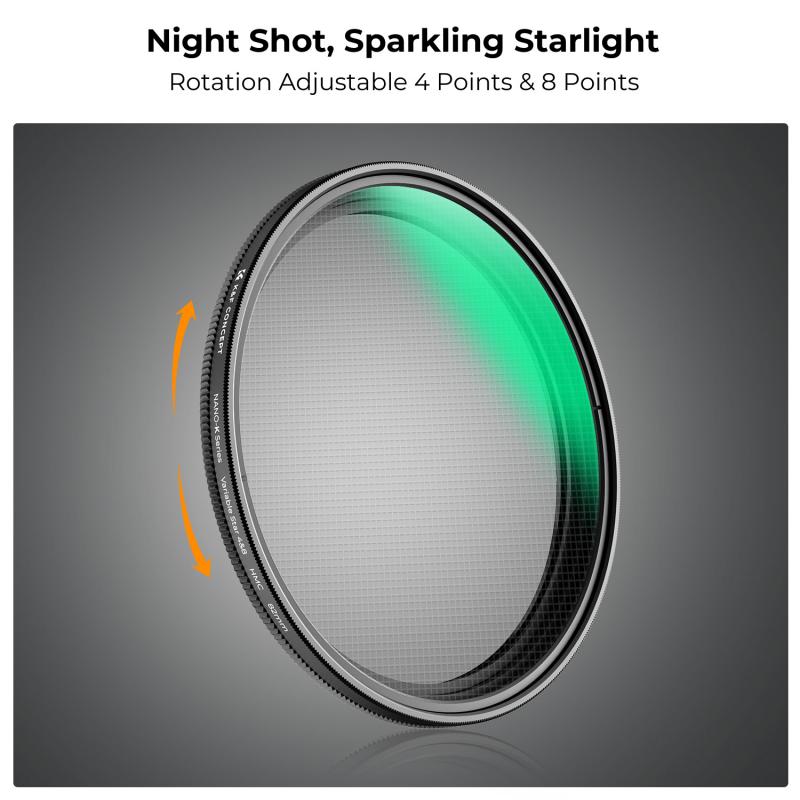
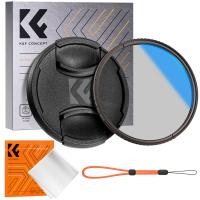
A star filter is a camera accessory that creates a starburst effect on bright light sources in a photograph. To use a star filter, attach it to the front of your camera lens and adjust the angle of the filter to align with the light source you want to create the starburst effect on. The number of points on the starburst effect can be adjusted by rotating the filter.
It's important to note that the star filter works best on point light sources such as streetlights, headlights, or the sun. It may not be as effective on larger light sources such as lamps or light fixtures. Additionally, the star filter can also reduce the amount of light entering the lens, so you may need to adjust your camera settings accordingly to compensate for this.
1、 Types of Star Filters
How to use a star filter:
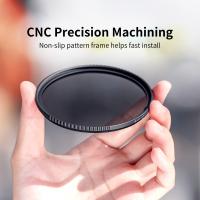
1. Choose the right filter size: Make sure you have the correct filter size for your lens. Star filters come in different sizes, so check the diameter of your lens before purchasing.
2. Set your aperture: Star filters work best when you have a small aperture, such as f/16 or f/22. This will create a narrower depth of field and make the stars more pronounced.
3. Position the filter: Screw the filter onto the front of your lens. Make sure it is securely attached and positioned correctly.
4. Point your camera at a light source: Star filters work best when there are bright points of light in your scene. This could be streetlights, headlights, or even the sun.
5. Adjust your focus: Make sure your subject is in focus before taking the shot. You may need to adjust your focus manually to get the best results.
6. Take the shot: Once everything is set up, take the shot. Experiment with different angles and compositions to get the best results.
Types of Star Filters:
There are different types of star filters available, including four-point, six-point, and eight-point filters. These filters create different numbers of points on the light sources in your scene. Some filters also have a softening effect, which can create a dreamy, romantic look in your photos.
The latest point of view on star filters is that they are a fun and creative way to add interest to your photos. They can be used in a variety of settings, from cityscapes to landscapes, and can add a touch of magic to your images. However, it's important to use them sparingly and not overdo it, as too many stars can be distracting and take away from the overall composition of your photo.
2、 Number of Points
How to use a star filter:
1. Choose the right filter: Star filters come in different sizes and with varying numbers of points. Choose the filter that suits your needs and the type of photography you want to do.
2. Set up your camera: Attach the filter to your lens and set up your camera as you normally would. Make sure your camera is set to manual mode so you can control the exposure.
3. Choose your subject: Star filters work best with subjects that have bright points of light, such as streetlights, candles, or fireworks.
4. Adjust your settings: To get the best results, you may need to adjust your settings. Try using a smaller aperture (higher f-stop number) to create more defined stars. You may also need to adjust your shutter speed and ISO to get the right exposure.
5. Experiment: Don't be afraid to experiment with different settings and subjects. Try shooting at different times of day or in different lighting conditions to see how the filter affects your photos.
Number of Points:
Star filters come in different numbers of points, ranging from 2 to 16. The number of points determines the shape of the stars in your photos. A filter with fewer points will create more subtle stars, while a filter with more points will create more dramatic stars. The most common star filters have 4, 6, or 8 points. However, some filters have up to 16 points, which can create very intricate star patterns. When choosing a filter, consider the effect you want to achieve and the type of photography you will be doing.
3、 Aperture Size
How to use a star filter:
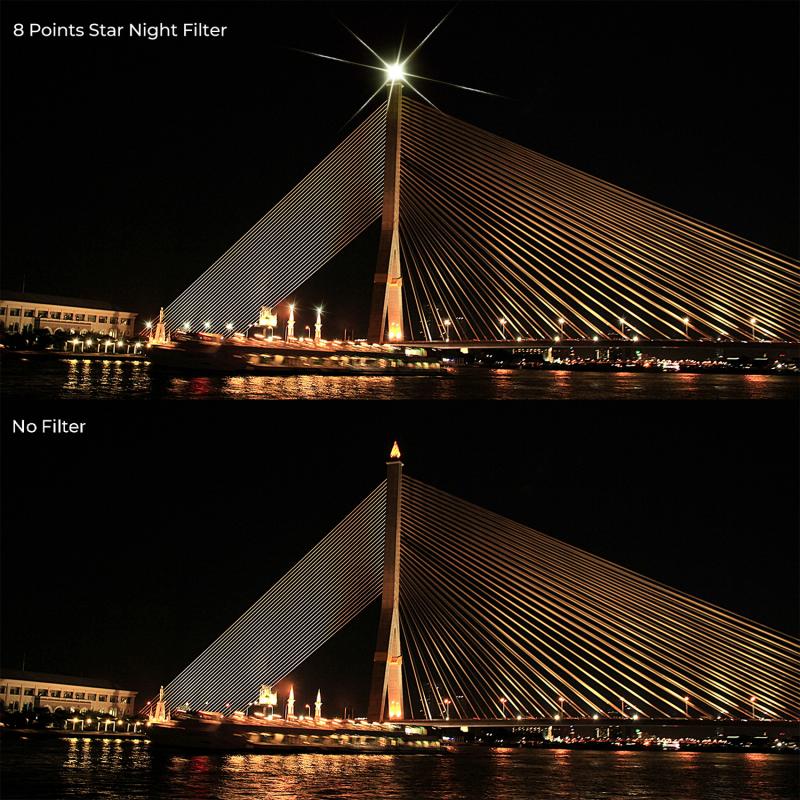
A star filter is a type of camera filter that creates a starburst effect around bright light sources in your photos. To use a star filter, you will need to attach it to the front of your camera lens. Most star filters come in circular shapes that screw onto the lens, but some may require a filter holder system.
Once the filter is attached, you can adjust your camera settings to capture the starburst effect. One important setting to consider is the aperture size. The smaller the aperture (larger f-number), the more pronounced the starburst effect will be. This is because a smaller aperture creates a narrower opening for light to pass through, which causes the light to diffract and create the starburst effect.
It's important to note that using a star filter can also affect the overall exposure of your photo. The filter may reduce the amount of light entering the lens, so you may need to adjust your shutter speed or ISO to compensate.
In terms of the latest point of view, some photographers may prefer to create the starburst effect in post-processing using software like Photoshop or Lightroom. This allows for more control over the effect and can be applied to specific areas of the photo. However, using a star filter in-camera can add a unique and authentic touch to your photos.
4、 Light Sources
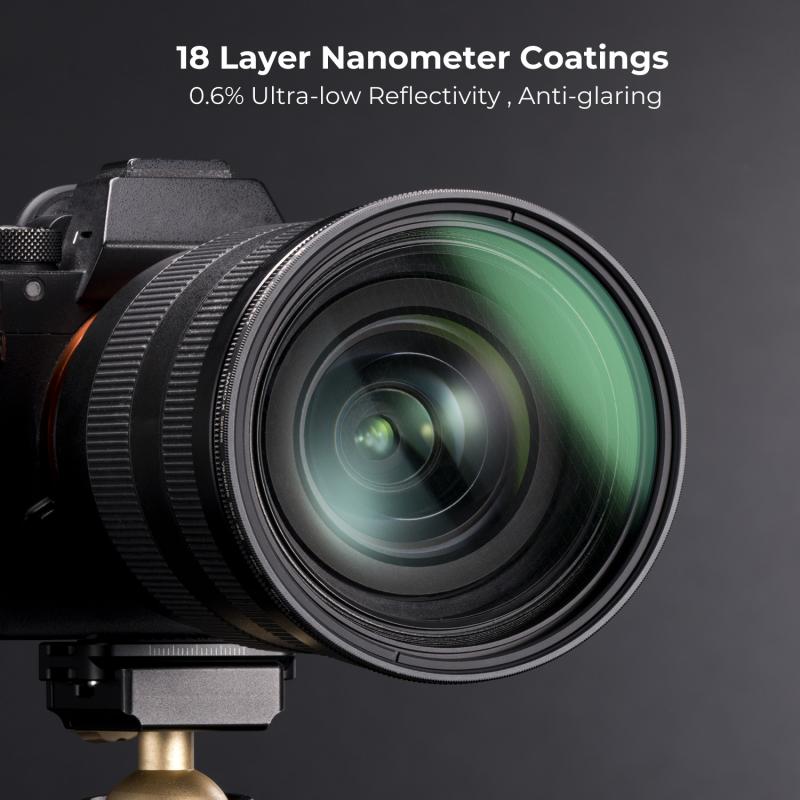
How to use a star filter for light sources is a popular question among photographers. A star filter is a special type of filter that creates a starburst effect around bright light sources in your photos. It is a great tool for adding a creative touch to your images, especially when shooting at night or during the golden hour.
To use a star filter, you need to attach it to the front of your lens. Most star filters come in different sizes, so make sure you choose the right size for your lens. Once you have attached the filter, you can start shooting. The star filter works best when you have a bright light source in your frame, such as streetlights, headlights, or the sun.
When shooting with a star filter, it is important to pay attention to your exposure settings. The filter can reduce the amount of light entering your lens, so you may need to adjust your shutter speed or ISO to compensate. You should also experiment with different aperture settings to see how they affect the starburst effect.
In recent years, some photographers have started to use digital star filters in post-processing. These filters can be applied to your images using editing software, allowing you to create the starburst effect without using a physical filter. However, many photographers still prefer the look of a physical star filter, as it can create a more natural and organic effect.
Overall, using a star filter for light sources can be a fun and creative way to add some extra flair to your photos. Whether you choose to use a physical filter or a digital one, make sure to experiment and have fun with it!












There are no comments for this blog.