How To Use A Tripod Stand ?
To use a tripod stand, first, extend the legs of the tripod by loosening the leg locks and pulling them outwards. Make sure the legs are evenly spread apart for stability. Then, adjust the height of the tripod by loosening the center column lock and sliding the column up or down to the desired height. Once the height is set, tighten the lock to secure it in place.
Next, attach your camera or device to the tripod head by screwing it onto the mounting plate. Ensure it is securely fastened. Adjust the position and angle of the camera by loosening the tripod head controls, allowing you to pan, tilt, or rotate the camera as needed. Once you have the desired framing, tighten the controls to lock the camera in place.
Before taking any photos or videos, check that the tripod is stable and level. Adjust the leg angles or use a bubble level if necessary. Finally, use a remote shutter release or a self-timer function to minimize camera shake when capturing images.
1、 Setting up a tripod stand for stability and balance.
Setting up a tripod stand for stability and balance is essential for capturing steady and professional-looking photographs or videos. Here's a step-by-step guide on how to use a tripod stand effectively:
1. Choose a suitable location: Find a flat and stable surface to set up your tripod. Avoid placing it on uneven ground or near any potential hazards.
2. Extend the tripod legs: Start by loosening the leg locks and extending each leg to your desired height. Make sure all three legs are extended evenly to maintain balance.
3. Adjust the center column: If your tripod has a center column, adjust its height according to your needs. This can help you achieve the desired shooting angle.
4. Attach the camera: Most tripods have a quick-release plate or mounting screw. Attach your camera securely to the tripod head using this mechanism. Ensure that the camera is properly balanced and tightened to prevent any accidental falls.
5. Level the tripod: Use the built-in bubble level or a separate leveling tool to ensure that the tripod is perfectly level. This will help avoid any tilting or slanted shots.
6. Fine-tune the position: Adjust the tripod head's pan and tilt controls to frame your shot precisely. This allows you to capture the desired composition without any unwanted movements.
7. Lock the tripod: Once you have positioned your camera, tighten all the leg locks and the tripod head to secure everything in place. This will prevent any accidental movements during shooting.
8. Test stability: Gently nudge the tripod to check if it remains stable. If it wobbles or feels unsteady, readjust the legs or tighten the locks until it becomes stable.
Remember, using a tripod stand not only provides stability but also allows you to experiment with different angles and compositions. It is a valuable tool for photographers and videographers to capture sharp and professional-looking images or footage.
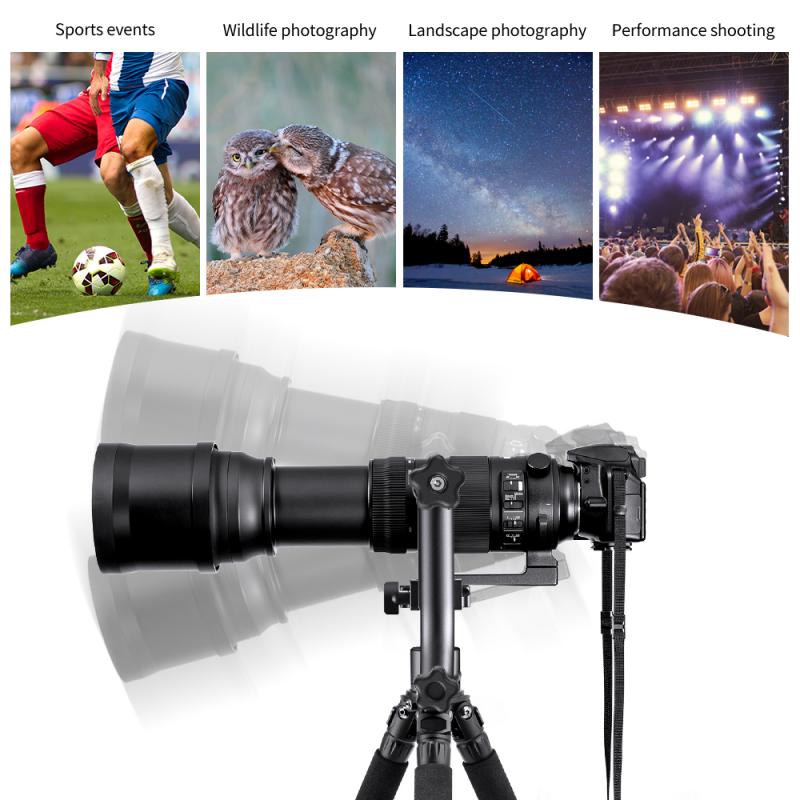
2、 Adjusting the height and angle of the tripod stand.
Using a tripod stand is essential for achieving stability and capturing steady shots in photography and videography. To effectively use a tripod stand, you need to follow a few steps.
Firstly, set up the tripod by extending the legs to your desired height. Most tripod stands have adjustable legs that can be locked into place. Adjusting the height allows you to position the camera at the desired level, whether it's low to the ground or at eye level. Make sure the legs are securely locked to prevent any wobbling or instability.
Next, attach the camera to the tripod head. The tripod head is the part that holds the camera and allows you to adjust its angle. Most tripod heads have a quick-release plate that attaches to the camera's base. Ensure that the camera is securely attached to the tripod head to avoid any accidents.
Once the camera is attached, you can adjust the angle of the tripod head. This allows you to tilt the camera up or down and pan it from side to side. Adjusting the angle is crucial for framing your shot and capturing the desired perspective. Some tripod heads also have a separate handle for smooth panning and tilting movements.
Lastly, ensure that the tripod stand is stable by checking for any wobbling or unevenness. If needed, adjust the legs or use a leveling bubble to ensure that the tripod is perfectly balanced. This will help prevent any unwanted movement or vibrations during the shoot.
In conclusion, using a tripod stand involves adjusting the height and angle of the tripod stand to achieve stability and capture steady shots. By following these steps, you can effectively use a tripod stand to enhance your photography and videography.
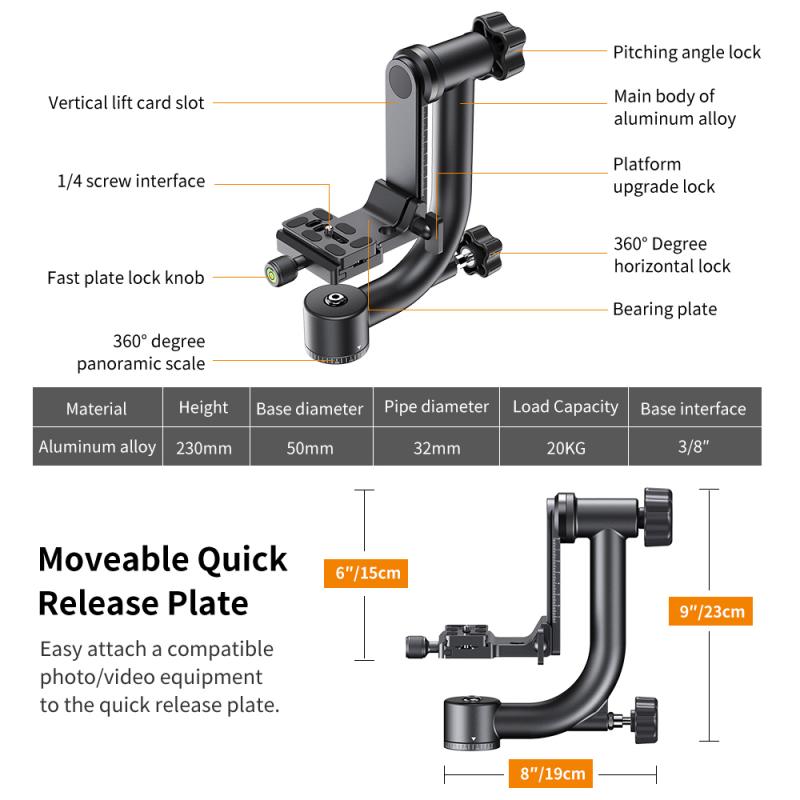
3、 Mounting and securing your camera onto the tripod stand.
Mounting and securing your camera onto a tripod stand is a crucial step in achieving stable and professional-looking photographs or videos. Here is a step-by-step guide on how to use a tripod stand effectively.
1. Choose a suitable tripod: Consider the weight and size of your camera when selecting a tripod stand. Ensure that the tripod can support the weight of your camera and any additional accessories.
2. Extend the tripod legs: Start by extending the legs of the tripod to your desired height. Most tripods have adjustable legs that can be locked into place. Make sure the legs are stable and secure before proceeding.
3. Attach the camera plate: Locate the camera plate on the tripod head and attach it to the bottom of your camera. The plate usually has a screw that fits into the camera's tripod socket. Tighten the screw to secure the plate.
4. Mount the camera: Once the camera plate is attached, place your camera onto the tripod head. Ensure that the plate is securely fastened to prevent any accidental slips or falls.
5. Adjust the camera position: Use the tripod's pan and tilt controls to adjust the camera's position. This allows you to frame your shot accurately and make any necessary adjustments for composition.
6. Lock the tripod head: Once you have positioned your camera, lock the tripod head to secure it in place. This prevents any unwanted movement or vibrations during shooting.
7. Fine-tune the composition: Use the tripod's adjustable legs and center column to fine-tune the composition of your shot. This allows you to adjust the height and angle of the camera as needed.
8. Test stability: Before capturing your final shot, gently nudge the tripod to ensure it is stable and won't move during shooting. If necessary, adjust the tripod legs or tighten any loose screws to improve stability.
In recent years, tripod stands have evolved to include features such as quick-release plates, adjustable leg angles, and built-in levels. These advancements make it easier than ever to mount and secure your camera onto a tripod stand, providing stability and precision for your photography or videography needs.
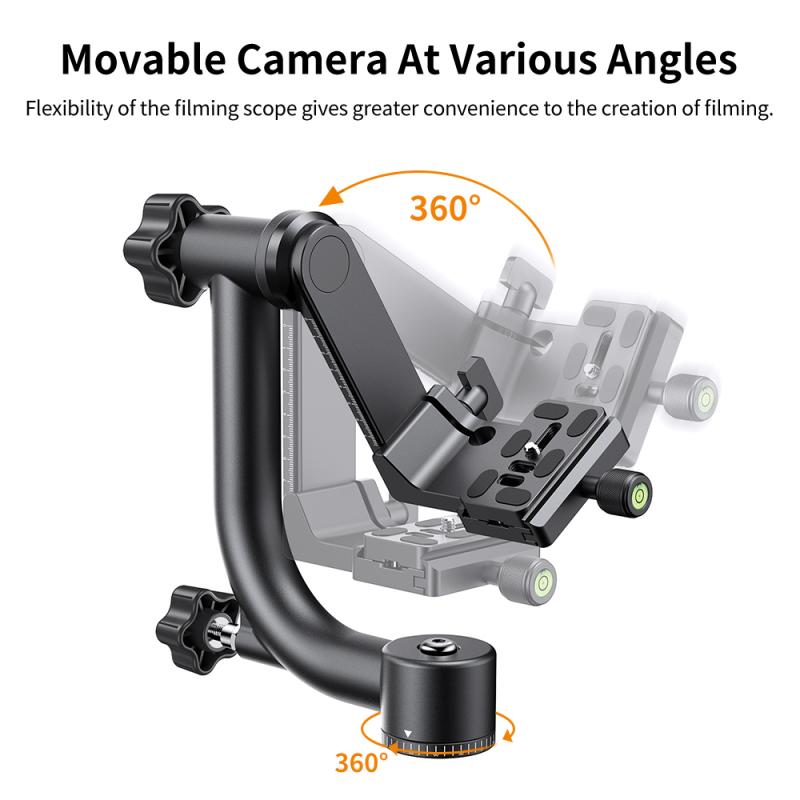
4、 Using the tripod stand for long exposure photography.
Using a tripod stand is essential for achieving sharp and steady photographs, especially in situations that require long exposure photography. Here's a step-by-step guide on how to use a tripod stand effectively.
1. Choose a sturdy tripod: Invest in a tripod that is stable and can support the weight of your camera and lens. Look for one made of durable materials like aluminum or carbon fiber.
2. Set up the tripod: Extend the tripod legs to your desired height, ensuring that it is stable on the ground. If needed, adjust the leg angles to accommodate uneven terrain.
3. Attach the camera: Most tripods have a quick-release plate that attaches to the camera's tripod mount. Securely attach the plate to the camera and then attach it to the tripod head. Make sure it is tightly fastened to avoid any movement.
4. Adjust the tripod head: The tripod head allows you to position the camera in different angles. Use the pan and tilt controls to level the camera and frame your shot. For long exposure photography, it's crucial to keep the camera perfectly still.
5. Use a remote shutter release: To minimize camera shake, use a remote shutter release or the camera's self-timer function. This prevents any movement caused by pressing the shutter button.
6. Lock the tripod: Once you have framed your shot and made all necessary adjustments, lock the tripod legs and head to secure the camera in place. This ensures that the camera remains steady throughout the exposure.
7. Check for stability: Before capturing the shot, gently nudge the tripod to ensure it is stable. If there is any movement, readjust the tripod or find a more stable surface.
Using a tripod stand for long exposure photography allows you to capture sharp and detailed images, even in low light conditions. It eliminates camera shake caused by handholding the camera, resulting in clearer and more professional-looking photographs. Additionally, using a tripod enables you to experiment with longer shutter speeds, capturing motion blur or creating light trails.
In recent years, tripods have become more versatile and portable. Many models now offer features like lightweight materials, compact designs, and quick setup mechanisms. These advancements make tripods more accessible and convenient for photographers on the go. Additionally, some tripods come with built-in levels or bubble indicators, helping photographers achieve perfect alignment and composition.
Remember, using a tripod stand is not limited to long exposure photography. It is also beneficial for other genres like landscape, architecture, and macro photography. By using a tripod, you can enhance the overall quality of your images and explore creative possibilities that require a stable camera setup.













There are no comments for this blog.