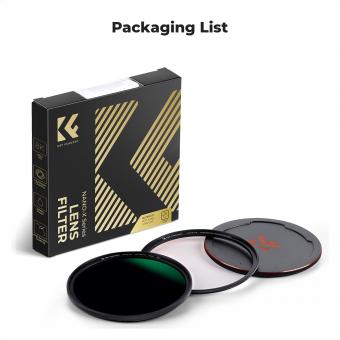
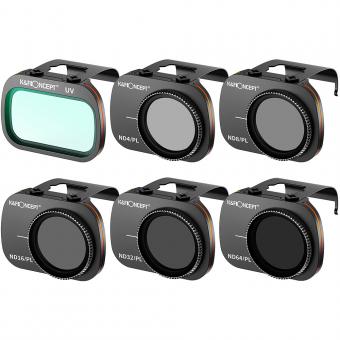
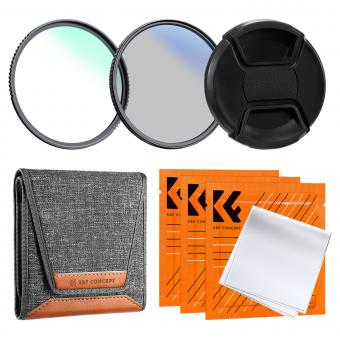
How To Use A Uv Filter ?
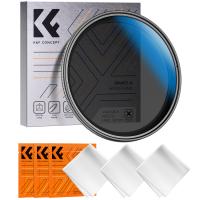
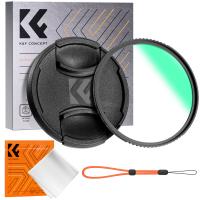
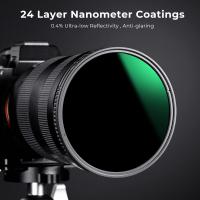
To use a UV filter, simply screw it onto the front of your camera lens. Make sure to choose a filter that matches the diameter of your lens. The UV filter acts as a protective barrier, shielding your lens from dust, moisture, and scratches. Additionally, it helps reduce the impact of ultraviolet light, which can cause a bluish cast in your images, especially in high-altitude or coastal areas. By using a UV filter, you can achieve clearer and more accurate colors in your photographs. Remember to clean the filter regularly to maintain its effectiveness and ensure optimal image quality.
1、 Purpose of a UV Filter in Photography
Purpose of a UV Filter in Photography
A UV filter is a transparent filter that is commonly used in photography to protect the camera lens from ultraviolet (UV) rays. However, its purpose has been a topic of debate among photographers in recent years.
Traditionally, UV filters were primarily used to reduce the haze caused by UV rays, resulting in clearer and sharper images, especially in landscapes and outdoor photography. They were also used to protect the lens from scratches, dust, and moisture. UV filters were considered an essential accessory for film cameras, as film was more sensitive to UV light than digital sensors.
However, with advancements in digital camera technology, the impact of UV filters on image quality has become less significant. Digital sensors are less sensitive to UV light, and modern lenses often have built-in coatings that reduce the effects of UV rays. As a result, some photographers argue that using a UV filter can actually degrade image quality by introducing lens flare, ghosting, and reduced contrast.
Nevertheless, many photographers still choose to use UV filters for lens protection. They act as a sacrificial layer, absorbing potential damage from scratches, dust, and moisture, which can be easily cleaned or replaced. Additionally, UV filters can be useful in certain situations, such as shooting in high-altitude environments or near water bodies, where UV rays are more intense.
To use a UV filter, simply screw it onto the front of your camera lens. Ensure that the filter is clean and free from smudges or fingerprints, as these can affect image quality. When shooting, be mindful of potential lens flare or ghosting caused by the filter, and adjust your shooting technique accordingly.
In conclusion, while the purpose of a UV filter in photography has evolved over time, it still serves as a protective accessory for camera lenses. Whether or not to use a UV filter ultimately depends on personal preference and shooting conditions.
2、 Installing a UV Filter on a Camera Lens
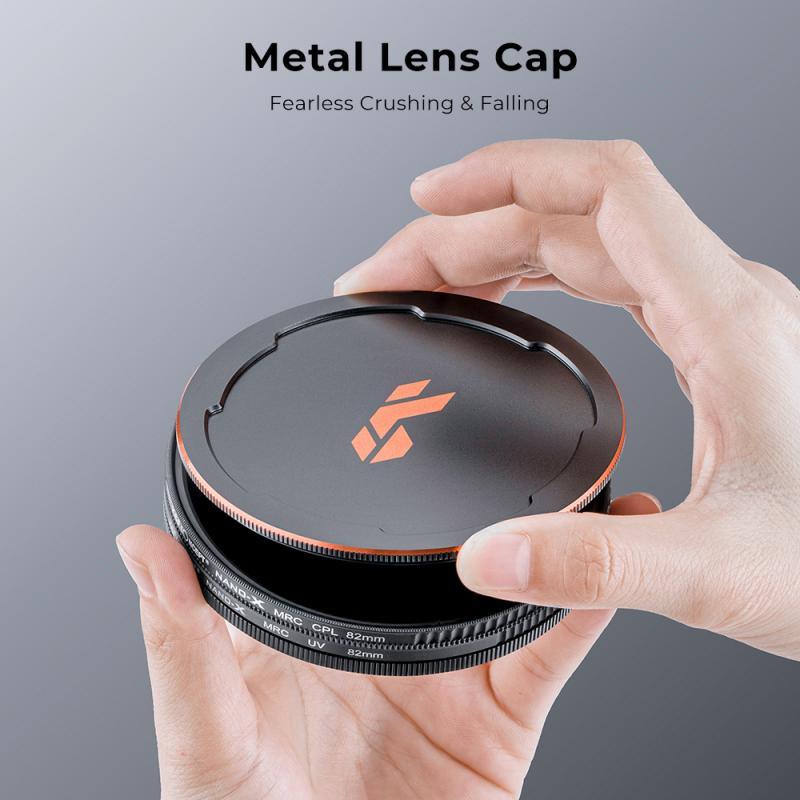
Installing a UV filter on a camera lens is a simple and effective way to protect your lens from dust, scratches, and other potential damage. Additionally, it can help reduce the effects of ultraviolet light, resulting in clearer and sharper images. Here's a step-by-step guide on how to use a UV filter:
1. Choose the right size: Ensure that the UV filter you purchase matches the diameter of your camera lens. This information can usually be found on the front of the lens or in the camera's manual.
2. Clean the lens: Before attaching the UV filter, make sure the lens is clean and free from any dust or smudges. Use a lens cleaning solution and a microfiber cloth to gently wipe the lens surface.
3. Screw on the filter: Hold the UV filter by its edges and carefully screw it onto the front of the lens in a clockwise direction. Be cautious not to overtighten it, as this may cause difficulty in removing it later.
4. Check for compatibility: Some lenses may have a rotating front element, which can cause issues when using a UV filter. Ensure that the filter does not interfere with the lens's functionality by testing the rotation and zoom capabilities.
5. Adjust settings: Once the UV filter is securely attached, you can continue using your camera as usual. However, keep in mind that the filter may slightly affect the exposure settings, particularly in bright outdoor conditions. Adjust the aperture, shutter speed, or ISO as needed to compensate for any changes.
It's worth noting that opinions on the necessity of UV filters vary among photographers. While they provide lens protection and can improve image quality in certain situations, some argue that modern lenses already have built-in UV coatings. Ultimately, the decision to use a UV filter depends on personal preference and shooting conditions.
3、 Adjusting Camera Settings with a UV Filter
Adjusting Camera Settings with a UV Filter
Using a UV filter is a great way to protect your camera lens from dust, scratches, and other potential damage. Additionally, it can help reduce the effects of ultraviolet light, resulting in clearer and sharper images. To make the most of your UV filter, it's important to adjust your camera settings accordingly.
1. White Balance: UV filters can sometimes introduce a slight color cast to your images. To counteract this, adjust your camera's white balance settings. Use the appropriate preset or manually adjust the white balance to ensure accurate colors.
2. Exposure Compensation: Depending on the intensity of the UV filter, it may affect the exposure of your images. To compensate for this, you may need to adjust the exposure compensation settings. Increase the exposure compensation slightly to avoid underexposure.
3. Autofocus: Some UV filters can interfere with autofocus performance, especially in low-light situations. If you notice any issues with autofocus accuracy, consider switching to manual focus or using a higher contrast area to focus on.
4. Shutter Speed: UV filters can reduce the amount of light entering the lens, which may require longer exposure times. Keep an eye on your shutter speed and adjust it accordingly to avoid motion blur or camera shake.
5. Lens Hood: When using a UV filter, it's important to use a lens hood as well. This will help minimize lens flare and ghosting caused by stray light entering the lens from the sides.
Remember, the impact of a UV filter on your camera settings may vary depending on the brand and quality of the filter. It's always a good idea to experiment and test different settings to achieve the desired results.
In recent years, there has been some debate about the necessity of UV filters, as modern camera lenses are already equipped with coatings that offer protection against UV light. However, many photographers still prefer to use UV filters for the added layer of physical protection they provide. Ultimately, the decision to use a UV filter or not depends on personal preference and shooting conditions.
4、 Cleaning and Maintaining a UV Filter
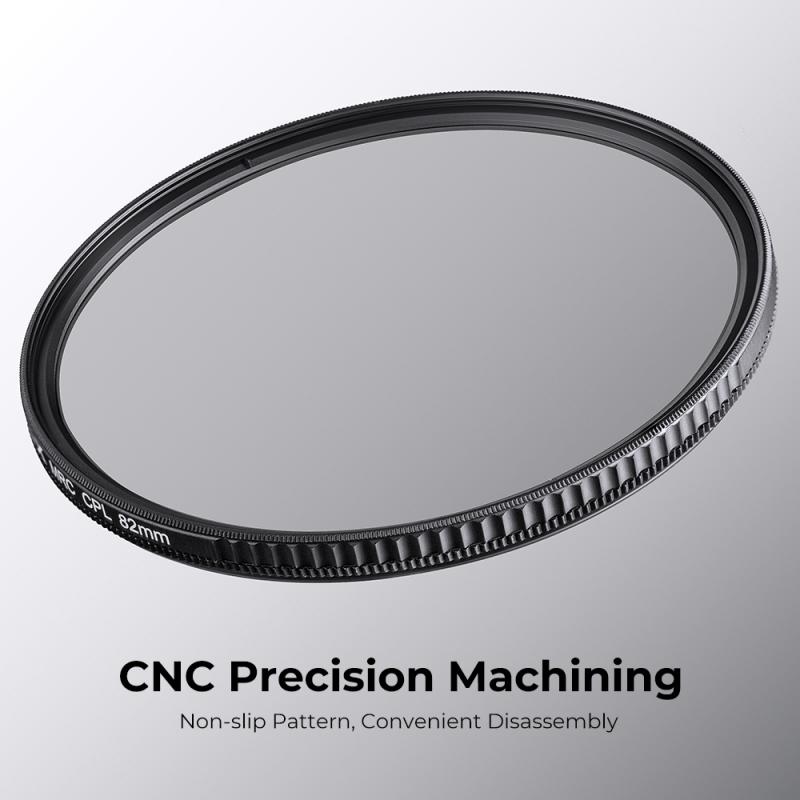
Cleaning and maintaining a UV filter is essential to ensure optimal performance and image quality. Here's a step-by-step guide on how to use and care for your UV filter:
1. Remove the filter from your camera lens: Start by carefully unscrewing the UV filter from your lens. Be gentle to avoid any damage.
2. Inspect the filter: Check for any smudges, fingerprints, or dust particles on the surface of the filter. These can affect image quality, so it's important to clean them off.
3. Use a blower or brush: Begin by using a blower or a soft brush to remove any loose dust or debris from the filter. This helps prevent scratching the surface during the cleaning process.
4. Clean with a microfiber cloth: Gently wipe the filter's surface using a clean microfiber cloth. Start from the center and move in a circular motion towards the edges. Avoid applying excessive pressure to prevent scratching.
5. Remove stubborn stains: If there are stubborn stains or fingerprints, dampen the microfiber cloth with a few drops of lens cleaning solution or isopropyl alcohol. Wipe the filter again, using the same circular motion.
6. Dry the filter: Allow the filter to air dry or use a clean, lint-free cloth to gently pat it dry. Ensure there are no water droplets or residue left on the surface.
7. Inspect for any damage: After cleaning, carefully inspect the filter for any scratches, cracks, or other damage. If you notice any significant damage, it may be time to replace the filter.
8. Screw the filter back onto the lens: Once the filter is completely dry and free from any damage, carefully screw it back onto your camera lens.
Regularly cleaning and maintaining your UV filter will help prolong its lifespan and ensure optimal image quality. It is recommended to clean the filter after every use or whenever you notice a decrease in image clarity.
