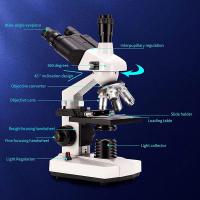
How To Use An Inverted Microscope ?
To use an inverted microscope, first, place the sample or specimen on a glass slide or in a culture dish. Then, lower the stage of the microscope and position the sample on the stage. Adjust the focus using the coarse and fine focus knobs until the sample is in clear view.
Next, select the desired objective lens by rotating the nosepiece. Start with a low magnification lens and gradually increase the magnification as needed. Adjust the condenser and diaphragm to optimize the lighting conditions for the sample.
If using a camera or digital imaging system, connect it to the microscope and adjust the settings accordingly. Finally, observe the sample through the eyepieces or monitor and make any necessary adjustments to the focus or lighting.
Remember to handle the microscope with care, clean the lenses before and after use, and follow any specific instructions provided by the manufacturer.
1、 Adjusting the focus and magnification settings
How to use an inverted microscope:
1. Adjusting the focus and magnification settings: The first step in using an inverted microscope is to adjust the focus and magnification settings. Start by placing the specimen on the stage of the microscope and securing it in place using the stage clips or other appropriate methods.
Next, adjust the focus by turning the coarse focus knob to bring the specimen into rough focus. Then, use the fine focus knob to make finer adjustments until the image appears sharp and clear. It is important to note that the inverted microscope has a longer working distance compared to a traditional microscope, so the focus adjustment may require more precision.
To adjust the magnification, rotate the objective turret to select the desired objective lens. The magnification power is usually indicated on the objective lens itself. Once the desired objective lens is in place, use the magnification adjustment knob to fine-tune the magnification level.
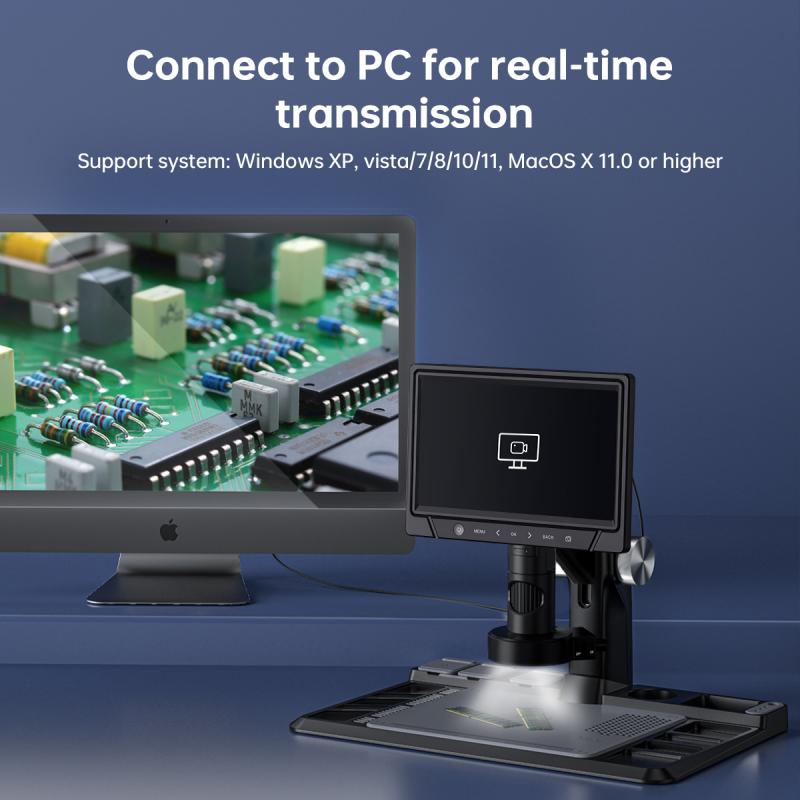
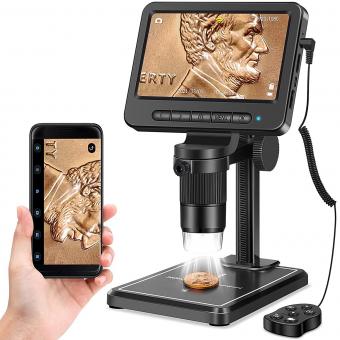
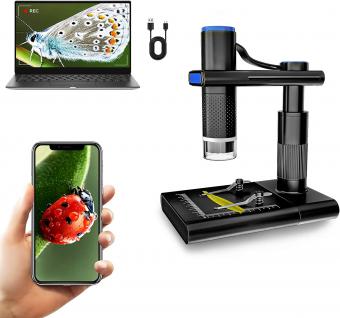
The latest point of view: In recent years, advancements in technology have led to the development of digital inverted microscopes. These microscopes are equipped with built-in cameras and software that allow for real-time imaging and analysis. Users can capture images and videos of the specimens directly on a computer or other digital devices, making it easier to document and share findings.
Additionally, some inverted microscopes now offer motorized focus and magnification adjustments, allowing for more precise and automated control. This feature is particularly useful when working with delicate or time-sensitive samples.
In conclusion, using an inverted microscope involves adjusting the focus and magnification settings to obtain a clear and detailed image of the specimen. With the latest advancements in technology, digital and motorized features have made the process even more efficient and user-friendly.
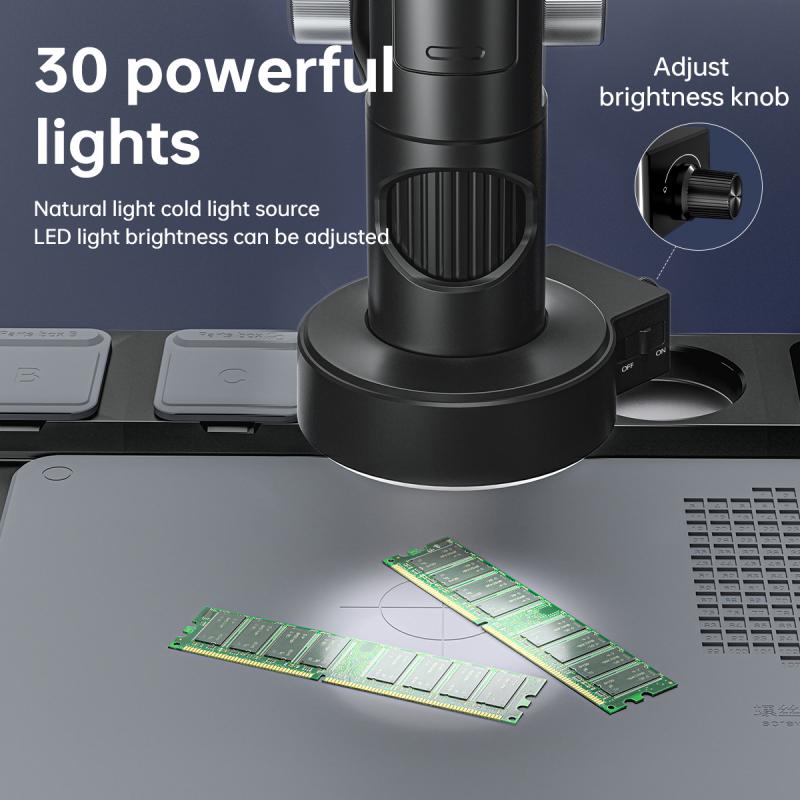
2、 Preparing and mounting the specimen on the microscope slide
Preparing and mounting the specimen on the microscope slide is an essential step in using an inverted microscope. This process ensures that the specimen is properly positioned and secured for observation under the microscope. Here is a step-by-step guide on how to prepare and mount a specimen on a microscope slide using an inverted microscope.
1. Start by selecting the appropriate slide for your specimen. Clean the slide thoroughly to remove any dust or debris that may interfere with the observation.
2. Place a small drop of mounting medium or a suitable liquid (such as water or immersion oil) on the center of the slide. The choice of mounting medium depends on the nature of the specimen and the desired observation technique.
3. Carefully transfer the specimen onto the slide using a pipette or a fine brush. Ensure that the specimen is evenly distributed and covers the drop of mounting medium.
4. Gently lower a coverslip onto the specimen, starting from one edge and slowly lowering it to avoid trapping air bubbles. The coverslip should be placed at a slight angle to allow the mounting medium to spread evenly.
5. Once the coverslip is in place, press down gently to remove any excess mounting medium and to ensure a good contact between the specimen and the coverslip.
6. Clean the slide and coverslip to remove any excess mounting medium or debris that may obstruct the view.
7. Finally, place the prepared slide onto the stage of the inverted microscope, ensuring that the specimen is positioned directly above the objective lens.
It is important to note that the latest advancements in inverted microscopy have introduced automated systems for specimen preparation and mounting. These systems can streamline the process and improve accuracy, especially in high-throughput applications. Additionally, new techniques such as live-cell imaging and 3D imaging have expanded the possibilities of specimen preparation and mounting, allowing for dynamic observations and detailed analysis of complex biological processes.
In conclusion, preparing and mounting a specimen on a microscope slide is a crucial step in using an inverted microscope. By following the steps outlined above, you can ensure that your specimen is properly positioned and ready for observation.
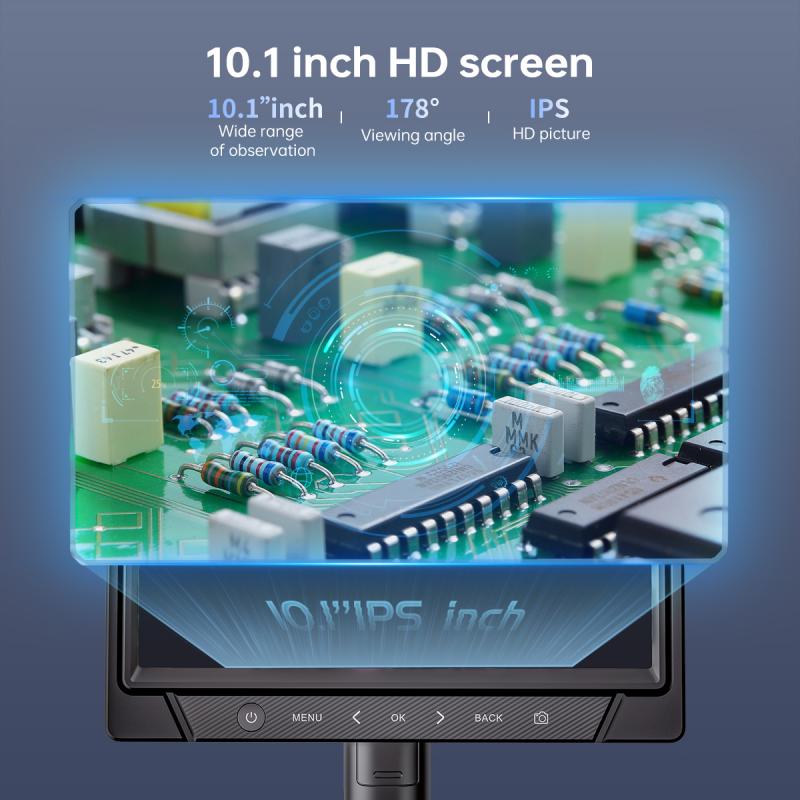
3、 Using the condenser and diaphragm to control lighting
To use an inverted microscope, follow these steps:
1. Set up the microscope: Place the inverted microscope on a stable surface and ensure it is properly aligned. Connect the power source and turn on the microscope.
2. Prepare the sample: Place the sample on a glass slide and cover it with a coverslip. Secure the slide on the stage of the microscope using the stage clips.
3. Adjust the focus: Use the coarse and fine focus knobs to bring the sample into focus. Start with the coarse focus knob to roughly focus the sample, then use the fine focus knob for precise adjustments.
4. Control lighting with the condenser: The condenser is located beneath the stage and helps control the lighting. Adjust the condenser height to optimize the illumination. Lowering the condenser increases contrast, while raising it increases brightness.
5. Use the diaphragm: The diaphragm is located within the condenser and controls the amount of light passing through the sample. Adjust the diaphragm to control the intensity of the light. Opening the diaphragm fully allows more light to pass through, while closing it reduces the light.
6. Observe and analyze: Once the lighting is adjusted, observe the sample through the eyepiece or connect the microscope to a camera or computer for digital imaging. Analyze the sample and make any necessary adjustments to the focus, lighting, or other settings.
The latest point of view emphasizes the importance of optimizing lighting conditions for better image quality. Proper control of the condenser and diaphragm allows for enhanced contrast and brightness, which can improve the visibility of the sample. Additionally, advancements in technology have led to the development of automated inverted microscopes that can adjust lighting settings automatically, making the process more efficient and user-friendly.

4、 Understanding the inverted image orientation
Understanding the inverted image orientation is crucial when using an inverted microscope. Unlike a traditional microscope, where the objective lens is located above the specimen, an inverted microscope has the objective lens positioned below the specimen. This design allows for the examination of larger, thicker samples such as cell cultures or organisms in a petri dish.
To use an inverted microscope, follow these steps:
1. Familiarize yourself with the microscope: Understand the different parts of the microscope, including the eyepiece, objective lenses, stage, and focus knobs. Ensure that the microscope is properly set up and aligned.
2. Prepare your sample: Place your specimen on a glass slide or in a petri dish. Add any necessary staining or mounting media.
3. Position the sample: Carefully place the sample on the stage of the inverted microscope. Ensure that it is centered and secure.
4. Adjust the focus: Use the coarse and fine focus knobs to bring the sample into focus. Start with the lowest magnification objective lens and gradually increase the magnification as needed.
5. Observe the inverted image: Keep in mind that the image you see through the eyepiece will be upside down and reversed from the actual orientation of the specimen. This is due to the design of the inverted microscope. However, modern microscopes often have built-in image inversion systems that correct the orientation for the observer.
Understanding the inverted image orientation is essential for accurate interpretation of the specimen. While the inverted image may initially seem counterintuitive, it becomes easier to navigate with practice. Additionally, the latest advancements in microscopy technology, such as digital imaging and software, allow for real-time image processing and orientation correction, further enhancing the user experience.
In conclusion, using an inverted microscope involves understanding the inverted image orientation and adjusting to the unique design of the microscope. With practice and the aid of modern technology, researchers can effectively examine and analyze specimens in a variety of applications, from cell culture studies to live cell imaging.
