How To Use An Nd Variable Filter ?
To use an ND variable filter, follow these steps:
1. Attach the filter to your camera lens by screwing it onto the filter thread. Make sure it is securely attached.
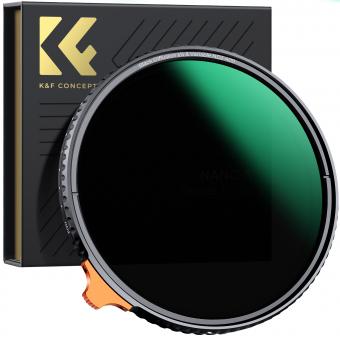
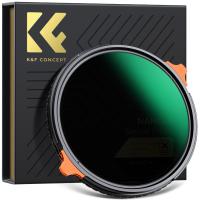
2. Adjust the filter's density by rotating the outer ring. This will allow you to control the amount of light that enters the lens.
3. Start with the minimum density setting and take a test shot. Evaluate the exposure and adjust the density as needed to achieve the desired effect.
4. Keep in mind that increasing the density will result in a longer exposure time, so you may need to use a tripod to avoid camera shake.
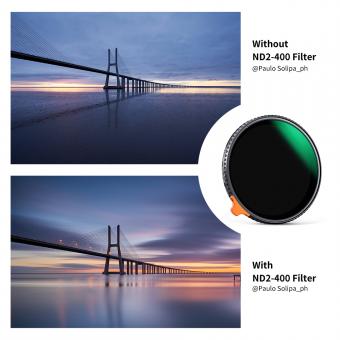
5. Experiment with different density settings to achieve the desired creative effect. ND variable filters are commonly used in landscape photography to create motion blur in water or clouds, or to achieve a shallow depth of field in bright conditions.
6. Once you have captured your desired shot, remember to remove the ND variable filter if you no longer need it.
Note: It is important to choose a high-quality ND variable filter to ensure optimal image quality and avoid any unwanted color casts or vignetting.
1、 Understanding ND Variable Filters: Features and Functionality Explained
To use an ND variable filter, follow these steps:
1. Attach the filter: Screw the ND variable filter onto the front of your camera lens. Make sure it is securely attached.
2. Adjust the density: Most ND variable filters have a rotating ring that allows you to adjust the density of the filter. Rotate the ring to increase or decrease the amount of light entering the lens. This is useful when shooting in bright conditions or when you want to achieve a specific exposure effect.
3. Set the desired exposure: Use the filter to control the amount of light reaching the camera sensor. This can help you achieve the desired exposure settings, such as a slower shutter speed for motion blur or a wider aperture for shallow depth of field.
4. Check the image: After adjusting the filter, review the image on your camera's LCD screen or through the viewfinder. Make sure the exposure is to your liking and adjust the filter if necessary.
5. Experiment: ND variable filters offer a range of densities, allowing you to experiment with different exposure effects. Try different settings to achieve the desired creative look for your photos or videos.
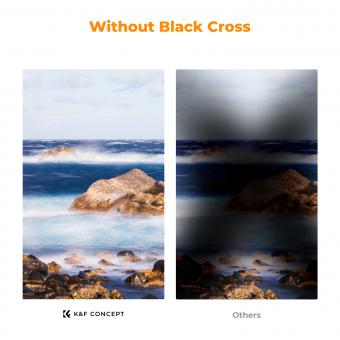
The latest point of view on ND variable filters is that they have become increasingly popular among photographers and videographers due to their convenience and versatility. These filters eliminate the need to carry multiple fixed-density ND filters, as they can be adjusted to various densities in one filter. This makes them a cost-effective and space-saving solution for photographers and videographers who frequently shoot in changing lighting conditions. Additionally, advancements in filter technology have improved the image quality of ND variable filters, reducing color casts and maintaining sharpness. However, it is important to note that extreme settings on some ND variable filters may result in a cross-like pattern known as the "X effect." Therefore, it is recommended to test the filter at different densities before shooting critical images to ensure optimal performance.
2、 Step-by-Step Guide: Attaching an ND Variable Filter to Your Lens
Step-by-Step Guide: Attaching an ND Variable Filter to Your Lens
Using an ND variable filter can greatly enhance your photography by allowing you to control the amount of light entering your lens. This versatile tool is particularly useful in situations where you need to adjust exposure settings without changing the aperture or shutter speed. Here's a step-by-step guide on how to use an ND variable filter effectively:
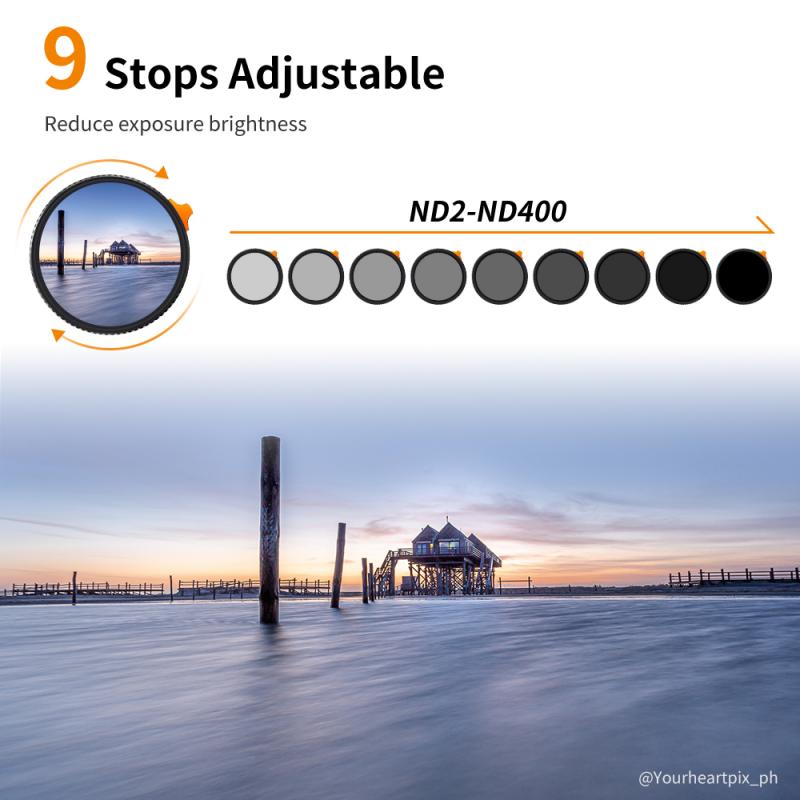
1. Choose the right filter: ND variable filters come in different densities, ranging from ND2 to ND400. Select a filter based on the lighting conditions and the effect you want to achieve. Higher density filters are ideal for capturing long exposures or reducing the depth of field in bright environments.
2. Attach the filter to your lens: Start by removing the lens cap and carefully screwing the filter onto the front of your lens. Ensure that it is securely attached to prevent any light leakage.
3. Adjust the filter density: ND variable filters have two rotating rings that allow you to adjust the density. One ring controls the minimum density, while the other adjusts the maximum density. Rotate these rings to achieve the desired effect. Keep in mind that the density may vary depending on the filter brand and model.
4. Check the exposure: Once the filter is attached and the density is set, check the exposure through your camera's viewfinder or LCD screen. Adjust the filter density as needed to achieve the desired exposure.
5. Experiment and practice: ND variable filters offer a wide range of creative possibilities. Experiment with different densities and shooting conditions to explore the full potential of this tool. Practice using the filter in various scenarios to become comfortable with its effects and limitations.
Remember, using an ND variable filter requires some trial and error to achieve the desired results. Take your time to understand how the filter affects your images and adapt accordingly. With practice, you'll be able to master the art of using an ND variable filter to enhance your photography.
3、 Adjusting the Density: Controlling Light with an ND Variable Filter
To use an ND variable filter, follow these steps:
1. Attach the filter: Screw the ND variable filter onto the front of your camera lens. Make sure it is securely attached to avoid any light leaks.
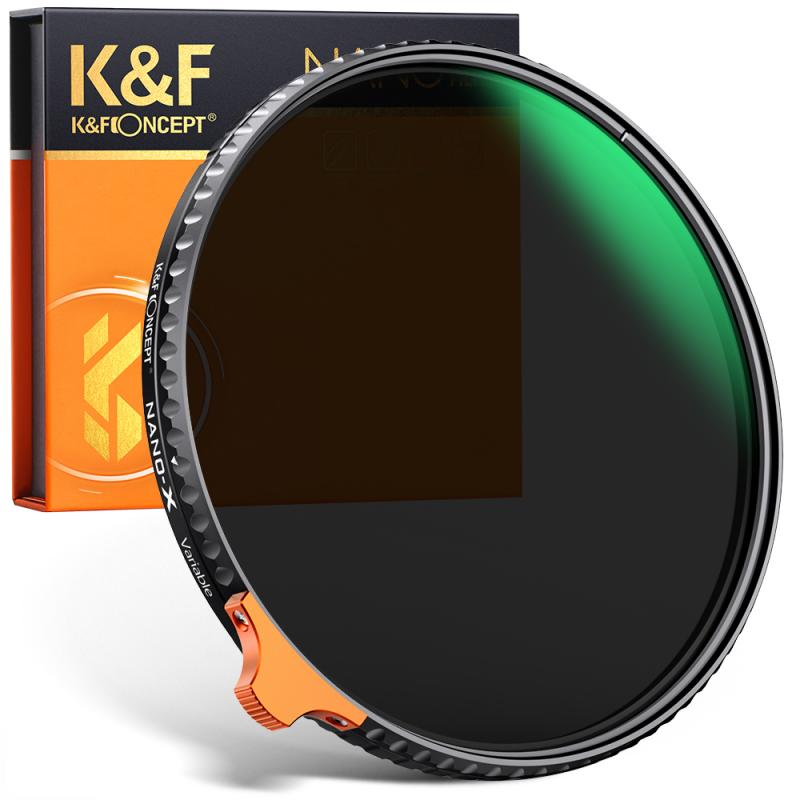
2. Set the filter density: Most ND variable filters have a rotating ring that allows you to adjust the density. Rotate the ring to increase or decrease the density of the filter. This will control the amount of light that enters the camera.
3. Adjust exposure settings: With the filter attached, you will need to compensate for the reduced light entering the camera. You can do this by adjusting the exposure settings such as aperture, shutter speed, or ISO. Experiment with different settings to achieve the desired effect.
4. Capture the shot: Once you have set the filter density and adjusted the exposure settings, you are ready to take the shot. Keep in mind that the ND variable filter can be used to create various effects, such as motion blur in waterfalls or smoothing out clouds in long-exposure photography.
The latest point of view on using an ND variable filter is that it provides photographers with greater flexibility and convenience. Unlike fixed ND filters, which have a specific density, the variable filter allows you to adjust the density according to the lighting conditions and desired effect. This eliminates the need to carry multiple filters with different densities, making it a versatile tool for photographers on the go. Additionally, the ability to adjust the density in real-time gives photographers more control over the exposure, allowing for creative experimentation and precise light control.
4、 Achieving the Desired Effect: Creative Applications of ND Variable Filters
To use an ND variable filter effectively, follow these steps:
1. Attach the filter: Screw the ND variable filter onto the front of your camera lens. Make sure it is securely attached to prevent any light leakage.
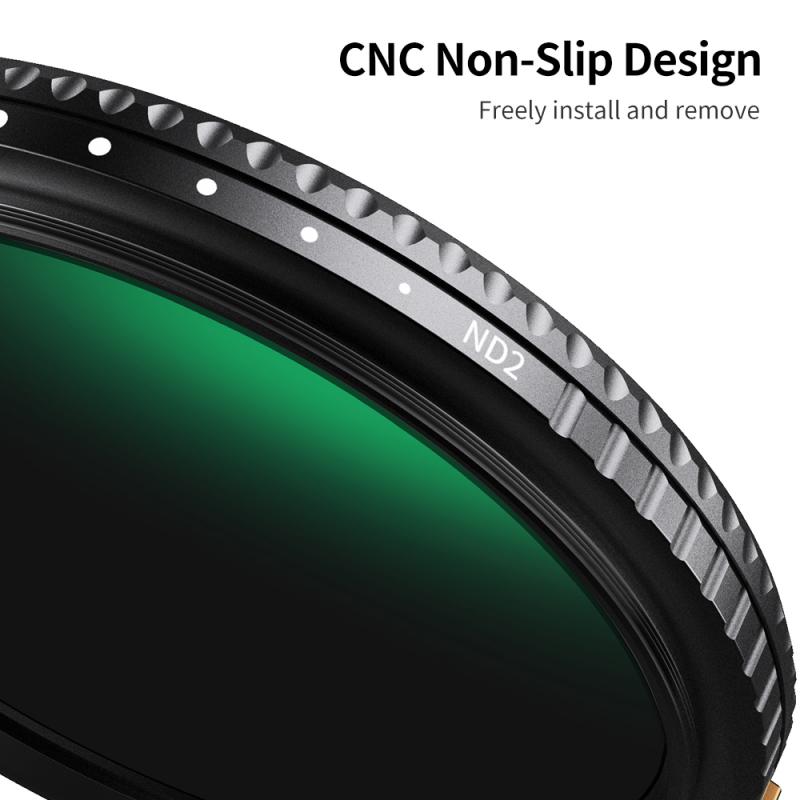
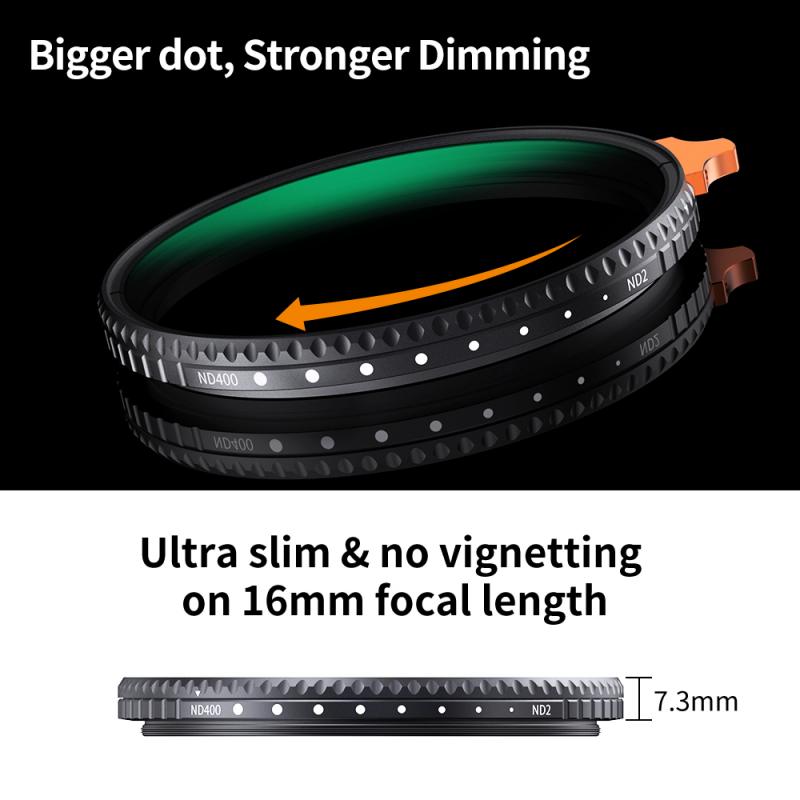
2. Adjust the density: Rotate the outer ring of the filter to adjust the density level. This will control the amount of light entering the lens. The filter typically has markings indicating the density level, allowing you to easily set the desired effect.
3. Set the exposure: With the filter in place, adjust your camera settings to compensate for the reduced light. This may involve increasing the exposure time, widening the aperture, or increasing the ISO.
4. Experiment with different effects: ND variable filters offer a range of creative possibilities. By adjusting the density, you can achieve effects such as motion blur in moving subjects, smooth water in landscapes, or shallow depth of field in bright conditions.
5. Consider composition: As you experiment with the filter, pay attention to the composition of your shots. The reduced light may require longer exposure times, so be mindful of any potential camera shake. Use a tripod or stabilize your camera to ensure sharp images.
The latest point of view on using ND variable filters is that they provide photographers with greater flexibility and convenience. Instead of carrying multiple fixed-density filters, a single ND variable filter can be adjusted to achieve different effects. This saves time and space in your camera bag. Additionally, advancements in filter technology have improved the quality of ND variable filters, reducing color casts and maintaining image sharpness. However, it is important to note that extreme density adjustments may result in some loss of image quality, so it is recommended to use the filter within its optimal range. Overall, ND variable filters are a valuable tool for photographers looking to add creativity and control to their images.











There are no comments for this blog.