How To Use An Optical Microscope ?
To use an optical microscope, start by placing the sample you want to observe on the microscope stage. Adjust the focus using the coarse and fine focus knobs to bring the sample into view. Use the condenser to control the amount of light passing through the sample. Adjust the objective lenses to change the magnification level. Finally, observe the sample through the eyepiece and make any necessary adjustments to optimize the image quality.
1、 Adjusting the focus and magnification settings
How to Use an Optical Microscope: Adjusting the Focus and Magnification Settings
Using an optical microscope is a fundamental skill for scientists, researchers, and students in various fields. It allows for the observation of tiny objects and structures that are otherwise invisible to the naked eye. One of the most important aspects of using an optical microscope is adjusting the focus and magnification settings to obtain clear and detailed images.
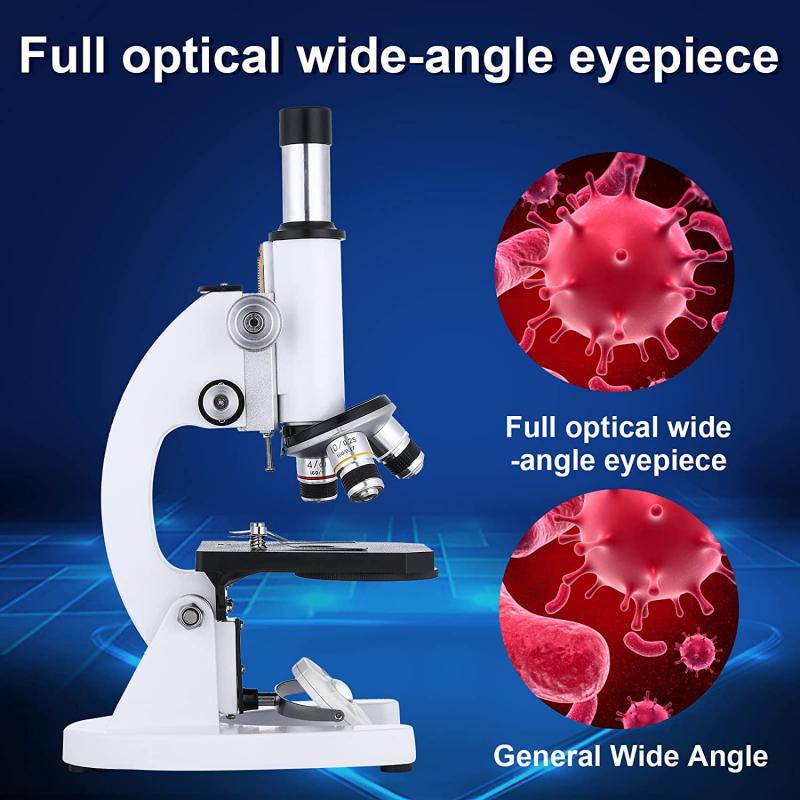
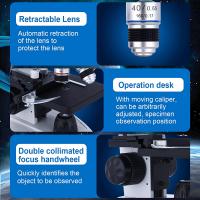
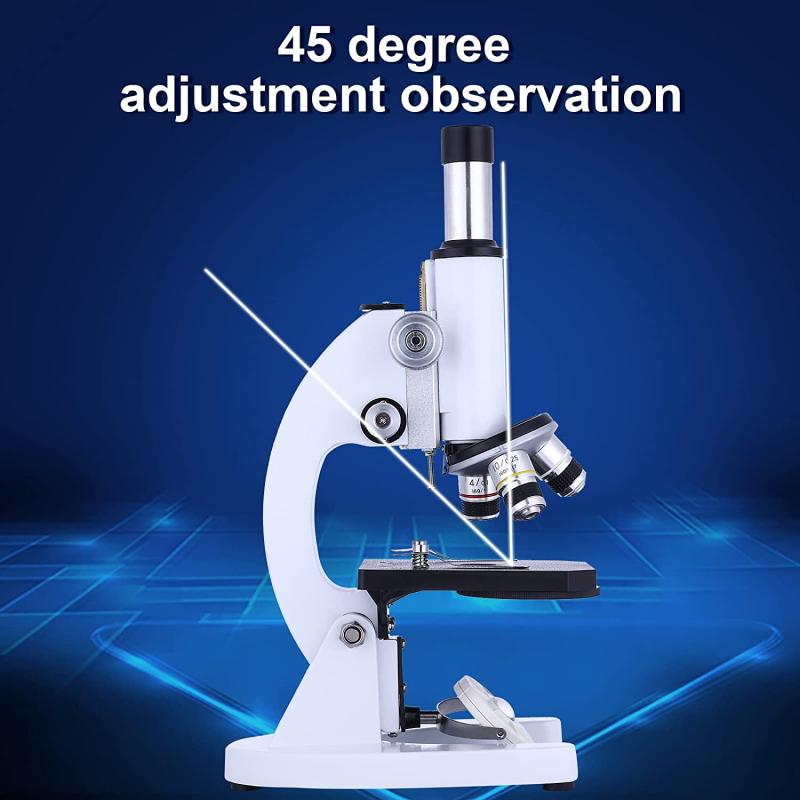
To begin, ensure that the microscope is properly set up on a stable surface. Place the specimen slide on the stage and secure it with the stage clips. Start with the lowest magnification objective lens (usually 4x or 10x) and position it over the specimen. Look through the eyepiece and use the coarse focus knob to bring the specimen into rough focus. This knob moves the stage up and down, allowing you to adjust the distance between the objective lens and the specimen.
Once the specimen is roughly in focus, use the fine focus knob to make precise adjustments. This knob moves the stage in smaller increments, allowing for finer focus adjustments. Slowly turn the knob until the image becomes sharp and clear. It is important to make small adjustments to avoid overshooting the focus point.
After achieving the desired focus, you can proceed to adjust the magnification settings. Rotate the nosepiece to switch to a higher magnification objective lens. Start with the lowest magnification and work your way up to higher magnifications as needed. Remember to refocus the microscope each time you change the objective lens to ensure clear images.
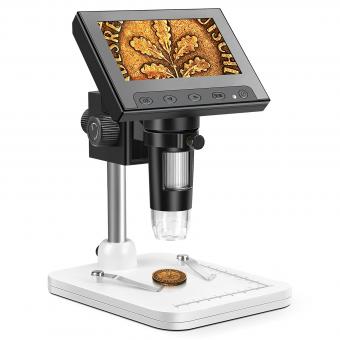
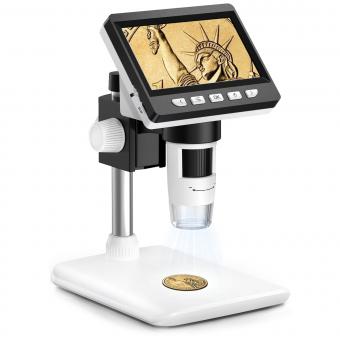
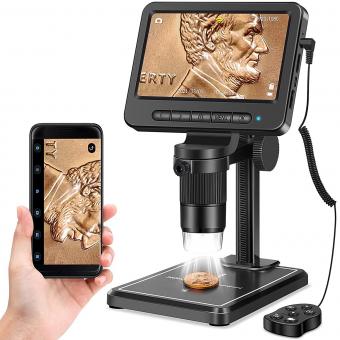
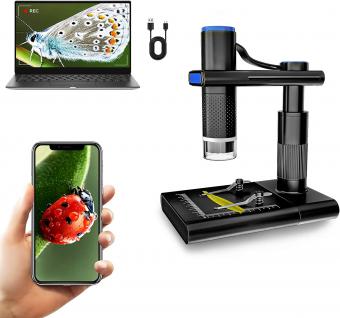
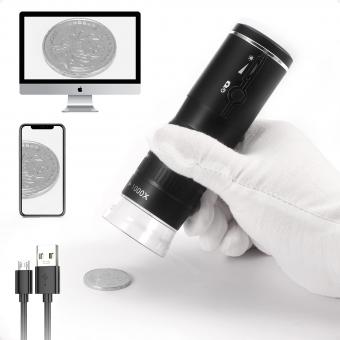
In recent years, advancements in technology have introduced digital microscopes that offer additional features. These microscopes often have built-in cameras, allowing users to capture images and videos of their observations. Some models even offer software that enables image analysis and measurement. These digital microscopes provide a more convenient and efficient way to document and share findings.
In conclusion, adjusting the focus and magnification settings is crucial when using an optical microscope. By following the steps outlined above, you can obtain clear and detailed images of your specimens. With the advent of digital microscopes, the field of microscopy has become even more accessible and versatile, offering new possibilities for scientific exploration and discovery.
2、 Preparing the specimen for observation
Preparing the specimen for observation is an essential step in using an optical microscope. Here is a step-by-step guide on how to prepare a specimen for observation:
1. Choose the appropriate specimen: Select a specimen that is suitable for optical microscopy. This can include thin sections of tissues, cells, or microorganisms.
2. Fixation: Fixation is the process of preserving the specimen's structure and preventing decay. It involves immersing the specimen in a fixative solution, such as formaldehyde or glutaraldehyde. Fixation helps maintain the integrity of the specimen during subsequent processing steps.
3. Dehydration: Dehydration removes water from the specimen and replaces it with a solvent that is compatible with the embedding medium. Gradually immerse the specimen in a series of alcohol solutions with increasing concentrations, such as 50%, 70%, 90%, and 100% ethanol.
4. Embedding: Embedding involves infiltrating the dehydrated specimen with a medium that provides support and stability during sectioning. Common embedding media include paraffin wax or resin. The specimen is placed in a mold, and the embedding medium is poured around it. The medium is then solidified by cooling or polymerization.
5. Sectioning: Once the embedding medium has solidified, the specimen is ready for sectioning. Use a microtome to cut thin slices of the embedded specimen. The thickness of the sections can vary depending on the type of specimen and the desired resolution.
6. Staining: Staining enhances the contrast and visibility of the specimen. Different stains can be used to highlight specific structures or components within the specimen. Common stains include hematoxylin and eosin (H&E), which provides a general overview of tissue structures.
7. Mounting: Place the stained sections onto glass slides and cover them with a coverslip. A mounting medium, such as a resin or a mounting fluid, is used to secure the coverslip in place.
Once the specimen is prepared, it can be observed under an optical microscope. Adjust the microscope's settings, such as the magnification and focus, to obtain a clear and detailed image of the specimen.
It is important to note that advancements in technology have led to the development of more sophisticated techniques for specimen preparation, such as immunohistochemistry and fluorescent labeling. These techniques allow for the visualization of specific molecules or structures within the specimen, providing researchers with a deeper understanding of cellular processes and disease mechanisms.

3、 Properly positioning the specimen on the microscope stage
Properly positioning the specimen on the microscope stage is a crucial step in using an optical microscope effectively. This ensures that the specimen is in focus and allows for accurate observation and analysis. Here is a step-by-step guide on how to properly position a specimen on the microscope stage:
1. Start by preparing your specimen. This may involve fixing, staining, or mounting it on a slide, depending on the nature of the sample.
2. Place the prepared slide on the microscope stage. The slide should be centered on the stage, ensuring that it is aligned with the stage clips or mechanical stage.
3. Adjust the stage height using the coarse and fine focus knobs. The objective lens should be at its highest position to prevent damage to the lens or slide.
4. Select the lowest magnification objective lens (usually 4x or 10x) and lower it until it is just above the slide. Use the coarse focus knob to bring the specimen into rough focus.
5. Look through the eyepiece and slowly turn the fine focus knob to bring the specimen into sharp focus. Adjust the stage position if necessary to center the area of interest.
6. Once the specimen is in focus, you can switch to higher magnification objective lenses (e.g., 40x or 100x) to observe finer details. Use the fine focus knob to make minor adjustments to maintain focus.
7. To move to a different area of the specimen, use the mechanical stage controls (if available) or carefully slide the slide on the stage.
It is important to note that the latest advancements in optical microscopy, such as digital imaging and automated stage control, have made the process of positioning specimens more precise and efficient. These technologies allow for easier navigation and capturing of high-resolution images, enhancing the overall microscopy experience. Additionally, some microscopes now offer motorized stages that can automatically scan and create composite images of large specimens, further simplifying the positioning process.

4、 Using the condenser and diaphragm to control lighting
Using an optical microscope is a fundamental skill for scientists, researchers, and students in various fields. One important aspect of using an optical microscope is controlling the lighting, which can greatly impact the quality of the observed sample. The condenser and diaphragm are two key components that allow for precise control of lighting conditions.
The condenser is located beneath the stage and is responsible for focusing the light onto the sample. It consists of lenses that gather and concentrate the light, enhancing the resolution and contrast of the image. To use the condenser effectively, start by adjusting its height to ensure the light is focused properly. This can be done by turning the condenser focus knob until the image appears sharp and clear.
The diaphragm, located within the condenser, controls the amount of light passing through the sample. By adjusting the diaphragm, you can regulate the brightness and contrast of the image. Opening the diaphragm fully allows more light to pass through, resulting in a brighter image. Conversely, closing the diaphragm reduces the amount of light, which can be useful when observing highly transparent samples.
In recent years, there has been a growing emphasis on optimizing lighting conditions for specific samples. Researchers have explored techniques such as darkfield and phase contrast microscopy to enhance the visibility of certain specimens. Darkfield microscopy, for example, involves using a special condenser that blocks direct light, resulting in a bright specimen against a dark background. Phase contrast microscopy, on the other hand, utilizes a phase plate to convert phase differences in the sample into contrast, allowing for the visualization of transparent structures.
In conclusion, mastering the use of the condenser and diaphragm to control lighting is essential for obtaining high-quality images with an optical microscope. By understanding and utilizing these components effectively, researchers can enhance the resolution, contrast, and visibility of their samples. Additionally, exploring advanced techniques like darkfield and phase contrast microscopy can further expand the capabilities of optical microscopy in various scientific disciplines.
