How To Use Android Endoscope ?
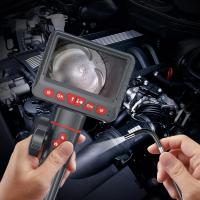
To use an Android endoscope, first, ensure that your Android device supports OTG (On-The-Go) functionality. Then, connect the endoscope's USB connector to your Android device using an OTG adapter. Next, download and install the compatible endoscope app from the Google Play Store. Open the app and grant the necessary permissions for camera access. Connect the endoscope's camera to the USB connector and power it on. The live feed from the endoscope camera should now be visible on your Android device's screen. You can adjust the brightness, zoom, and other settings within the app. Use the endoscope's flexible cable to navigate and inspect hard-to-reach areas. You can capture photos or record videos directly from the app. After use, power off the endoscope and disconnect it from your Android device. Remember to clean and store the endoscope properly for future use.
1、 Connecting the endoscope to your Android device
Connecting the endoscope to your Android device is a relatively simple process. Here's a step-by-step guide on how to use an Android endoscope:
1. First, ensure that your Android device is compatible with the endoscope. Most endoscopes are compatible with Android devices running on Android 4.0 or later versions.
2. Download and install the endoscope app from the Google Play Store. There are several apps available, so choose one that is compatible with your endoscope model.
3. Connect the endoscope to your Android device using the provided USB or micro-USB connector. Make sure the endoscope is powered off before connecting it.
4. Once connected, open the endoscope app on your Android device. The app will automatically detect the endoscope and display the live feed from the camera.
5. Adjust the settings in the app as needed. You can change the resolution, brightness, and other camera settings to enhance the image quality.
6. Use the endoscope by inserting the camera probe into the desired area. The flexible cable allows you to navigate through tight spaces and corners.
7. The live feed from the endoscope camera will be displayed on your Android device's screen. You can capture photos or record videos directly from the app.
8. After you have finished using the endoscope, disconnect it from your Android device and power it off.
It's important to note that the specific steps may vary depending on the brand and model of your endoscope. Always refer to the user manual provided with your endoscope for detailed instructions.
In recent years, there have been advancements in endoscope technology, such as wireless endoscopes that connect to Android devices via Wi-Fi. These wireless endoscopes eliminate the need for physical connectors and provide greater flexibility in maneuvering the camera probe. Additionally, some endoscope apps now offer advanced features like image and video editing, as well as the ability to share the captured media directly from the app.
Overall, connecting an endoscope to your Android device is a straightforward process, and with the latest advancements in technology, using an Android endoscope has become even more convenient and user-friendly.
2、 Installing the necessary app for endoscope functionality
To use an Android endoscope, the first step is to install the necessary app for endoscope functionality. This app allows you to connect and control the endoscope camera through your Android device.
To install the app, follow these steps:
1. Open the Google Play Store on your Android device.
2. Search for "endoscope camera" or a similar keyword in the search bar.
3. Look for an app that has good ratings and reviews, as well as compatibility with your specific endoscope model.
4. Once you find a suitable app, tap on it to open the app page.
5. Click on the "Install" button to download and install the app on your device.
After the app is installed, you can proceed with connecting and using the endoscope. Connect the endoscope camera to your Android device using the provided USB or Wi-Fi connection. Launch the app and follow the on-screen instructions to establish a connection between the endoscope and your device.
Once the connection is established, you can use the app to control the endoscope camera. The app usually provides options to adjust the camera settings, capture photos or videos, and view the live feed from the endoscope camera.
It is important to note that the steps may vary slightly depending on the specific endoscope model and the app you choose to install. Therefore, it is recommended to refer to the user manual or instructions provided by the endoscope manufacturer for detailed guidance.
In conclusion, installing the necessary app for endoscope functionality is the first step in using an Android endoscope. By following the steps mentioned above, you can easily install the app and start using your endoscope camera with your Android device.
3、 Adjusting the endoscope's settings for optimal performance
To use an Android endoscope effectively, it is important to adjust the endoscope's settings for optimal performance. Here are some steps to follow:
1. Install the endoscope app: Start by downloading and installing the compatible endoscope app from the Google Play Store. Ensure that the app is from a reputable developer and has positive reviews.
2. Connect the endoscope: Connect the endoscope to your Android device using the provided USB or micro-USB connector. Make sure the connection is secure.
3. Open the app: Launch the endoscope app on your Android device. Grant any necessary permissions for the app to access the camera and microphone.
4. Adjust the camera settings: Within the app, you will find various camera settings that can be adjusted for optimal performance. These settings may include resolution, exposure, white balance, and focus. Experiment with different settings to find the best combination for your specific needs.
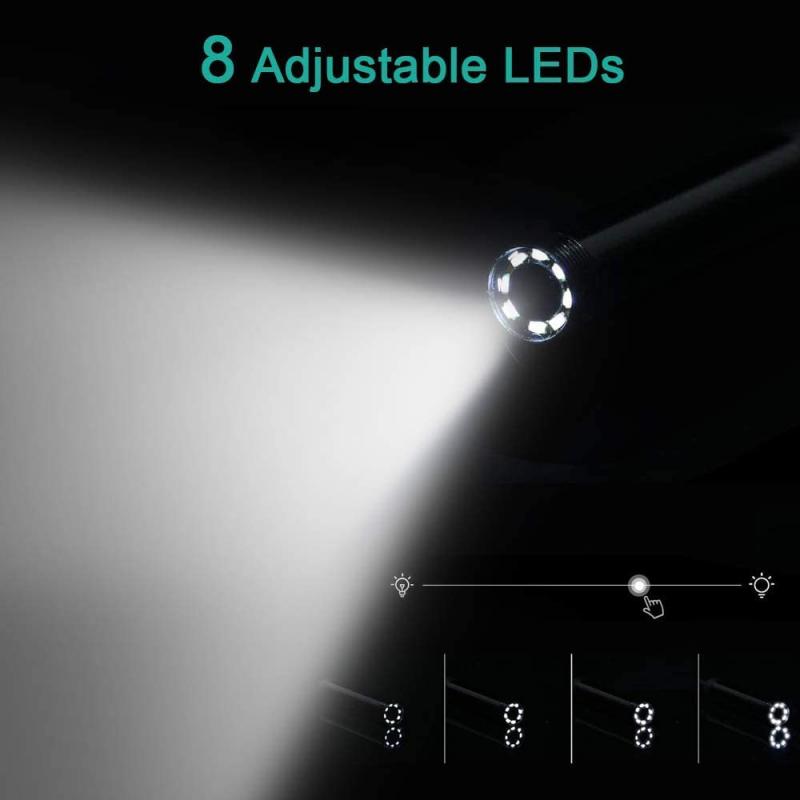
5. Use the LED lights: Most endoscopes come with built-in LED lights to illuminate dark areas. Adjust the brightness of the LED lights within the app to ensure clear visibility.
6. Capture and record: The endoscope app should provide options to capture photos or record videos. Familiarize yourself with these features and use them as needed.
7. Clean and maintain: After each use, clean the endoscope thoroughly and store it in a safe place. Regular maintenance will ensure its longevity and optimal performance.
It is important to note that the steps mentioned above may vary slightly depending on the specific endoscope model and app you are using. Always refer to the user manual provided by the manufacturer for detailed instructions.
As technology advances, newer endoscope models may come with additional features and settings. Stay updated with the latest information and advancements in the field to make the most out of your Android endoscope.
4、 Capturing photos and videos using the Android endoscope
Capturing photos and videos using the Android endoscope is a simple and straightforward process. Here's a step-by-step guide on how to use an Android endoscope effectively:
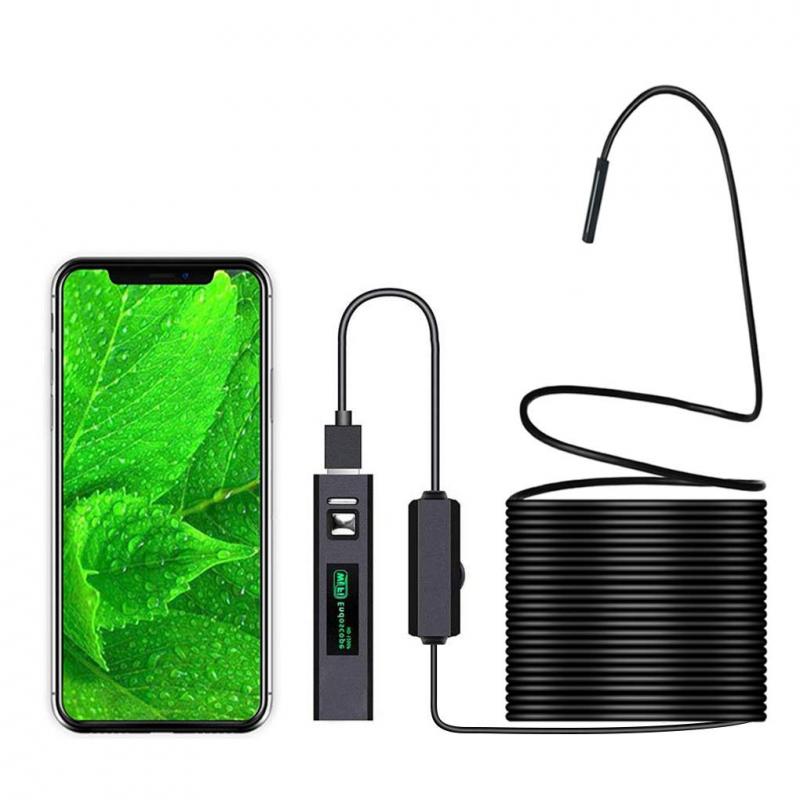
1. Connect the endoscope: Start by connecting the endoscope to your Android device. Most endoscopes come with a USB or micro-USB connector, which can be plugged into the charging port of your phone or tablet. Some endoscopes also offer wireless connectivity via Wi-Fi or Bluetooth.
2. Install the app: Next, you'll need to install the compatible app for your endoscope. These apps can usually be found on the Google Play Store. Once installed, open the app and grant any necessary permissions.
3. Launch the app: Open the app and select the camera option. This will activate the endoscope and display the live feed from the camera on your device's screen.
4. Adjust settings: Depending on the app and endoscope model, you may have various settings to adjust. These can include brightness, resolution, and camera orientation. Experiment with these settings to achieve the best image quality.
5. Capture photos and videos: Once the endoscope is connected and the app is running, you can start capturing photos and videos. Simply tap the capture button on the app's interface to take a photo or start/stop recording a video.
6. Save and share: After capturing your desired photos or videos, you can save them directly to your device's gallery or a specified folder within the app. From there, you can easily share them with others via messaging apps, social media, or email.
It's worth noting that the latest Android endoscopes may offer additional features such as adjustable LED lights, zoom capabilities, and even built-in image stabilization. These advancements can enhance the overall user experience and result in better-quality photos and videos.
