How To Use Children's Digital Camera?
Using a children's digital camera is simple and fun. First, insert the batteries and memory card as per the camera's instructions. Turn on the camera and familiarize your child with the buttons and settings. Encourage them to frame their subject and press the shutter button. After taking photos, show them how to review and delete images if needed. Finally, transfer the photos to a computer for safekeeping or printing. Remember to supervise young children while they use the camera and teach them to handle it with care.
1、 Camera Setup and Basic Functions
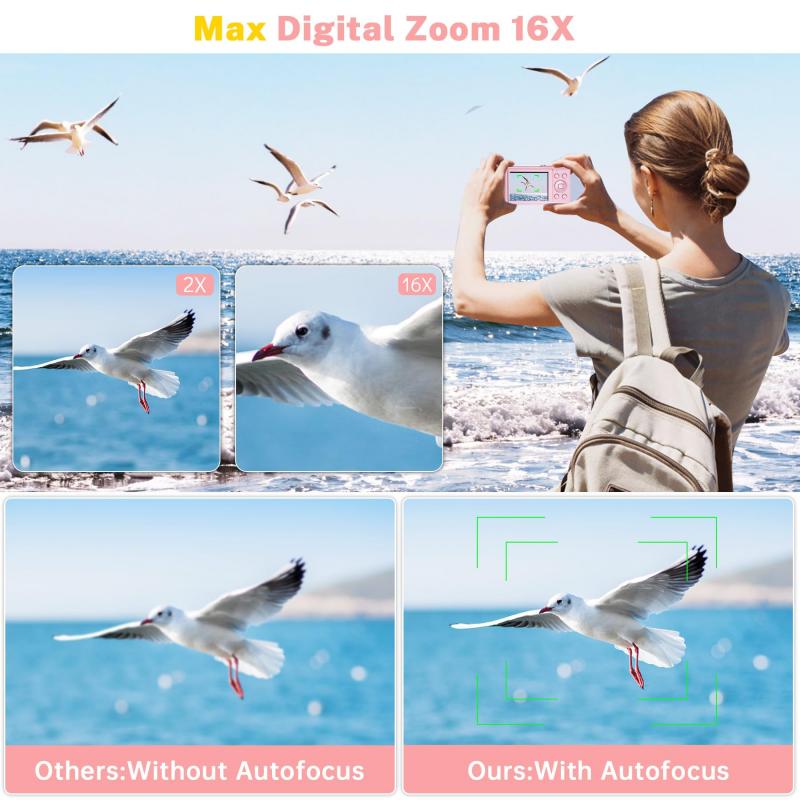
To use a children's digital camera, start by inserting the batteries and memory card as per the manufacturer's instructions. Once the camera is powered on, familiarize yourself with the basic functions such as the power button, shutter button, zoom controls (if available), and the menu button. It's important to explain to the child how to hold the camera steady and how to frame a shot using the viewfinder or screen.
Next, guide the child through the process of taking a photo by pressing the shutter button and reviewing the image on the screen. Encourage them to experiment with different angles and compositions to develop their creativity. Additionally, show them how to delete unwanted photos to free up space on the memory card.
For the latest point of view, it's important to emphasize the importance of digital literacy and responsible use of technology. Teach children about the concept of digital ownership and the importance of respecting others' privacy when taking photos. Encourage them to ask for permission before taking someone's picture and to be mindful of what they share online.
Furthermore, consider discussing the basics of photo editing and digital manipulation, emphasizing the importance of authenticity and honesty in representing the world through photography. Finally, encourage children to explore the creative possibilities of digital photography while also being mindful of ethical considerations.
2、 Memory Card and File Management

"How to use children's digital camera"
1. Power on the camera: Press the power button to turn on the camera.
2. Select the mode: Most children's digital cameras have different modes such as photo, video, and playback. Select the desired mode using the mode button.
3. Take photos or videos: Use the shutter button to capture photos or start recording videos. Encourage children to experiment with different angles and subjects.
4. Review and delete: After taking photos or videos, use the playback mode to review the captured media. Children can delete unwanted files to free up space on the memory card.
5. Transfer files: Connect the camera to a computer using a USB cable and transfer the files to the computer for safekeeping or sharing with family and friends.
"Memory Card and File Management"
1. Inserting the memory card: Open the memory card slot on the camera and insert the memory card with the labeled side facing the correct direction. Close the slot securely.
2. Formatting the memory card: Before using a new memory card, it's recommended to format it using the camera's formatting option. This prepares the card for use and ensures compatibility with the camera.
3. Organizing files: Encourage children to create folders on the memory card to organize their photos and videos. This can teach them basic file management skills and make it easier to locate specific media.
4. Deleting files: Periodically review the files on the memory card with children and delete any unnecessary or duplicate files to free up space for new captures.
5. Backing up files: Show children how to back up their favorite photos and videos to a computer or cloud storage to prevent loss in case the memory card gets damaged or lost.
In the latest point of view, it's important to emphasize the importance of teaching children about digital literacy and responsible file management. Encouraging them to understand the value of their digital content and how to protect it can help instill good habits from an early age. Additionally, with the increasing prevalence of digital media in children's lives, it's crucial to educate them about privacy and security when sharing their photos and videos online.
3、 Taking Photos and Videos
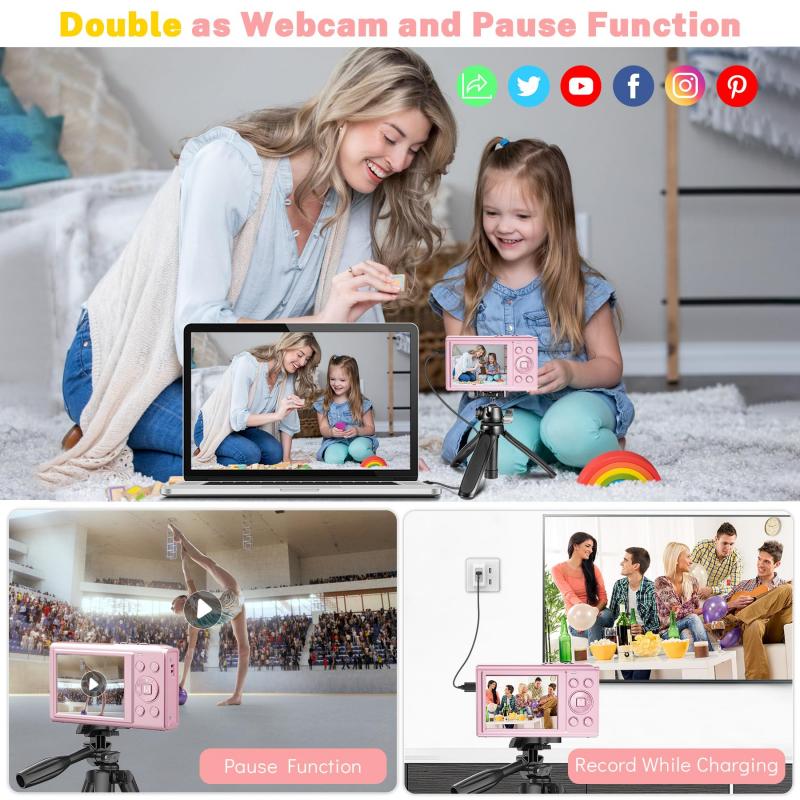
To use a children's digital camera for taking photos and videos, follow these steps:
1. Familiarize yourself with the camera: Read the user manual to understand the features and functions of the camera. This will help you navigate through the settings and modes.
2. Insert a memory card: Most children's digital cameras require a memory card to store photos and videos. Insert a compatible memory card into the camera before use.
3. Power on the camera: Turn on the camera by pressing the power button. Some cameras may require you to hold the button for a few seconds to power on.
4. Select the photo or video mode: Depending on whether you want to take photos or videos, switch the camera to the appropriate mode. Some cameras have a dedicated switch or button for this purpose.
5. Frame your shot: Use the viewfinder or LCD screen to frame your shot. Encourage the child to experiment with different angles and compositions to develop their creativity.
6. Capture the moment: Press the shutter button to take a photo or start recording to capture a video. Encourage the child to explore their surroundings and document their experiences.
7. Review and share: After taking photos and videos, review the captured media on the camera's screen. Some cameras also allow for direct sharing to a computer or printer.
In today's digital age, children's digital cameras have evolved to be more user-friendly and durable, catering to the needs of young photographers. Many models now come with fun features such as filters, frames, and stickers, allowing children to add a creative touch to their photos and videos. Additionally, some cameras are designed to be waterproof and shockproof, making them suitable for outdoor adventures and rough handling by kids. These advancements aim to make the photography experience more engaging and enjoyable for children, fostering their interest in creativity and storytelling through visual media.
4、 Editing and Enhancing Images
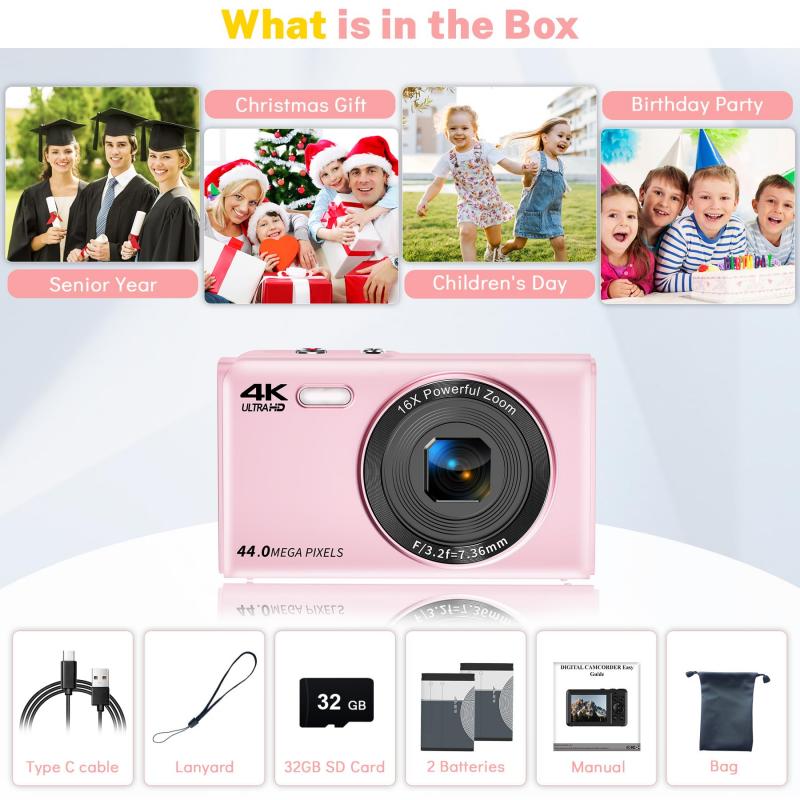
"Editing and Enhancing Images" with a children's digital camera can be a fun and educational experience. To use a children's digital camera, start by familiarizing yourself with the camera's features and settings. Once you have taken some photos, you can then move on to editing and enhancing the images.
To edit and enhance images taken with a children's digital camera, you can use simple and user-friendly photo editing software or apps. These tools often have basic features such as cropping, adjusting brightness and contrast, adding filters, and applying fun effects. Encourage children to experiment with these tools to unleash their creativity and express themselves through their photos.
In today's digital age, children are growing up surrounded by technology, and teaching them how to use digital cameras and edit images can help develop their digital literacy and creativity. It can also be a great way to encourage them to explore the world around them and capture their unique perspective through photography.
When teaching children how to edit and enhance images, it's important to emphasize the importance of respecting the original content of the photo and using editing tools responsibly. Additionally, discussing concepts such as digital manipulation and the impact of edited images on perception can help children develop a critical eye and ethical understanding of image editing.
Overall, using a children's digital camera and teaching them how to edit and enhance images can be a valuable learning experience that combines technology, creativity, and critical thinking.

















There are no comments for this blog.