How To Use Cpl Filter ?
A CPL (Circular Polarizing) filter is a camera accessory that helps to reduce glare and reflections from non-metallic surfaces such as water, glass, and foliage. To use a CPL filter, follow these steps:
1. Screw the CPL filter onto the front of your camera lens.
2. Look through the viewfinder or LCD screen and rotate the filter until you achieve the desired effect. You should see the glare and reflections disappear or reduce.
3. Adjust the filter as needed to get the best results. Keep in mind that the effect of the filter may vary depending on the angle of the light source and the position of the camera.
It's important to note that a CPL filter can also darken the sky and enhance the colors of the scene, so it's a useful tool for landscape and outdoor photography. However, it may also reduce the amount of light entering the camera, so you may need to adjust your exposure settings accordingly.
1、 Definition and Purpose of CPL Filter
Definition and Purpose of CPL Filter:
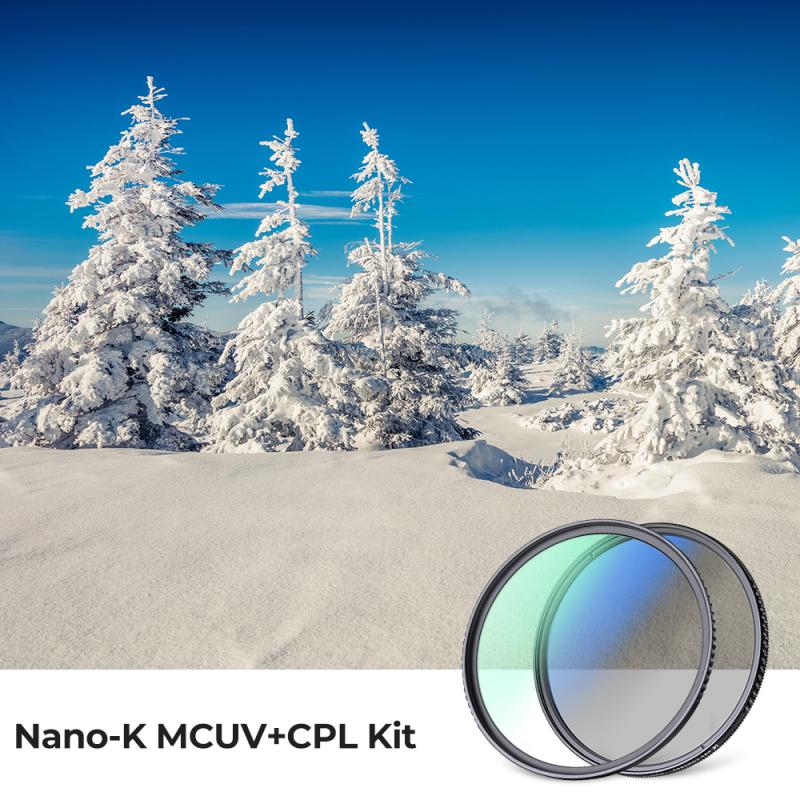
A CPL (Circular Polarizing) filter is a camera accessory that is used to reduce glare and reflections from non-metallic surfaces such as water, glass, and foliage. It is a circular filter that screws onto the front of a camera lens and can be rotated to adjust the amount of polarization.
The purpose of a CPL filter is to enhance the colors and contrast in a photograph by reducing the amount of reflected light. This results in a more vibrant and saturated image with deeper blues in the sky and richer greens in foliage. It also helps to eliminate unwanted reflections from shiny surfaces, such as water or glass, allowing the camera to capture the true colors and details of the subject.
To use a CPL filter, simply screw it onto the front of your camera lens and rotate it until you achieve the desired effect. It is important to note that the effectiveness of the filter will vary depending on the angle of the light source and the position of the filter. Therefore, it is recommended to experiment with different angles and positions to achieve the best results.
In recent years, there has been a growing trend towards using CPL filters for landscape and outdoor photography. With the rise of social media platforms such as Instagram, photographers are looking for ways to make their images stand out and a CPL filter can help achieve this by enhancing the colors and contrast in their photographs.
2、 Types of CPL Filters
How to use CPL filter:
1. Screw the CPL filter onto the front of your lens.
2. Rotate the filter until you achieve the desired effect.
3. Take your photo.
The CPL filter works by reducing reflections and glare from non-metallic surfaces such as water, glass, and foliage. It also enhances color saturation and contrast, making your photos look more vibrant and vivid.
To use the CPL filter effectively, you need to understand how it works and how to adjust it to achieve the desired effect. You can rotate the filter to adjust the amount of polarization, which will affect the intensity of the effect. You can also experiment with different angles to see how the filter affects the scene.
Types of CPL Filters:
There are two main types of CPL filters: linear and circular. Linear polarizers are less expensive and work well with manual focus cameras, but they can interfere with autofocus and metering systems in modern cameras. Circular polarizers are more expensive but are compatible with all cameras and do not interfere with autofocus or metering.
In recent years, there has been a rise in popularity of variable ND filters, which combine the effects of a CPL filter and an ND filter. These filters allow you to adjust the amount of polarization and neutral density, giving you more control over your exposure and creative options.
3、 How to Attach CPL Filter to Camera Lens
How to Attach CPL Filter to Camera Lens:
A CPL (Circular Polarizing) filter is a great tool for photographers to enhance their images by reducing glare and reflections, increasing color saturation, and improving contrast. Here are the steps to attach a CPL filter to your camera lens:
1. Choose the right size: CPL filters come in different sizes, so make sure to choose the one that fits your lens. You can find the size on the front of your lens or in the manual.
2. Screw it on: CPL filters have a thread on the back that screws onto the front of your lens. Make sure to align the filter with the lens and gently screw it on.
3. Adjust the polarization: CPL filters have a rotating ring that allows you to adjust the polarization. Look through the viewfinder or LCD screen and rotate the ring until you achieve the desired effect.
4. Shoot: Once you have attached and adjusted the CPL filter, you are ready to shoot. Keep in mind that CPL filters reduce the amount of light entering the lens, so you may need to adjust your exposure settings accordingly.
In recent years, some photographers have started to use digital CPL filters that can be applied in post-processing. While these filters can be convenient, they may not produce the same quality as a physical CPL filter. Additionally, some photographers prefer to use a physical filter to get the effect they want in-camera rather than relying on post-processing.
4、 Adjusting CPL Filter for Desired Effect
How to use CPL filter:
1. Screw the CPL filter onto the front of your lens.
2. Look through your viewfinder or LCD screen and rotate the filter until you see the desired effect.
3. The CPL filter works by reducing reflections and glare from non-metallic surfaces such as water, glass, and foliage. It also enhances colors and contrast.
4. To achieve the maximum effect, position yourself perpendicular to the light source. This will help to reduce reflections and increase color saturation.
5. Keep in mind that the CPL filter will also reduce the amount of light entering your lens, so you may need to adjust your exposure settings accordingly.
Adjusting CPL Filter for Desired Effect:
To achieve the desired effect with a CPL filter, it is important to understand how it works and how to adjust it properly. The CPL filter works by polarizing light, which means it only allows light waves that are oriented in a certain direction to pass through. This helps to reduce reflections and glare from non-metallic surfaces and enhance colors and contrast.
To adjust the CPL filter for the desired effect, start by rotating the filter until you see the maximum reduction in reflections and glare. This is usually achieved when the filter is perpendicular to the light source. Next, adjust the filter to enhance the colors and contrast in your scene. This can be done by rotating the filter until you see the colors become more vibrant and the contrast increase.
It is important to keep in mind that the CPL filter will also reduce the amount of light entering your lens, so you may need to adjust your exposure settings accordingly. Additionally, the effect of the CPL filter may vary depending on the angle of the light source and the position of the filter. Experiment with different angles and positions to achieve the desired effect.








There are no comments for this blog.