How To Use Depstech Endoscope ?
To use the Depstech endoscope, first, connect the endoscope to your device (such as a smartphone or computer) using the appropriate adapter or cable. Then, download and install the Depstech app on your device. Open the app and turn on the endoscope by pressing the power button. Next, connect the endoscope to your device via Wi-Fi or USB, depending on the model. Once connected, you can view the live feed from the endoscope on your device's screen. Adjust the brightness and other settings as needed. Use the endoscope's flexible cable to navigate and inspect hard-to-reach areas. You can capture photos or record videos of what you see using the app's controls. After you finish using the endoscope, turn it off and disconnect it from your device. Clean and store the endoscope properly for future use.
1、 Connecting the Depstech Endoscope to Your Device
To connect the Depstech Endoscope to your device, follow these steps:
1. Download the compatible app: The Depstech Endoscope is compatible with both Android and iOS devices. Go to the Google Play Store or Apple App Store and search for the "Depstech" app. Download and install it on your device.
2. Connect the endoscope to your device: Plug the USB end of the endoscope into the USB port of your device. If you have an Android device, you may need to use an OTG adapter to connect the endoscope. Once connected, the endoscope's LED lights should turn on.
3. Open the Depstech app: Launch the Depstech app on your device. You should see a live feed from the endoscope's camera on your screen.
4. Adjust settings: The app allows you to adjust various settings such as brightness, resolution, and capture mode. You can also switch between photo and video modes.
5. Start exploring: Once you have adjusted the settings, you can start using the endoscope. Insert the endoscope into the desired area and use the app to navigate and capture images or videos.
It's worth noting that the Depstech Endoscope has evolved over time, and newer models may have additional features or improvements. Therefore, it's always a good idea to refer to the user manual or the manufacturer's website for the most up-to-date instructions and information on using the endoscope.
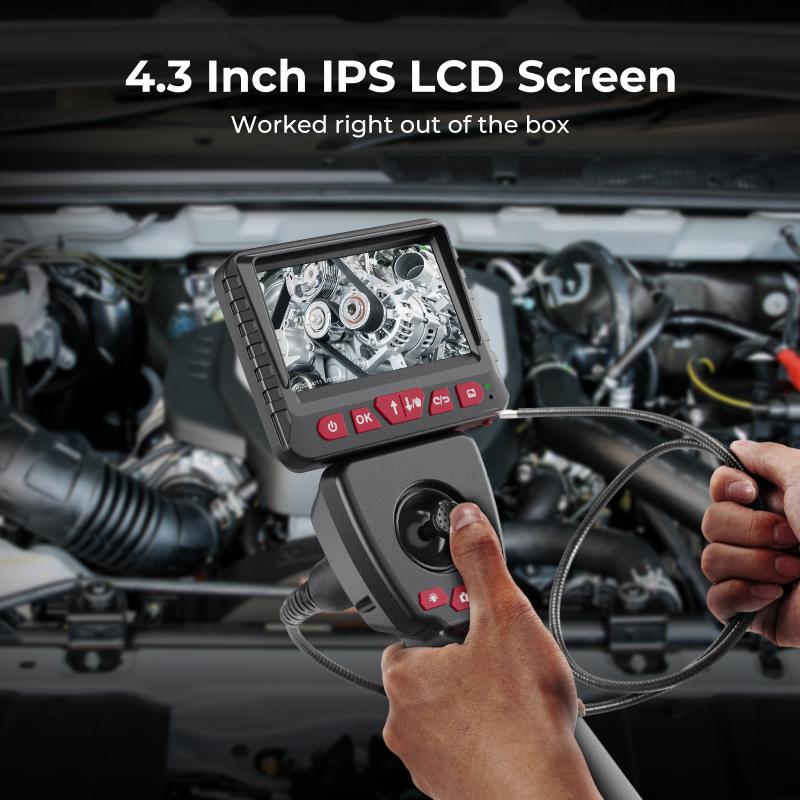
2、 Adjusting the LED Brightness on the Depstech Endoscope
To adjust the LED brightness on the Depstech Endoscope, follow these steps:
1. Connect the endoscope to your device: Plug the USB connector into your computer, smartphone, or tablet. Make sure the device recognizes the endoscope and launches the appropriate app.
2. Launch the app: Open the app that is compatible with the Depstech Endoscope on your device. If you haven't installed the app yet, you can find it in the app store or on the Depstech website.
3. Connect the endoscope to the app: Once the app is open, select the option to connect the endoscope. This may involve selecting the appropriate Wi-Fi network or Bluetooth connection.
4. Access the settings: Once the endoscope is connected, you should see a settings menu within the app. Look for an option related to LED brightness or illumination.
5. Adjust the LED brightness: Within the settings menu, you will likely find a slider or numerical value that allows you to adjust the LED brightness. Slide the bar or enter a value to increase or decrease the brightness level.
6. Test the brightness: After adjusting the LED brightness, test it by inserting the endoscope into a dark or dimly lit area. Make sure the illumination is sufficient for your needs.
It's important to note that the specific steps may vary depending on the model of the Depstech Endoscope and the app you are using. Always refer to the user manual or the manufacturer's website for detailed instructions.
In the latest models of the Depstech Endoscope, there may be additional features to enhance the LED brightness adjustment. Some endoscopes now offer multiple LED brightness levels, allowing you to choose the most suitable illumination for different environments. Additionally, newer models may have automatic brightness adjustment capabilities, where the endoscope adjusts the LED brightness based on the surrounding light conditions. These advancements provide users with more flexibility and convenience when using the Depstech Endoscope.
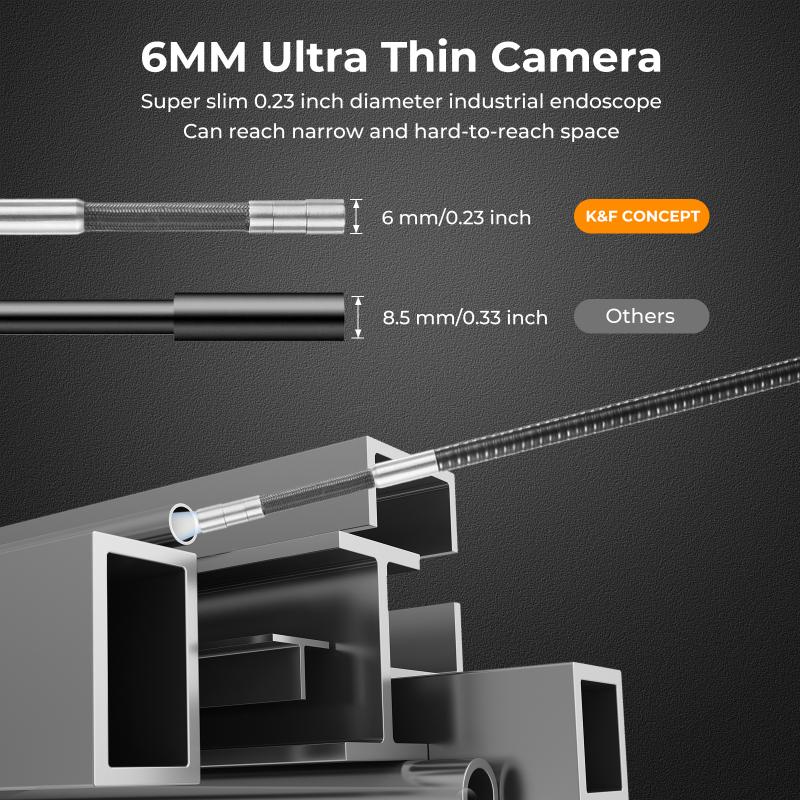
3、 Navigating and Capturing Images/Video with the Depstech Endoscope
To use the Depstech endoscope, follow these steps:
1. Connect the endoscope to your device: The Depstech endoscope is compatible with both Android and iOS devices. For Android, simply download the "CameraFi" app from the Google Play Store. For iOS, download the "Depstech" app from the App Store. Connect the endoscope to your device using the provided USB or Wi-Fi connection.
2. Power on the endoscope: Press the power button on the endoscope to turn it on. The LED lights on the endoscope will illuminate, allowing you to see in dark or low-light environments.
3. Navigate the endoscope: Use the control buttons on the endoscope to navigate the camera. You can adjust the brightness, zoom in or out, and capture images or videos. The endoscope is flexible and can be bent to reach difficult areas.
4. Capture images or videos: To capture images, press the camera button on the endoscope or in the app. To record videos, press the video button. The images and videos will be saved directly to your device's gallery.
5. Adjust settings: In the app, you can adjust various settings such as resolution, exposure, and white balance to enhance the image quality.
6. Share and analyze: Once you have captured images or videos, you can easily share them with others or analyze them for various purposes such as plumbing inspections, automotive repairs, or wildlife observation.
The Depstech endoscope provides a convenient and versatile tool for exploring and capturing images or videos in hard-to-reach areas. Its high-quality camera and user-friendly app make it a valuable asset for professionals and hobbyists alike.
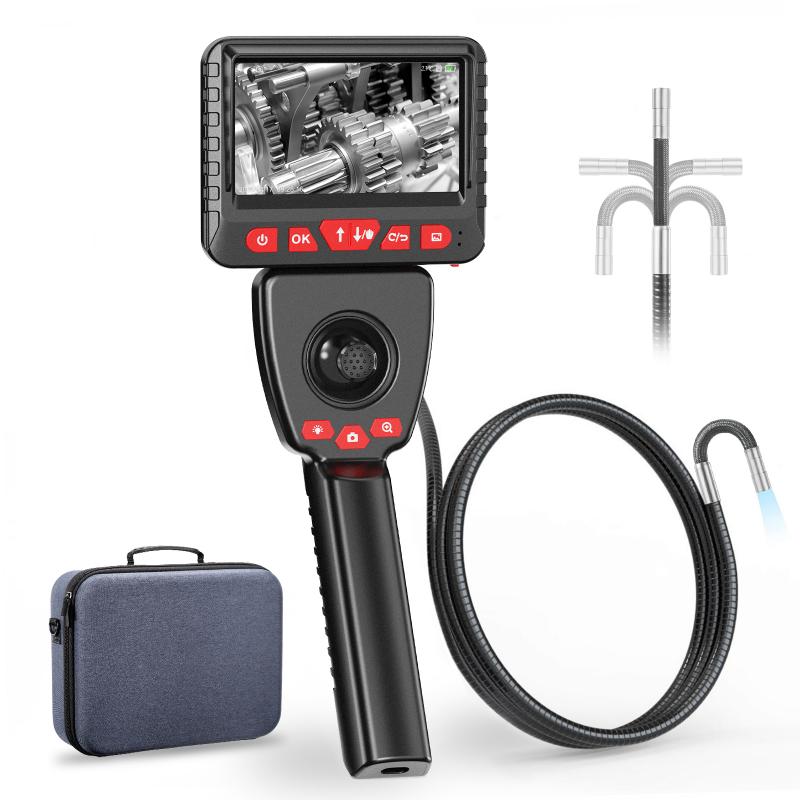
4、 Cleaning and Maintaining the Depstech Endoscope
Cleaning and maintaining the Depstech Endoscope is essential to ensure its longevity and optimal performance. Here is a step-by-step guide on how to clean and maintain your Depstech Endoscope:
1. Disconnect the endoscope: Before cleaning, make sure to disconnect the endoscope from any power source or device it may be connected to.
2. Clean the camera lens: Gently wipe the camera lens with a soft, lint-free cloth. Avoid using any abrasive materials or harsh chemicals that may damage the lens. If there are stubborn stains or debris, you can use a small amount of lens cleaning solution specifically designed for delicate optics.
3. Clean the cable: Wipe the cable with a damp cloth to remove any dirt or dust. Be careful not to wet the cable excessively, as it may damage the internal components. Avoid using any cleaning agents that are not recommended by Depstech.
4. Disinfect the endoscope: To ensure proper hygiene, it is important to disinfect the endoscope after each use. You can use a disinfectant wipe or a solution of 70% isopropyl alcohol to clean the external surfaces of the endoscope. Pay special attention to the handle and buttons, as they are frequently touched.
5. Store properly: After cleaning and disinfecting, make sure to store the endoscope in a clean and dry place. Avoid exposing it to extreme temperatures or humidity, as it may affect its performance.
It is important to note that the above instructions are general guidelines and may vary depending on the specific model of the Depstech Endoscope. Always refer to the user manual provided by Depstech for detailed instructions on cleaning and maintenance.
In addition to these steps, it is also recommended to regularly update the endoscope's firmware to ensure compatibility with the latest devices and software. Depstech periodically releases firmware updates, which can be downloaded from their official website.
By following these cleaning and maintenance practices, you can prolong the lifespan of your Depstech Endoscope and ensure that it continues to provide high-quality imaging for your inspection needs.
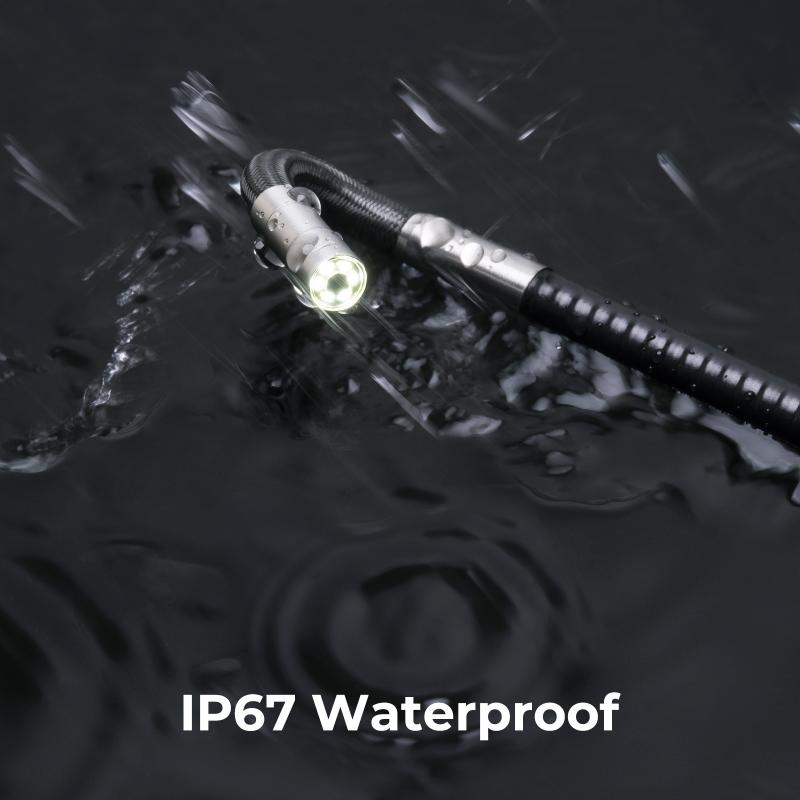






![3mm/0.12in Industrial Borescope Inspection Camera with Light 180° 2-Way Articulating [3.28ft Cable] 3mm/0.12in Industrial Borescope Inspection Camera with Light 180° 2-Way Articulating [3.28ft Cable]](https://img.kentfaith.de/cache/catalog/products/de/GW45.0108/GW45.0108-1-200x200.jpg)



There are no comments for this blog.