How To Use External Microphone With Iphone ?
To use an external microphone with an iPhone, you will need to connect it using an appropriate adapter or cable. The type of adapter or cable required will depend on the specific model of iPhone you have and the type of microphone you are using.
For iPhones with a Lightning port (iPhone 5 and newer models), you can use a Lightning to 3.5mm headphone jack adapter to connect a microphone with a 3.5mm audio jack. Simply plug the microphone into the adapter, and then connect the adapter to the Lightning port on your iPhone.
If you have an iPhone with a USB-C port (iPhone 11 and newer models), you can use a USB-C to 3.5mm headphone jack adapter to connect a microphone with a 3.5mm audio jack. Again, plug the microphone into the adapter, and then connect the adapter to the USB-C port on your iPhone.
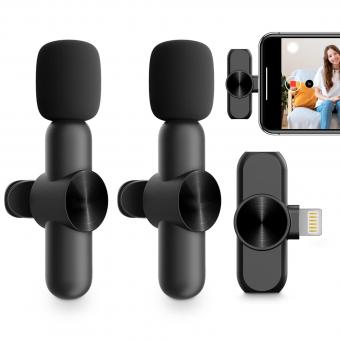
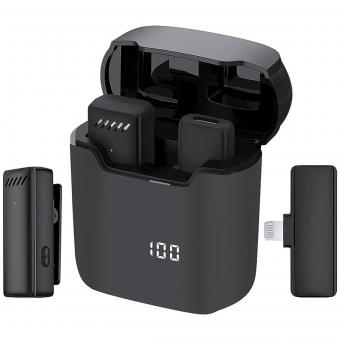
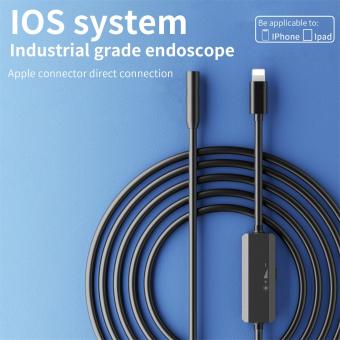
Alternatively, if you have a microphone with a Lightning connector or USB-C connector, you can directly connect it to the corresponding port on your iPhone without the need for an adapter.
Once the microphone is connected, you can select it as the audio input source in the settings of your recording or audio app to start using it.
1、 Connecting an External Microphone to an iPhone
Connecting an external microphone to an iPhone can greatly enhance the audio quality of your recordings, whether you're shooting videos, conducting interviews, or recording podcasts. With the latest advancements in technology, it has become easier than ever to connect an external microphone to your iPhone.
To use an external microphone with an iPhone, you will need a compatible microphone and an adapter. The type of adapter you need will depend on the model of your iPhone. For newer iPhones that lack a headphone jack, you will need a Lightning to 3.5mm adapter. For older iPhones with a headphone jack, you can simply plug the microphone directly into the jack.
Once you have the necessary equipment, follow these steps:
1. Connect the microphone to the adapter or directly to the headphone jack.
2. Plug the adapter (or microphone) into the Lightning port or headphone jack of your iPhone.
3. Open the recording app or camera app on your iPhone.
4. Go to the settings of the app and select the external microphone as the audio input source.
5. Start recording or shooting your video.
It's important to note that not all external microphones are compatible with iPhones. Make sure to check the compatibility of the microphone with your specific iPhone model before purchasing.
Additionally, it's worth considering investing in a high-quality external microphone that suits your recording needs. There are various options available, including lavalier microphones for interviews, shotgun microphones for outdoor recording, and USB microphones for studio-like quality.
Using an external microphone with an iPhone can significantly improve the audio quality of your recordings, making them more professional and enjoyable to listen to. Whether you're a content creator, journalist, or simply someone who wants to capture high-quality audio, connecting an external microphone to your iPhone is a worthwhile investment.
2、 Adjusting Audio Settings for External Microphone on iPhone
Adjusting Audio Settings for External Microphone on iPhone
Using an external microphone with your iPhone can greatly enhance the audio quality of your recordings, whether you're shooting videos, conducting interviews, or recording podcasts. Here's a step-by-step guide on how to use an external microphone with your iPhone and adjust the audio settings for optimal performance.
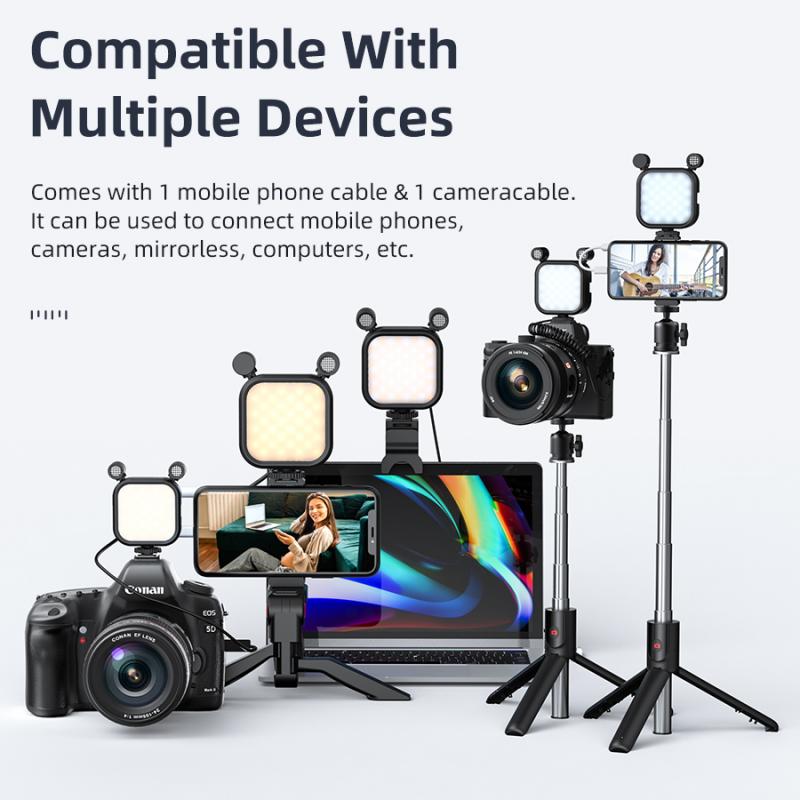
1. Connect the microphone: Start by connecting your external microphone to your iPhone. Depending on the type of microphone you have, you may need an adapter or a lightning-to-3.5mm headphone jack dongle. Ensure that the microphone is securely connected to the iPhone.
2. Open the recording app: Launch the recording app you intend to use, such as the built-in Voice Memos app or a third-party app like GarageBand or Filmic Pro. Make sure the app supports external microphones.
3. Select the microphone input: Once the app is open, locate the microphone input settings. This can usually be found in the app's settings or preferences menu. Select the external microphone as the input source.
4. Adjust microphone levels: Some recording apps allow you to adjust the microphone levels manually. This can help prevent audio distortion or clipping. Experiment with different levels to find the optimal setting for your microphone.
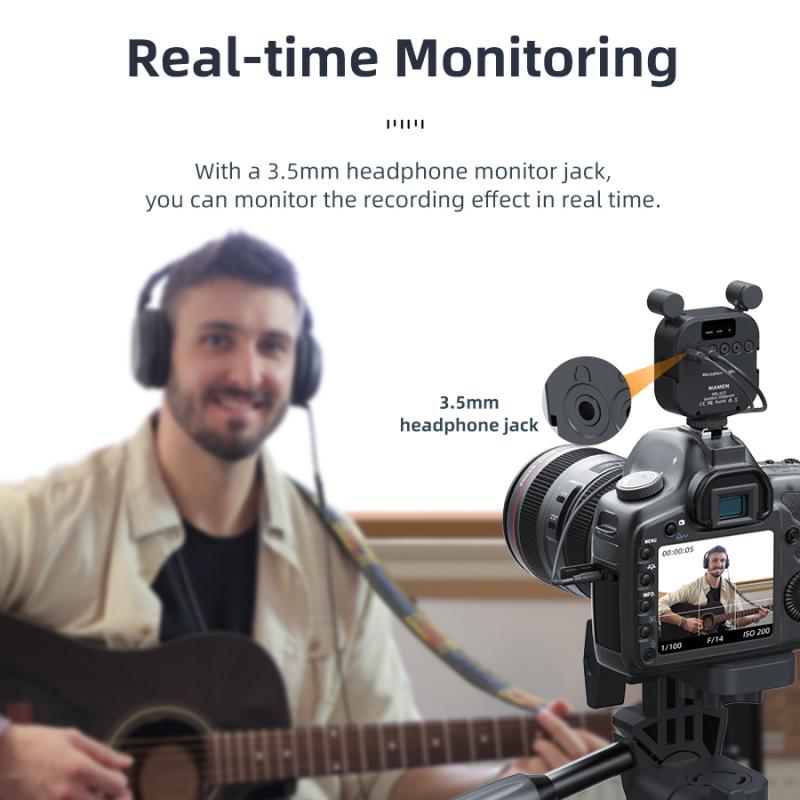
5. Monitor audio: If your external microphone has a headphone jack, you can connect headphones to monitor the audio while recording. This allows you to ensure that the audio is clear and free from any unwanted noise.
6. Test and adjust: Before starting your recording, do a quick test to ensure that the microphone is working properly. Speak into the microphone and listen to the playback. If necessary, make further adjustments to the microphone levels or positioning.
It's worth noting that with the latest iPhone models, such as the iPhone 11 and iPhone 12 series, Apple has introduced advanced audio processing capabilities. These devices feature multiple microphones that can intelligently switch between inputs to capture the best audio quality. Additionally, some apps offer advanced audio settings, such as noise reduction and EQ adjustments, which can further enhance the audio captured by your external microphone.
In conclusion, using an external microphone with your iPhone is a simple process that can significantly improve the audio quality of your recordings. By following these steps and taking advantage of the latest audio features available on newer iPhone models, you can achieve professional-level audio recordings with ease.
3、 Troubleshooting Common Issues with External Microphone on iPhone
How to Use External Microphone with iPhone:
Using an external microphone with your iPhone can greatly enhance the audio quality of your recordings, whether you're shooting videos, conducting interviews, or recording podcasts. Here's a step-by-step guide on how to use an external microphone with your iPhone:
1. Check compatibility: Ensure that your external microphone is compatible with your iPhone model. Most microphones that use a 3.5mm audio jack or a lightning connector should work with iPhones.
2. Connect the microphone: Plug the microphone into the appropriate port on your iPhone. If your microphone uses a lightning connector, simply connect it to the lightning port. If it uses a 3.5mm audio jack, you'll need an adapter to connect it to the lightning port.
3. Configure audio settings: Once the microphone is connected, go to your iPhone's settings and navigate to "Settings" > "Privacy" > "Microphone." Make sure that the app you're using to record audio has permission to access the microphone.
4. Test the microphone: Open the app you want to use for recording and check if the external microphone is being recognized. Some apps may have specific settings to select the input source, so make sure to configure them accordingly.
5. Adjust microphone settings: Depending on the microphone you're using, you may have additional settings to adjust, such as gain control or directional settings. Refer to the microphone's user manual for instructions on how to adjust these settings.
Troubleshooting Common Issues with External Microphone on iPhone:
While using an external microphone with your iPhone is generally straightforward, you may encounter some common issues. Here are a few troubleshooting tips:
1. Ensure proper connection: Double-check that the microphone is securely connected to your iPhone. Loose connections can result in poor audio quality or no sound at all.
2. Check for app compatibility: Some apps may not support external microphones or may require specific settings to be enabled. Make sure you're using an app that is compatible with external microphones and check its settings for any microphone-related options.
3. Restart your iPhone: If you're experiencing issues with the microphone, try restarting your iPhone. This can help resolve any temporary software glitches that may be affecting the microphone's functionality.
4. Update iOS: Keeping your iPhone's operating system up to date can help ensure compatibility with external microphones. Check for any available iOS updates and install them if necessary.
5. Test with another microphone: If you're still experiencing issues, try using a different external microphone to determine if the problem lies with the microphone itself or your iPhone.
Remember, the latest iPhone models may not have a 3.5mm audio jack, so you'll need to use an adapter or a microphone with a lightning connector. Additionally, some newer iPhones may require specific adapters or cables to connect certain microphones. Always refer to the manufacturer's instructions and compatibility guidelines for the best results.
4、 Recommended External Microphones for iPhone Recording
How to use an external microphone with an iPhone:
1. Check compatibility: Ensure that the external microphone you plan to use is compatible with your iPhone model. Most external microphones connect via the iPhone's Lightning port, so make sure your microphone has a Lightning connector or an adapter.
2. Connect the microphone: Plug the external microphone into the Lightning port of your iPhone. If your microphone requires an adapter, connect the adapter to the Lightning port first, and then connect the microphone to the adapter.
3. Configure audio settings: Once the microphone is connected, go to your iPhone's settings and select "Settings" > "Privacy" > "Microphone." Enable the microphone access for the specific app you plan to use for recording.
4. Test the microphone: Open the app you want to use for recording and check if the external microphone is working. You can do a quick test by recording a short audio clip and playing it back to ensure the microphone is capturing sound properly.
Recommended External Microphones for iPhone Recording:
1. Rode VideoMic Me: This compact shotgun microphone is ideal for capturing high-quality audio while recording videos on your iPhone. It features a directional pickup pattern to focus on the sound source and reduce background noise.
2. Shure MV88: This microphone connects directly to the Lightning port and offers professional-level audio quality. It has adjustable stereo width and gain settings, making it suitable for various recording situations.
3. Sennheiser ClipMic Digital: Designed for interviews and presentations, this lapel microphone connects to your iPhone via Lightning port. It provides clear and natural sound reproduction, and its compact design makes it easy to carry around.
4. Zoom iQ7: This microphone attaches to the Lightning port and offers adjustable stereo recording capabilities. It is suitable for capturing live performances, interviews, and field recordings.
5. Audio-Technica ATR3350iS: This lavalier microphone is perfect for recording interviews or vlogs. It connects to your iPhone via the headphone jack or Lightning port using an adapter. It provides clear and crisp audio with minimal background noise.
It's important to note that the latest iPhone models, such as the iPhone 11 and iPhone 12, no longer have a headphone jack. Therefore, you will need to use an adapter or a microphone with a Lightning connector to connect an external microphone. Additionally, always ensure that the microphone you choose is compatible with your specific iPhone model and iOS version.
