How To Use Filters On Camera Lens ?
To use filters on a camera lens, first, determine the type of filter you want to use based on your desired effect. Common types include UV filters, polarizing filters, neutral density filters, and color filters. Once you have chosen the appropriate filter, follow these steps:
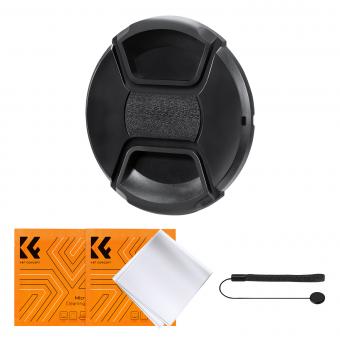
1. Remove the lens cap from your camera lens.
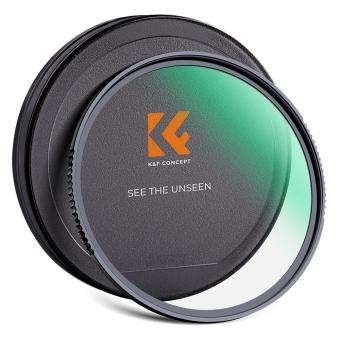
2. Screw or slide the filter onto the front of the lens. Make sure it is securely attached.
3. Adjust the filter if necessary to achieve the desired effect. For example, rotate a polarizing filter to reduce glare or adjust the intensity of a neutral density filter.
4. Compose your shot and focus as usual.
5. Take the photo by pressing the shutter button.
Remember to remove the filter when not needed to avoid any unwanted effects or loss of image quality. Additionally, be cautious when handling filters to prevent scratches or damage.
1、 Types of camera lens filters and their functions
How to use filters on camera lens:
Using filters on camera lenses is a great way to enhance your photography and achieve creative effects. Here's a step-by-step guide on how to use filters effectively:
1. Choose the right filter: There are various types of camera lens filters available, each serving a specific purpose. Some common filters include UV filters, polarizing filters, neutral density filters, and graduated filters. Select the filter that suits your desired effect.
2. Attach the filter: Screw the filter onto the front of your camera lens. Make sure it is securely attached to avoid any movement or damage.
3. Adjust the settings: Depending on the type of filter, you may need to make adjustments to your camera settings. For example, with a polarizing filter, you may need to rotate the filter to achieve the desired polarization effect.
4. Compose your shot: Frame your subject and adjust your composition as needed. Keep in mind that certain filters, like graduated filters, may require careful positioning to achieve the desired effect.
5. Take the shot: Once everything is set up, press the shutter button to capture your image. Review the result on your camera's LCD screen to ensure the desired effect has been achieved.
Types of camera lens filters and their functions:
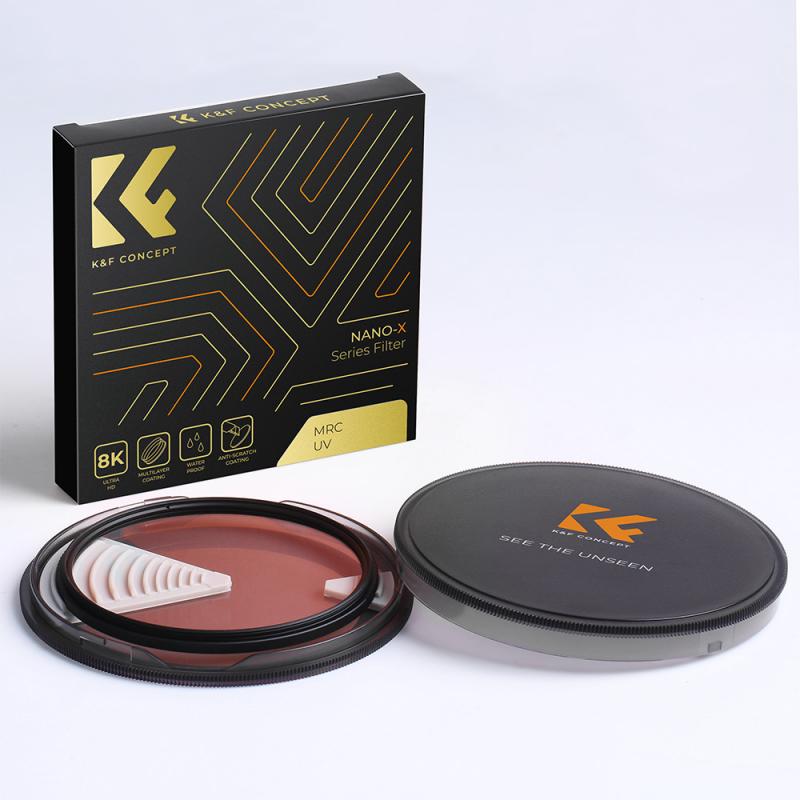
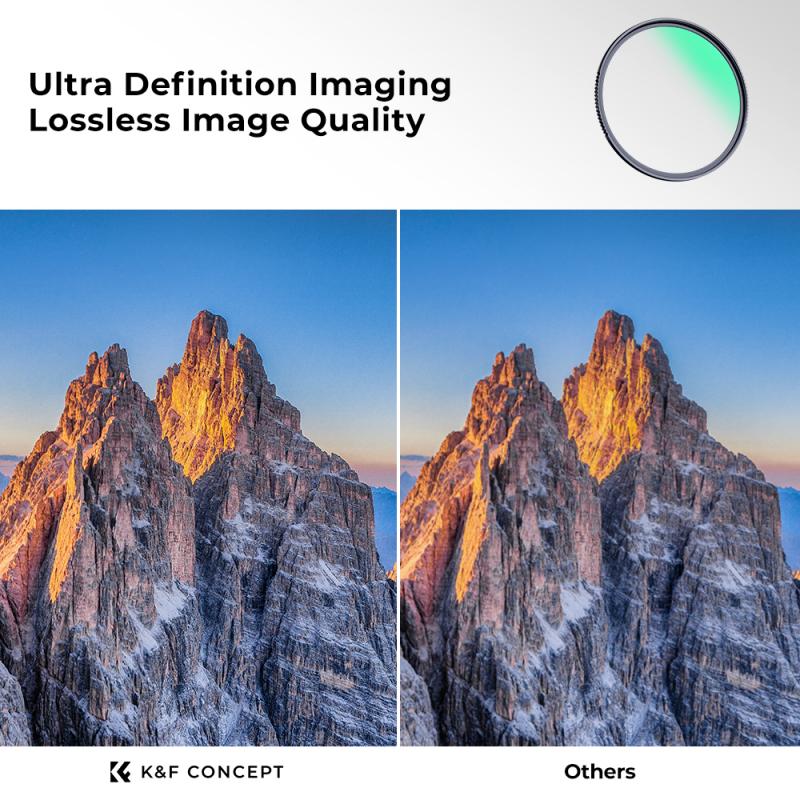
1. UV filters: These filters primarily serve as lens protectors, reducing haze and protecting the lens from scratches and dust. They also help improve image clarity and reduce the impact of ultraviolet light.
2. Polarizing filters: These filters reduce glare and reflections, making colors appear more vibrant and saturated. They are particularly useful for landscape and outdoor photography.
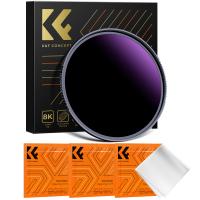
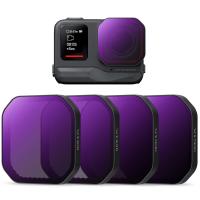
3. Neutral density filters: These filters reduce the amount of light entering the lens, allowing for longer exposures or wider apertures in bright conditions. They are commonly used in landscape and long exposure photography.
4. Graduated filters: These filters have a gradient effect, with one half being clear and the other half having a neutral density or color effect. They are used to balance exposure in scenes with a significant difference in brightness between the sky and the foreground.
5. Infrared filters: These filters block visible light and allow only infrared light to pass through, resulting in unique and surreal images with a dreamy, otherworldly quality.
It's important to note that with advancements in digital photography, some filters can now be replicated or enhanced using post-processing software. However, certain effects, such as polarizing or graduated filters, are still best achieved using physical filters on the camera lens.
2、 Step-by-step guide to attaching and removing camera lens filters
Step-by-step guide to attaching and removing camera lens filters:
1. Choose the right filter: There are various types of camera lens filters available, such as UV filters, polarizing filters, neutral density filters, and more. Determine the purpose of your photography and select the appropriate filter accordingly.
2. Remove the lens cap: Before attaching the filter, make sure to remove the lens cap from your camera lens.
3. Screw-on filters: Most camera lens filters are screw-on filters. To attach a screw-on filter, simply align the threads of the filter with those on the lens and gently screw it on in a clockwise direction. Be careful not to overtighten, as it may become difficult to remove later.
4. Square or rectangular filters: Some filters, like graduated neutral density filters, come in square or rectangular shapes. These filters require a filter holder system. Attach the filter holder to the lens by screwing it on or using a mounting adapter. Then, slide the filter into the holder and adjust its position as needed.
5. Adjust the filter: Once the filter is attached, you can rotate it or adjust its position to achieve the desired effect. For example, a polarizing filter can be rotated to reduce glare or enhance colors.
6. Removing the filter: To remove a screw-on filter, hold the camera lens firmly and gently unscrew the filter in a counterclockwise direction. For square or rectangular filters, remove them from the filter holder system by sliding them out.
It's worth noting that some photographers prefer to use digital editing software to achieve similar effects as filters. However, using physical filters on camera lenses can often produce more natural and authentic results, especially when it comes to polarizing or graduated neutral density filters. Experiment with different filters and techniques to enhance your photography skills and capture stunning images.
3、 Understanding the impact of different filters on image quality
Understanding the impact of different filters on image quality is essential for photographers looking to enhance their photography skills. Filters are a valuable tool that can be attached to camera lenses to modify the light entering the camera, resulting in various effects on the final image. Here's a guide on how to use filters on camera lenses effectively.
1. Choose the right filter: There are numerous filters available, each serving a specific purpose. Some common filters include UV filters, polarizing filters, neutral density filters, and graduated filters. Understand the purpose of each filter and select the one that suits your desired effect.
2. Attach the filter: Once you have chosen the appropriate filter, carefully attach it to the front of your camera lens. Ensure it is securely fastened to avoid any movement or damage during shooting.
3. Adjust settings: Depending on the filter you are using, you may need to make adjustments to your camera settings. For example, when using a neutral density filter, you will need to compensate for the reduced light by increasing the exposure time or widening the aperture.
4. Experiment and practice: Filters offer a wide range of creative possibilities, so don't be afraid to experiment with different filters and settings. Practice using filters in various lighting conditions to understand their impact on image quality.
5. Post-processing: While filters can significantly enhance your images, it's important to remember that they are not a substitute for post-processing. Use editing software to fine-tune your images and bring out their full potential.
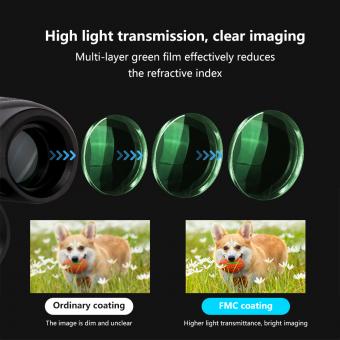
In recent years, advancements in technology have led to the development of more sophisticated filters. For example, some filters now come with anti-reflective coatings to minimize flare and ghosting. Additionally, filter systems with multiple slots allow photographers to stack filters and combine their effects for even greater creative control.
Understanding how to use filters on camera lenses effectively can greatly enhance your photography skills. By experimenting with different filters and understanding their impact on image quality, you can take your photography to new heights.
4、 Tips for using polarizing filters to enhance your photography
Tips for using polarizing filters to enhance your photography:
1. Understand the purpose: Polarizing filters are used to reduce glare and reflections from non-metallic surfaces such as water, glass, and foliage. They also enhance color saturation and contrast in your images.
2. Choose the right filter: Polarizing filters come in two types - linear and circular. Circular polarizers are the most commonly used as they work effectively with autofocus and modern digital cameras. Ensure you select the correct filter size to fit your camera lens.
3. Positioning the filter: Screw the filter onto your lens and rotate it to achieve the desired effect. To reduce reflections, rotate the filter until the glare disappears. Keep in mind that the effect is most pronounced when shooting at a 90-degree angle from the light source.
4. Experiment with angles: Depending on the scene, you may need to adjust the angle of the filter to achieve the desired effect. For example, when photographing a landscape with a blue sky, rotating the filter can deepen the color of the sky and make the clouds pop.
5. Be mindful of exposure: Polarizing filters can reduce the amount of light entering the lens, so you may need to adjust your exposure settings accordingly. Keep an eye on your camera's light meter and make necessary adjustments to maintain proper exposure.
6. Avoid overusing the filter: While polarizing filters can enhance your images, it's important not to overdo it. Excessive polarization can result in unnatural-looking images. Use the filter selectively and consider the overall composition and lighting conditions.
In conclusion, polarizing filters are a valuable tool for enhancing your photography by reducing glare, improving color saturation, and increasing contrast. By understanding how to use them effectively, you can take your images to the next level and capture stunning, vibrant scenes.










There are no comments for this blog.