How To Use Filters On Dslr Camera ?
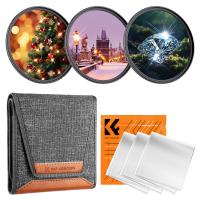
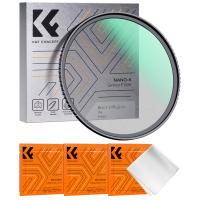
To use filters on a DSLR camera, first, you need to select the appropriate filter for the type of photography you want to do. There are different types of filters available, such as polarizing filters, neutral density filters, and color filters, among others.
Once you have selected the filter, you need to attach it to the lens of your DSLR camera. Most filters come with a screw-in mechanism that allows you to attach them to the front of the lens.
After attaching the filter, you can adjust the settings on your camera to get the desired effect. For example, if you are using a polarizing filter, you can adjust the angle of the filter to reduce glare and reflections in your photos.
It's important to note that using filters can affect the exposure and color balance of your photos, so you may need to adjust your camera settings accordingly. With practice and experimentation, you can learn how to use filters effectively to enhance your photography.
1、 Polarizing Filters
How to use filters on DSLR camera - Polarizing Filters
Polarizing filters are a popular type of filter used in photography to reduce glare and reflections, enhance colors, and improve contrast. They work by blocking certain light waves that cause glare and reflections, allowing only the desired light to pass through the lens.
To use a polarizing filter on your DSLR camera, follow these steps:
1. Choose the right size filter for your lens. Polarizing filters come in different sizes, so make sure you get one that fits your lens.
2. Screw the filter onto the front of your lens. Make sure it is securely attached.
3. Look through the viewfinder and rotate the filter until you achieve the desired effect. You will see the effect of the filter in real-time as you rotate it.
4. Adjust your camera settings as needed. Polarizing filters can reduce the amount of light that enters the lens, so you may need to adjust your aperture or shutter speed to compensate.
5. Take your photo. Once you have achieved the desired effect and adjusted your camera settings, take your photo.
It's important to note that polarizing filters work best when the light source is at a 90-degree angle to the subject. They are particularly useful for landscape photography, where they can enhance the colors of the sky and foliage, and reduce reflections on water and other shiny surfaces.
In recent years, some photographers have questioned the use of polarizing filters, arguing that they can sometimes produce an unnatural or exaggerated effect. However, many photographers still find them to be a valuable tool for enhancing their images. Ultimately, it's up to each individual photographer to decide whether or not to use a polarizing filter, and how to use it effectively.
2、 Neutral Density Filters
How to use Neutral Density Filters on DSLR Camera:
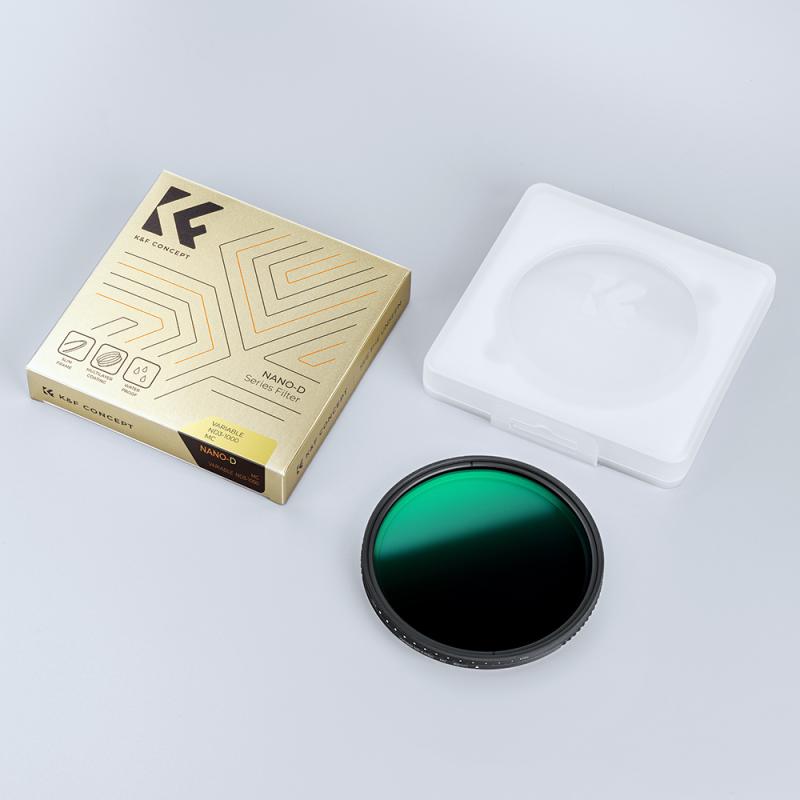
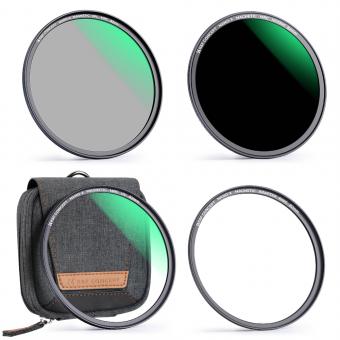
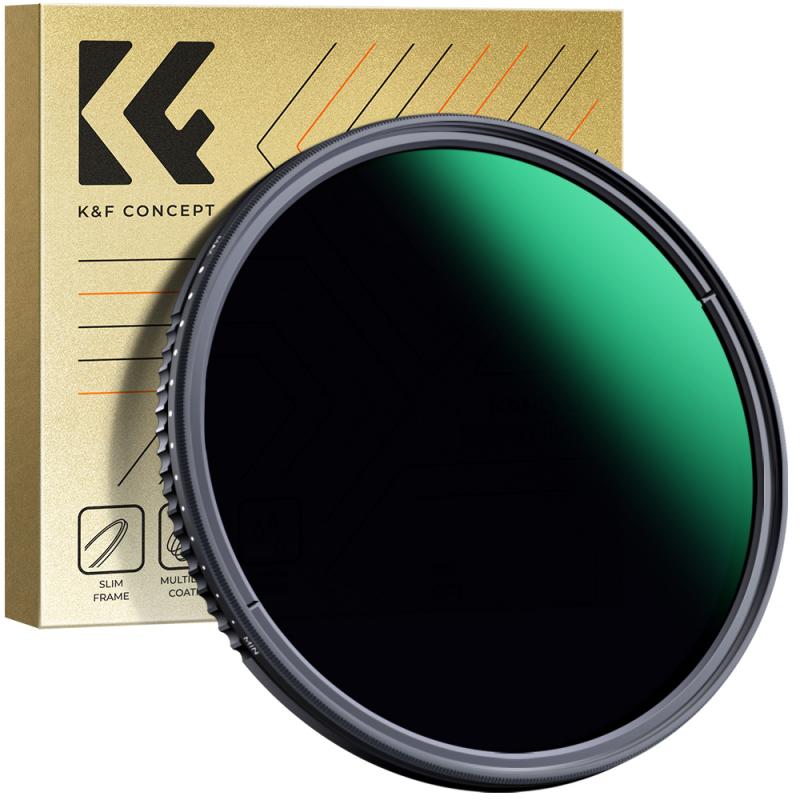
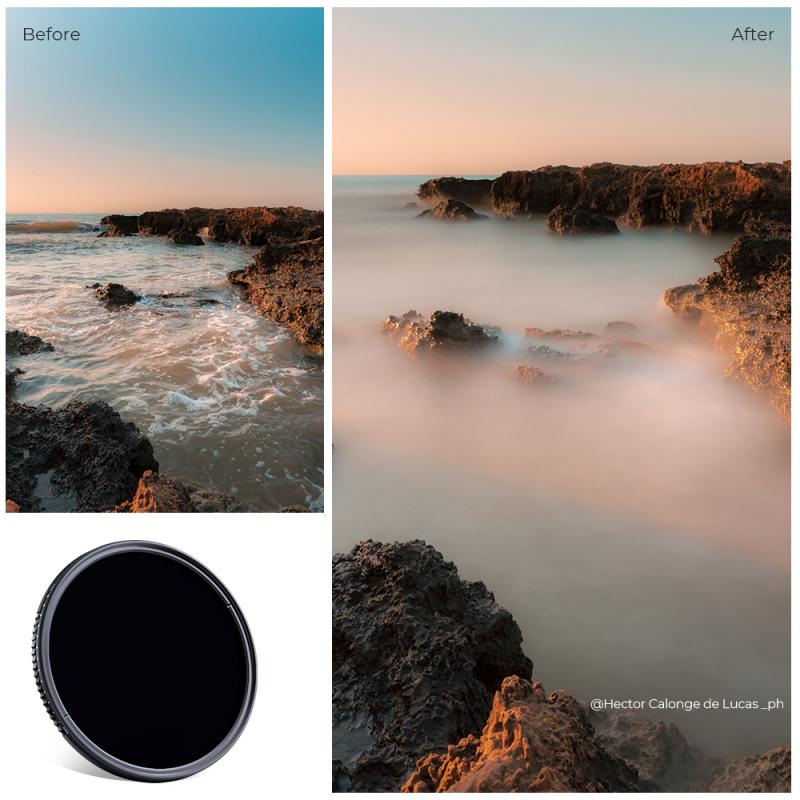
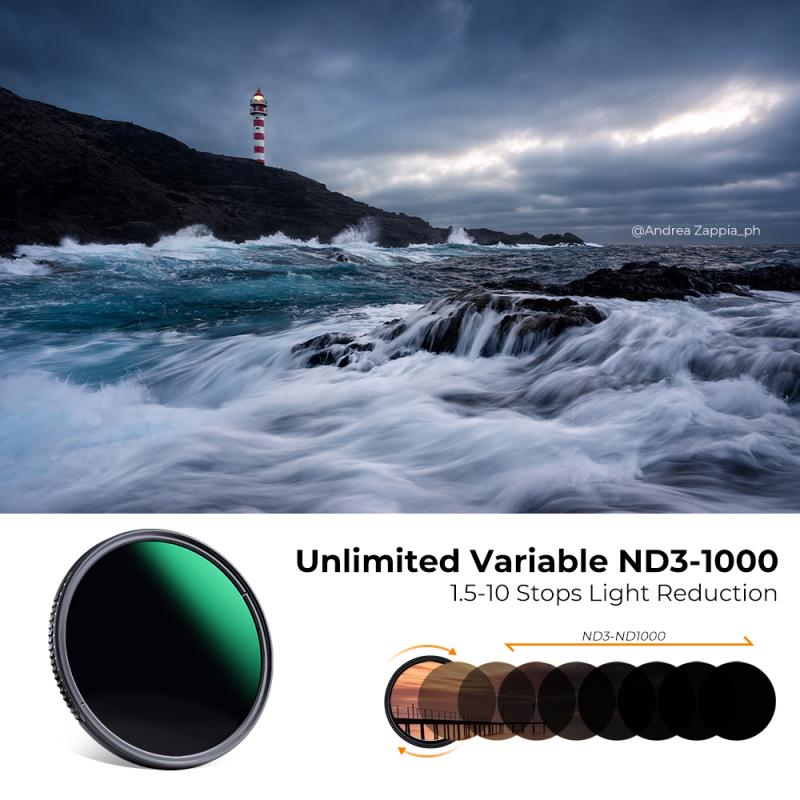
Neutral Density (ND) filters are essential tools for photographers who want to control the amount of light entering their camera lens. ND filters are particularly useful when shooting in bright sunlight or when trying to achieve a shallow depth of field in bright conditions. Here are the steps to use ND filters on your DSLR camera:
1. Choose the right ND filter: ND filters come in different strengths, ranging from ND2 to ND1000. The higher the number, the darker the filter. Choose the right filter strength based on the lighting conditions and the effect you want to achieve.
2. Attach the filter to your lens: Screw the filter onto the front of your lens or slide it into a filter holder.
3. Adjust your camera settings: Once the filter is attached, you will need to adjust your camera settings to compensate for the reduced light. You can either increase your aperture, decrease your shutter speed, or adjust your ISO.
4. Take your shot: Once you have adjusted your camera settings, take your shot as you normally would.
The latest point of view on ND filters is that they are becoming increasingly popular among videographers as well. ND filters allow videographers to shoot at wider apertures and slower shutter speeds, which can create a more cinematic look. Additionally, ND filters can help prevent overexposure and allow for more creative control over the final image.
3、 Graduated Neutral Density Filters
Graduated Neutral Density Filters are a type of filter that can be used on a DSLR camera to balance the exposure of a scene with a bright sky and darker foreground. These filters are designed to darken the sky while keeping the foreground properly exposed, resulting in a more balanced and natural-looking image.
To use a Graduated Neutral Density Filter on a DSLR camera, follow these steps:
1. Choose the right filter: Graduated Neutral Density Filters come in different strengths, so choose the one that best suits the scene you are photographing.
2. Attach the filter holder: Most Graduated Neutral Density Filters require a filter holder to be attached to the lens. This holder will allow you to slide the filter up and down to adjust the position of the gradient.
3. Position the filter: Slide the filter up or down in the holder until the gradient line is aligned with the horizon. This will ensure that the sky is properly darkened while the foreground remains properly exposed.
4. Adjust the exposure: Depending on the strength of the filter, you may need to adjust the exposure settings on your camera to compensate for the reduced light entering the lens.
5. Take the shot: Once everything is set up, take the shot as you normally would.
It's worth noting that some photographers prefer to achieve similar results using post-processing techniques rather than using filters. However, using a Graduated Neutral Density Filter can save time and effort in post-processing, and can also result in a more natural-looking image.
4、 UV/Haze Filters
How to use filters on DSLR camera - UV/Haze Filters
UV/Haze filters are one of the most commonly used filters in photography. They are designed to block ultraviolet light and reduce the amount of haze in your photos. These filters are particularly useful when shooting in bright sunlight or at high altitudes where the UV light is more intense.
To use a UV/Haze filter on your DSLR camera, simply screw the filter onto the front of your lens. Make sure the filter is securely attached and aligned properly with the lens. Once attached, you can leave the filter on your lens at all times to protect it from scratches, dust, and other debris.
When shooting with a UV/Haze filter, you may notice a slight reduction in the amount of light that enters your lens. This is because the filter is blocking some of the UV light. To compensate for this, you may need to adjust your exposure settings slightly.
It's important to note that not all UV/Haze filters are created equal. Some cheaper filters may cause unwanted reflections or distortions in your photos. It's worth investing in a high-quality filter from a reputable brand to ensure the best results.
In recent years, some photographers have questioned the necessity of using UV/Haze filters, as many modern lenses are already designed to block UV light. However, many still swear by these filters for their protective qualities and the subtle improvements they can make to image quality. Ultimately, the decision to use a UV/Haze filter is up to the individual photographer and their specific shooting conditions.
