How To Use Gimbal Stabilizer ?
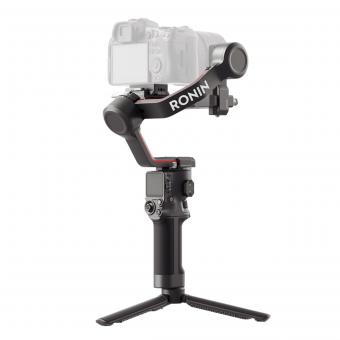
To use a gimbal stabilizer, first, attach your camera or smartphone securely to the gimbal. Make sure it is balanced properly to ensure smooth movement. Next, power on the gimbal and ensure it is calibrated correctly. Adjust the settings according to your preferences, such as the speed and responsiveness of the stabilizer. Hold the gimbal with both hands and keep it steady. Use the joystick or controls on the gimbal to pan, tilt, or roll the camera smoothly. Practice moving the gimbal slowly and steadily to capture stable footage. Experiment with different angles and movements to achieve desired shots. Remember to keep your movements fluid and avoid jerky motions. Finally, review your footage and make any necessary adjustments for better results.
1、 Balancing the gimbal stabilizer for optimal performance
Balancing the gimbal stabilizer for optimal performance is crucial to ensure smooth and stable footage. Here's a step-by-step guide on how to use a gimbal stabilizer effectively:
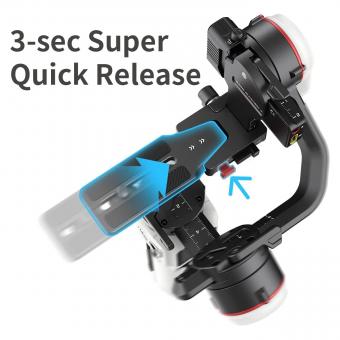
1. Mount the camera: Start by attaching your camera securely to the gimbal stabilizer. Make sure it is properly tightened and balanced on the mounting plate.
2. Power on the stabilizer: Turn on the gimbal stabilizer and wait for it to initialize. Some stabilizers may require calibration, so follow the manufacturer's instructions for this step.
3. Adjust the balance: Begin by adjusting the tilt axis. Loosen the corresponding knob and move the camera forward or backward until it stays level when you let go. Tighten the knob to secure the position.
4. Balance the roll axis: Loosen the roll axis knob and adjust the camera left or right until it remains level. Tighten the knob to lock it in place.
5. Fine-tune the balance: Check the balance of the yaw axis. If the camera tilts to one side, adjust the corresponding knob until it stays level. Repeat this step for all axes until the camera remains stable in any position.
6. Test and adjust: Once the gimbal stabilizer is balanced, test it by moving it in different directions. If you notice any instability or shaking, recheck the balance and make necessary adjustments.
7. Practice and experiment: Familiarize yourself with the gimbal stabilizer's controls and modes. Experiment with different movements and techniques to achieve the desired cinematic effect.
It's important to note that each gimbal stabilizer may have specific instructions and features, so always refer to the user manual for detailed guidance. Additionally, staying updated with the latest firmware and software updates can enhance the performance and functionality of your gimbal stabilizer.
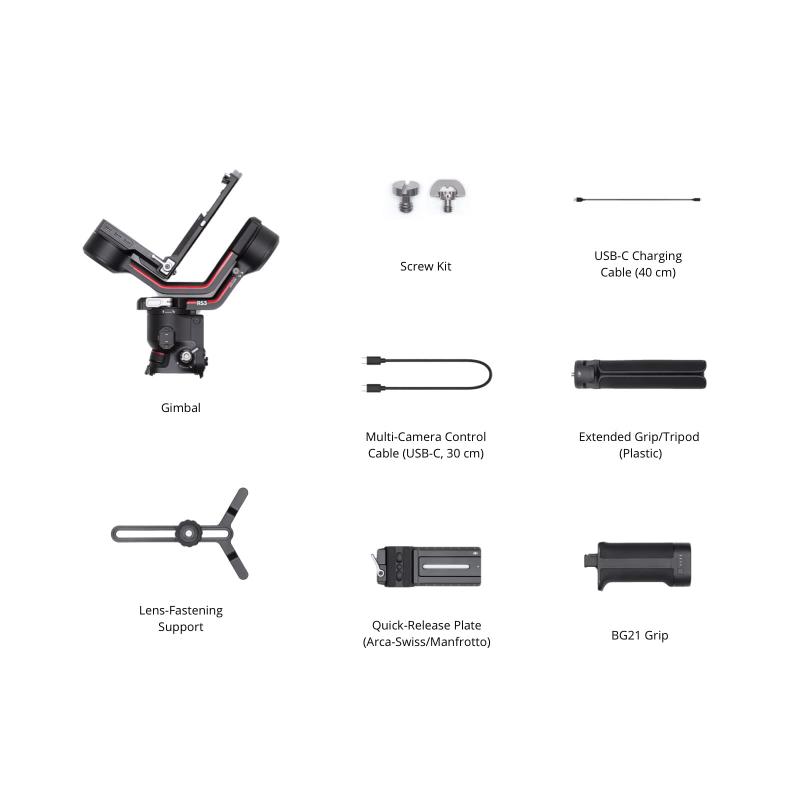
2、 Adjusting the gimbal settings for different shooting scenarios
To use a gimbal stabilizer effectively, it is important to understand how to adjust the settings for different shooting scenarios. Here's a step-by-step guide on how to do it:
1. Balance the gimbal: Before using the stabilizer, make sure it is properly balanced. This involves adjusting the position of the camera and counterweights to ensure the gimbal remains stable during operation.
2. Power on the gimbal: Turn on the gimbal and ensure it is connected to your camera or smartphone. Most gimbals have a power button or switch that needs to be pressed to activate it.
3. Set the shooting mode: Depending on the gimbal model, you may have different shooting modes available, such as follow mode, lock mode, or pan mode. Choose the appropriate mode for your shooting scenario.
4. Adjust the motor strength: Gimbals have different motor strength settings to accommodate the weight of your camera or smartphone. Adjust the motor strength to ensure the gimbal can handle the weight without straining the motors.
5. Fine-tune the stabilization: Most gimbals have settings to adjust the stabilization level. This allows you to control the smoothness and responsiveness of the gimbal's movements. Experiment with these settings to find the right balance for your shooting style.
6. Use additional features: Many gimbals come with additional features like time-lapse, panorama, or object tracking. Familiarize yourself with these features and learn how to activate them for different shooting scenarios.
7. Practice and experiment: The best way to master using a gimbal stabilizer is through practice. Experiment with different movements, angles, and shooting techniques to get the most out of your gimbal.
In the latest point of view, it is worth mentioning that some gimbals now come with advanced features like AI-powered subject tracking, gesture control, and even smartphone app integration for remote control. These features can enhance your shooting experience and provide more creative possibilities. Additionally, keep an eye on firmware updates for your gimbal, as manufacturers often release updates to improve stability and add new features. Stay updated with online tutorials and forums to learn about the latest tips and tricks for using your specific gimbal model. Remember, practice and experimentation are key to mastering the use of a gimbal stabilizer and capturing smooth, professional-looking footage.
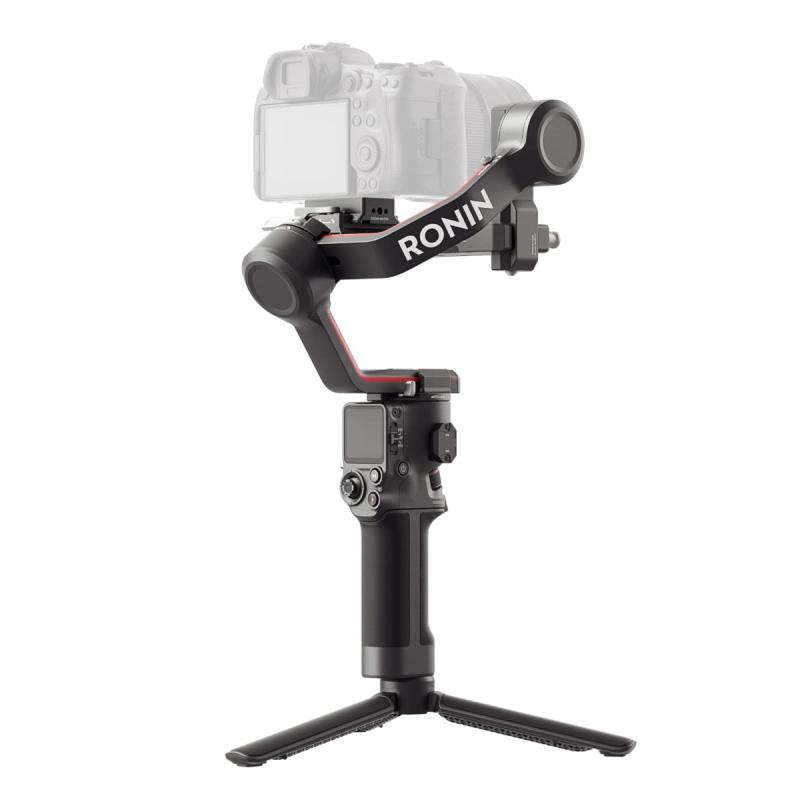
3、 Properly holding and maneuvering the gimbal stabilizer during use
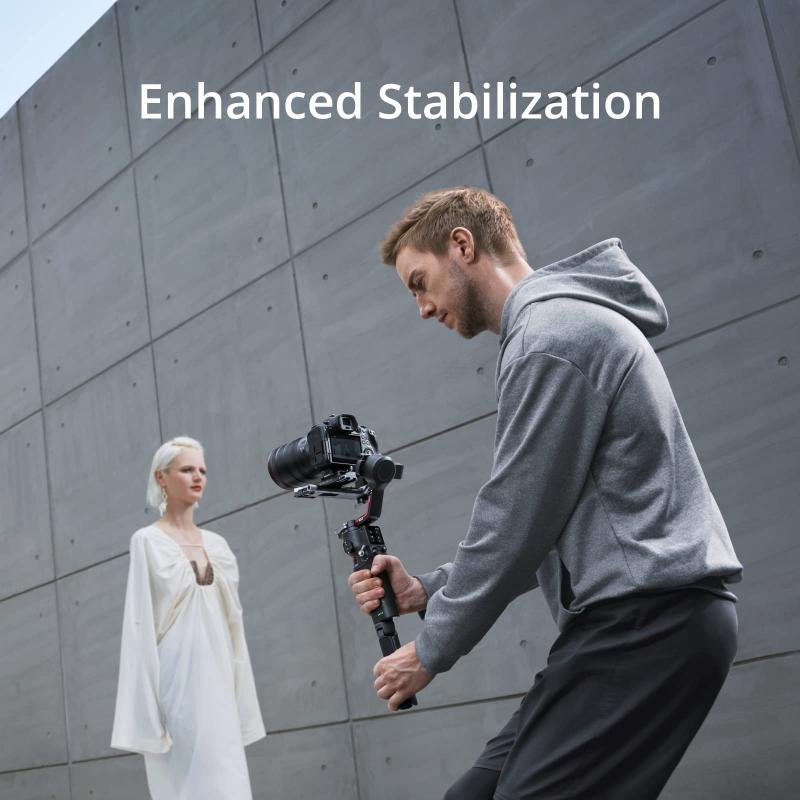
To properly use a gimbal stabilizer, it is essential to understand how to hold and maneuver it effectively. Here are some guidelines to help you make the most out of your gimbal stabilizer:
1. Proper grip: Hold the gimbal stabilizer with both hands, ensuring a firm grip. Your dominant hand should hold the handle, while the other hand supports the bottom or the side of the stabilizer. This grip will provide stability and control over the device.
2. Balance the camera: Before turning on the gimbal stabilizer, make sure your camera is properly balanced. Adjust the position of the camera on the stabilizer until it remains level and doesn't tilt in any direction. This step is crucial for achieving smooth and stable footage.
3. Power on and calibrate: Once the camera is balanced, power on the gimbal stabilizer and allow it to calibrate. Follow the manufacturer's instructions to ensure proper calibration, as it may vary depending on the model.
4. Smooth movements: When using the gimbal stabilizer, focus on making slow and deliberate movements. Avoid jerky or sudden motions, as they can disrupt the stability of the footage. Practice smooth panning, tilting, and tracking shots to achieve professional-looking results.
5. Utilize different modes: Most gimbal stabilizers offer various modes, such as follow mode, lock mode, or pan mode. Familiarize yourself with these modes and experiment with them to find the one that suits your shooting style and desired effect.
6. Practice and experiment: Using a gimbal stabilizer effectively requires practice. Spend time experimenting with different movements, angles, and techniques to understand the full potential of your stabilizer. Try out different shooting scenarios and explore creative ways to capture unique shots.
In conclusion, mastering the use of a gimbal stabilizer involves properly holding and maneuvering the device, ensuring camera balance, and practicing smooth movements. By following these guidelines and experimenting with different techniques, you can enhance the quality of your footage and achieve professional-looking results.
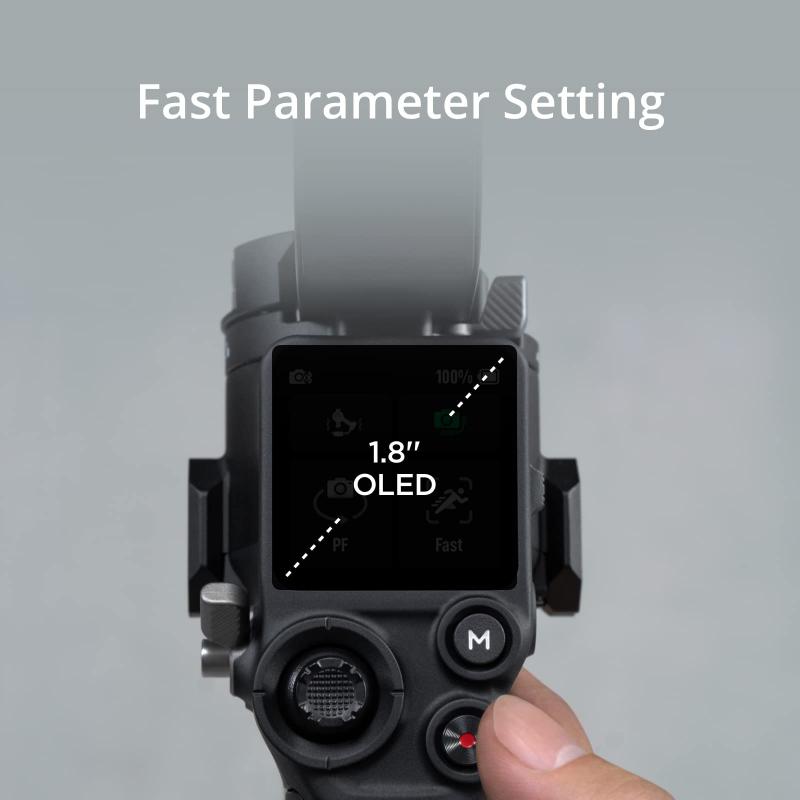
4、 Utilizing the various modes and features of the gimbal stabilizer
To effectively use a gimbal stabilizer, it is important to understand its various modes and features. These stabilizers are designed to keep your camera steady and eliminate unwanted movements, resulting in smooth and professional-looking footage. Here's a guide on how to use a gimbal stabilizer:
1. Balance the gimbal: Before using the stabilizer, it is crucial to properly balance it. This involves adjusting the position of the camera and counterweights to ensure the gimbal remains stable during operation.
2. Power on and calibrate: Once balanced, power on the gimbal and allow it to calibrate. This step ensures that the stabilizer is ready for use and can accurately detect and compensate for movements.
3. Choose the appropriate mode: Most gimbal stabilizers offer different modes such as follow mode, lock mode, and pan mode. These modes allow you to control the movement and behavior of the stabilizer based on your shooting requirements. Experiment with each mode to find the one that suits your needs.
4. Adjust the settings: Many gimbal stabilizers come with additional settings that allow you to fine-tune the stabilization. These settings may include sensitivity adjustments, motor strength, and joystick control. Take the time to explore and adjust these settings to achieve the desired results.
5. Practice and experiment: Using a gimbal stabilizer effectively requires practice. Spend time familiarizing yourself with the stabilizer's movements and limitations. Experiment with different angles, speeds, and techniques to enhance your footage.
6. Stay updated: As technology advances, gimbal stabilizers continue to evolve. Stay updated with the latest firmware updates and features offered by the manufacturer. This will ensure you are utilizing the stabilizer to its full potential and taking advantage of any new advancements.
Remember, using a gimbal stabilizer is not just about the equipment but also about your creativity and vision. Experiment, practice, and explore different techniques to capture stunning and smooth footage.
