How To Use Infrared Lens Filter ?
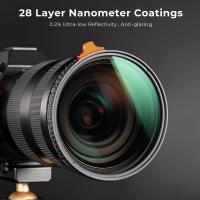
To use an infrared lens filter, you need to attach it to the front of your camera lens. The filter blocks visible light and allows only infrared light to pass through, which can create unique and interesting images.
First, make sure you have the correct size filter for your lens. Then, simply screw the filter onto the front of your lens. You may need to adjust your camera settings to compensate for the reduced amount of light entering the lens.
When shooting with an infrared filter, keep in mind that the resulting images may have a reddish or pinkish tint, and foliage may appear white or light-colored. Experiment with different settings and subjects to achieve the desired effect.
1、 Types of Infrared Lens Filters
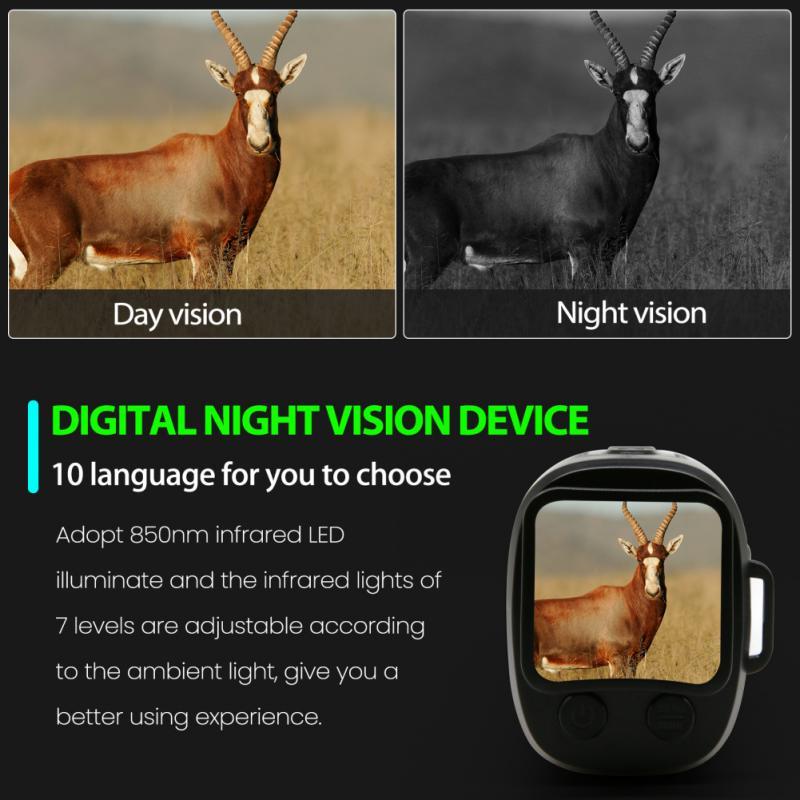
How to use infrared lens filter:
Using an infrared lens filter is a simple process that involves attaching the filter to the front of your camera lens. Here are the steps to follow:
1. Choose the right filter: There are different types of infrared filters available, so choose the one that suits your needs. Some filters block visible light and allow only infrared light to pass through, while others allow both visible and infrared light to pass through.
2. Attach the filter: Screw the filter onto the front of your camera lens. Make sure it is securely attached and aligned properly.
3. Adjust your camera settings: Infrared photography requires longer exposure times, so adjust your camera settings accordingly. You may also need to adjust the white balance settings to compensate for the different color temperature of infrared light.
4. Take your shot: Once you have everything set up, take your shot. Experiment with different exposure times and settings to get the desired effect.
Types of Infrared Lens Filters:
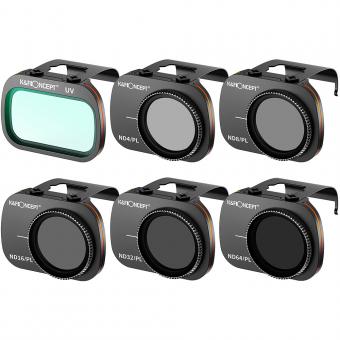
There are several types of infrared lens filters available, each with its own unique properties. Here are some of the most common types:
1. Standard IR filter: This filter blocks visible light and allows only infrared light to pass through. It is ideal for capturing black and white infrared images.
2. Full-spectrum filter: This filter allows both visible and infrared light to pass through, giving you more flexibility in your photography.
3. Hot mirror filter: This filter blocks infrared light and allows only visible light to pass through. It is useful for removing unwanted infrared light from your images.
4. UV/IR cut filter: This filter blocks both ultraviolet and infrared light, allowing only visible light to pass through. It is useful for reducing haze and improving color accuracy in your images.
5. Color infrared filter: This filter allows both visible and infrared light to pass through, but blocks certain wavelengths of infrared light to create a unique color effect in your images.
In recent years, infrared photography has gained popularity among photographers as a way to create unique and striking images. With the right infrared lens filter and camera settings, you can capture stunning images that are not possible with traditional photography techniques.
2、 Choosing the Right Filter for Your Camera

How to Use Infrared Lens Filter:
Using an infrared lens filter is a great way to capture unique and creative images. Here are the steps to use an infrared lens filter:
1. Choose the right filter: There are different types of infrared filters available in the market. Choose the one that suits your camera and the type of photography you want to do.
2. Set up your camera: Mount the filter on your lens and set your camera to manual mode. Adjust the ISO, shutter speed, and aperture according to the lighting conditions.
3. Focus: Infrared light focuses differently than visible light. Use manual focus to get sharp images.
4. Shoot: Once you have set up your camera, start shooting. Experiment with different compositions and angles to get the best results.
Choosing the Right Filter for Your Camera:
Choosing the right filter for your camera is crucial to get the desired results. Here are some factors to consider when choosing an infrared filter:
1. Filter type: There are different types of infrared filters available, such as IR-pass, IR-cut, and full-spectrum filters. Choose the one that suits your camera and the type of photography you want to do.
2. Filter strength: The strength of the filter determines the amount of infrared light that passes through. Choose the strength according to the lighting conditions and the effect you want to achieve.
3. Filter size: Make sure the filter size matches your lens diameter.
4. Brand: Choose a reputable brand to ensure the quality of the filter.
In conclusion, using an infrared lens filter can add a unique and creative touch to your photography. Choosing the right filter is crucial to get the desired results. Keep in mind the factors mentioned above when choosing an infrared filter for your camera.
3、 Installing the Infrared Lens Filter

Installing the Infrared Lens Filter:
To install an infrared lens filter, follow these steps:
1. Remove the lens cap from your camera lens.
2. Screw the infrared lens filter onto the front of your camera lens. Make sure it is securely attached.
3. Turn on your camera and adjust the settings to the appropriate infrared mode.
4. Start taking photos or videos.
How to use Infrared Lens Filter:
Infrared lens filters are used to capture images in the infrared spectrum, which is invisible to the human eye. They are commonly used in landscape, portrait, and wildlife photography to create unique and dramatic images.
To use an infrared lens filter, you need to adjust your camera settings to the appropriate infrared mode. This will vary depending on your camera model, so consult your camera manual for instructions.
Once you have adjusted your camera settings, you can start taking photos or videos. Infrared lens filters work best in bright sunlight or with a strong infrared light source, so keep this in mind when choosing your shooting location.
It's important to note that infrared lens filters can produce a strong color shift in your images, so you may need to adjust the white balance or color correction in post-processing to achieve the desired effect.
In conclusion, using an infrared lens filter can add a unique and creative element to your photography. With the right camera settings and shooting conditions, you can capture stunning images in the infrared spectrum.
4、 Adjusting Camera Settings for Infrared Photography
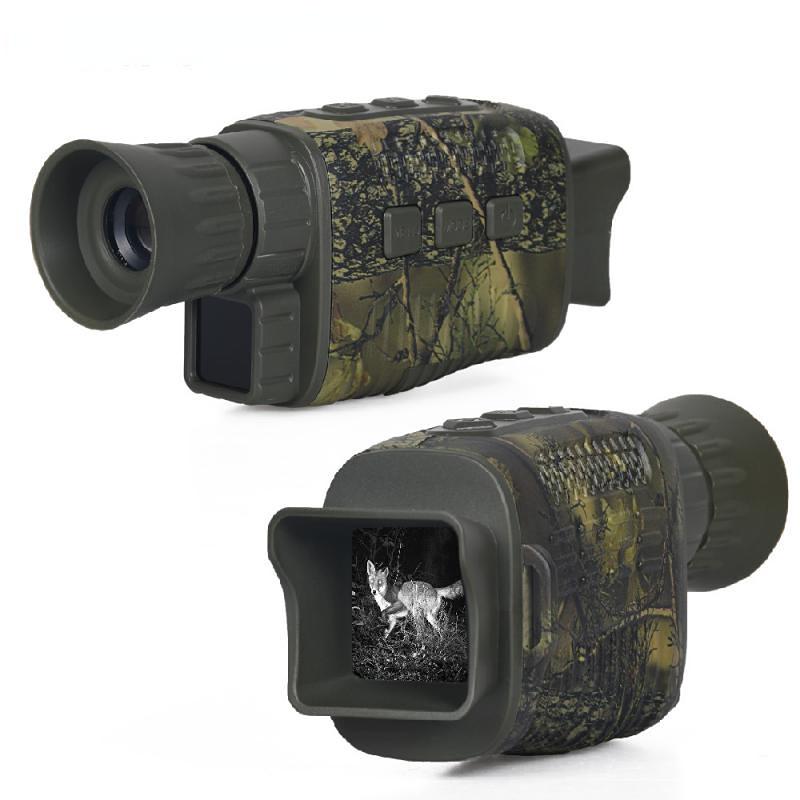
How to use infrared lens filter:
Using an infrared lens filter is a great way to capture stunning infrared photographs. Here are the steps to use an infrared lens filter:
1. Choose the right filter: There are different types of infrared filters available in the market. Choose the one that suits your camera and the type of photography you want to do.
2. Set up your camera: Mount the filter on your camera lens and set your camera to manual mode. Adjust the focus and exposure settings according to the lighting conditions.
3. Shoot in RAW: Shooting in RAW format will give you more flexibility in post-processing.
4. Experiment with different settings: Infrared photography requires different camera settings than regular photography. Experiment with different settings to get the desired effect.
5. Post-processing: Infrared photographs require post-processing to bring out the best in them. Adjust the white balance, contrast, and saturation to get the desired effect.
Adjusting Camera Settings for Infrared Photography:
Infrared photography requires different camera settings than regular photography. Here are some tips for adjusting camera settings for infrared photography:
1. Use manual focus: Infrared light focuses differently than visible light. Use manual focus to get sharp images.
2. Adjust the white balance: Infrared light has a different color temperature than visible light. Adjust the white balance to get the desired effect.
3. Use a tripod: Infrared photography requires longer exposure times. Use a tripod to avoid camera shake.
4. Use a high ISO: Infrared light is weaker than visible light. Use a high ISO to compensate for the low light.
5. Experiment with different shutter speeds: Infrared light requires longer exposure times. Experiment with different shutter speeds to get the desired effect.
In conclusion, using an infrared lens filter and adjusting camera settings for infrared photography can help you capture stunning infrared photographs. Experiment with different settings to get the desired effect.


