How To Use Lav Mic With Iphone ?
To use a lav mic with an iPhone, you will need a compatible lav mic and an adapter. First, connect the lav mic to the adapter. Then, plug the adapter into the iPhone's headphone jack or lightning port, depending on the model. Make sure the mic is securely connected. Next, open the recording app on your iPhone and select the lav mic as the audio input source. Adjust the mic's placement on your clothing or near the sound source for optimal audio capture. Finally, start recording and monitor the audio levels to ensure proper sound quality.
1、 Connecting a lav mic to an iPhone using an adapter.
Connecting a lav mic to an iPhone is a great way to improve the audio quality of your recordings, whether you're shooting videos, conducting interviews, or recording podcasts. With the advancements in technology, it has become easier than ever to connect a lav mic to an iPhone using an adapter.
To use a lav mic with an iPhone, you will need a few things. First, you'll need a lav mic that is compatible with smartphones. There are many options available on the market, ranging from wired to wireless options. Make sure to choose one that suits your needs and budget.
Next, you'll need an adapter that allows you to connect the lav mic to your iPhone. The most common adapter used is the TRRS to TRS adapter. This adapter converts the TRRS (Tip, Ring, Ring, Sleeve) connector on your iPhone to a TRS (Tip, Ring, Sleeve) connector, which is compatible with most lav mics.
Once you have the necessary equipment, the process is quite simple. Plug the lav mic into the TRS end of the adapter, and then plug the TRRS end of the adapter into the headphone jack of your iPhone. Some newer iPhone models may require a lightning to headphone jack adapter, so make sure to have one if needed.
After connecting the lav mic to your iPhone, open your preferred recording app or camera app and start recording. Make sure to test the audio levels and adjust them accordingly to ensure optimal sound quality.
It's worth mentioning that with the latest iPhone models, such as the iPhone 11 and iPhone 12, the headphone jack has been removed. In this case, you will need to use a lightning to headphone jack adapter to connect the lav mic to your iPhone.
In conclusion, connecting a lav mic to an iPhone is a straightforward process. By using the appropriate adapter, you can significantly enhance the audio quality of your recordings. Whether you're a content creator, journalist, or simply someone who wants to improve their audio recordings, using a lav mic with an iPhone is a valuable tool.
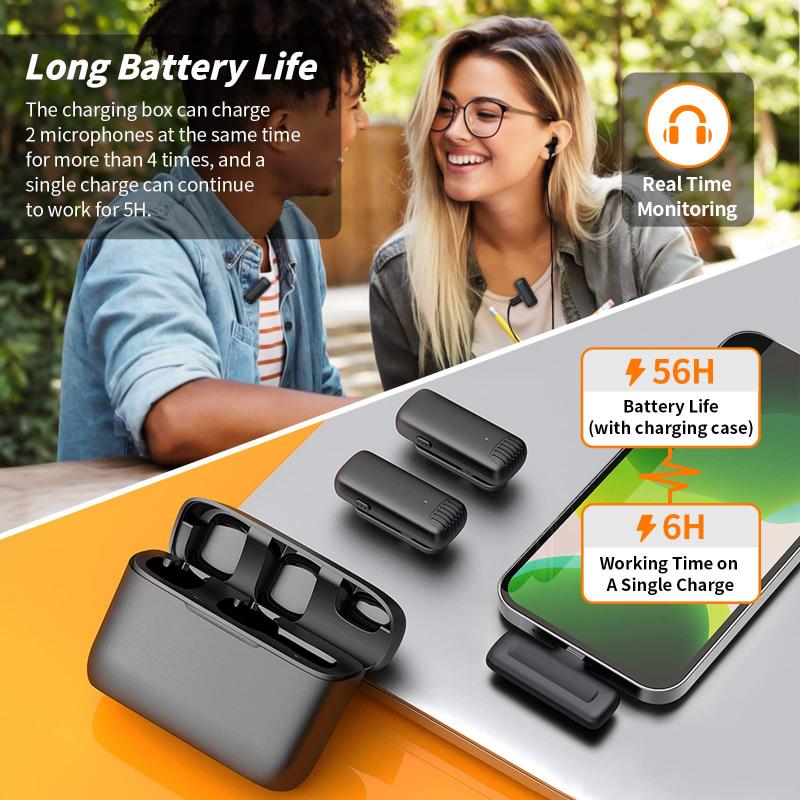
2、 Adjusting microphone settings on the iPhone for optimal performance.
To use a lav mic with an iPhone, you will need an adapter that allows you to connect the microphone to the iPhone's lightning port. Once you have the adapter, follow these steps:
1. Connect the lav mic to the adapter: Plug the lav mic into the adapter's microphone input.
2. Connect the adapter to the iPhone: Plug the adapter into the iPhone's lightning port. Ensure that it is securely connected.
3. Open the recording app: Launch the app you want to use for recording audio. The iPhone's default Voice Memos app is a good option, but there are also many third-party apps available for more advanced recording features.
4. Select the microphone input: In the recording app, look for the microphone input settings. This may be located in the app's settings or preferences menu. Choose the lav mic as the input source.
5. Adjust microphone settings: Some recording apps allow you to adjust microphone settings such as gain or volume. Experiment with these settings to find the optimal level for your recording.
6. Test the microphone: Before starting your recording, do a quick test to ensure that the lav mic is working properly. Speak into the microphone and check the audio levels on the app. If the levels are too low or too high, adjust the microphone settings accordingly.
7. Start recording: Once you are satisfied with the microphone settings, you can start recording your audio using the lav mic.
It's worth noting that the latest iPhone models may not have a dedicated headphone jack, so using a lav mic with an adapter is necessary. Additionally, some lav mics may require additional power, so make sure to check the microphone's specifications and follow any additional instructions provided by the manufacturer.
Overall, using a lav mic with an iPhone is a straightforward process that can greatly enhance the audio quality of your recordings.
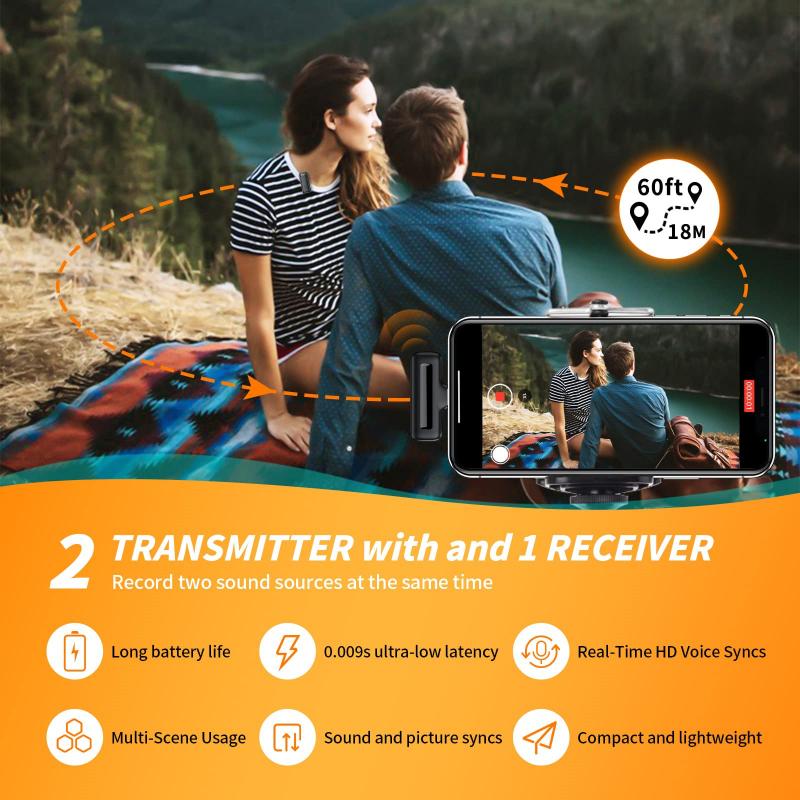
3、 Positioning the lav mic correctly for clear audio recording.
Positioning the lav mic correctly for clear audio recording is crucial when using it with an iPhone. Here's how you can do it effectively:
1. Connect the lav mic to your iPhone: Start by plugging the lav mic into the headphone jack or lightning port of your iPhone, depending on the type of lav mic you have. If your iPhone doesn't have a headphone jack, you may need to use an adapter.
2. Clip the lav mic onto your clothing: Attach the lav mic to your clothing, preferably near the collar or lapel area. Make sure it is securely fastened to prevent any unwanted movement or rustling sounds.
3. Position the lav mic close to your mouth: The ideal placement for the lav mic is about 6-8 inches away from your mouth. This distance helps capture clear audio while minimizing background noise. Experiment with different positions to find the best spot for your specific lav mic.
4. Avoid rubbing or brushing against the lav mic: Be mindful of any movements that may cause the lav mic to rub against your clothing or body. This can create unwanted noise in the recording. Stay aware of your movements and try to minimize any contact with the mic.
5. Monitor the audio levels: Use the built-in voice recording app or a third-party recording app to monitor the audio levels while recording. Adjust the input gain if necessary to avoid distortion or clipping.
It's worth noting that newer iPhone models, such as the iPhone 7 and later, may require an adapter to connect a lav mic through the lightning port. Additionally, some lav mics are specifically designed for iPhones and may offer better compatibility and audio quality.
Remember to test the audio quality before important recordings and make adjustments as needed. With proper positioning and care, you can achieve clear and professional-sounding audio recordings using a lav mic with your iPhone.
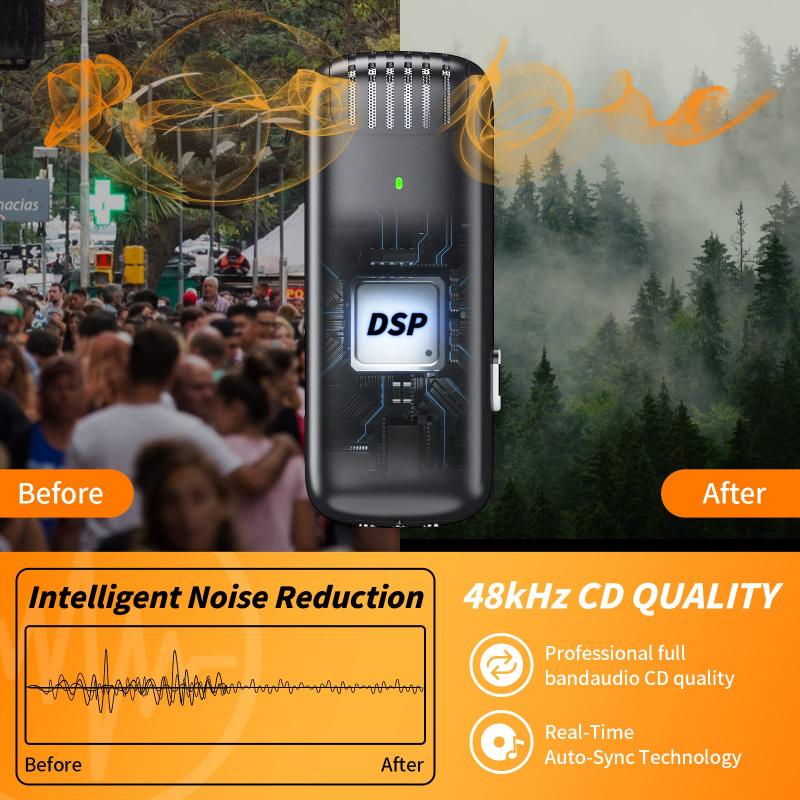
4、 Troubleshooting common issues when using a lav mic with an iPhone.
How to use a lav mic with an iPhone:
Using a lav mic (also known as a lavalier or lapel mic) with an iPhone is a great way to improve the audio quality of your recordings, whether you're shooting videos, conducting interviews, or recording podcasts. Here's a step-by-step guide on how to use a lav mic with your iPhone:
1. Choose a compatible lav mic: Make sure the lav mic you have is compatible with iPhones. Some lav mics come with a lightning connector, while others require an adapter to connect to the iPhone's headphone jack.
2. Connect the lav mic: Plug the lav mic into the iPhone's lightning port or headphone jack, depending on the type of connector your mic has. Ensure it is securely connected.
3. Adjust the mic settings: Open the recording app on your iPhone and go to the settings menu. Look for the microphone input settings and select the lav mic as the input source.
4. Position the lav mic: Clip the lav mic onto your clothing, preferably near your chest area, ensuring it is close to your mouth for optimal audio capture. Avoid placing it too close to any clothing that may cause rustling noises.
5. Test the audio: Record a short sample to check the audio quality. Adjust the mic placement if needed and ensure the audio levels are not too low or too high.
Troubleshooting common issues when using a lav mic with an iPhone:
1. No sound or low volume: Check the connection between the lav mic and the iPhone. Ensure it is securely plugged in. If using an adapter, make sure it is compatible and functioning properly.
2. Poor audio quality: If the audio sounds muffled or distorted, try adjusting the mic placement. Experiment with different positions to find the best sound quality.
3. Background noise: Lav mics are sensitive, so be mindful of any background noise. Try to record in a quiet environment and minimize any potential distractions.
4. Compatibility issues: Ensure that the lav mic you are using is compatible with your specific iPhone model. Some older iPhone models may require an adapter for certain lav mics.
5. Software settings: Check the microphone settings in your recording app. Make sure the lav mic is selected as the input source and adjust the audio levels as needed.
Remember to always test your setup before important recordings to ensure everything is working properly.











There are no comments for this blog.