How To Use Lavalier Mic ?
To use a lavalier mic, also known as a lapel mic, follow these steps:
1. Attach the mic: Clip the microphone onto your clothing, preferably near your chest area. Make sure it is securely fastened and positioned close to your mouth for optimal sound quality.
2. Connect the mic: Plug the lavalier mic into the appropriate audio input on your recording device or transmitter. This could be a wireless bodypack transmitter, a smartphone, a camera, or an audio recorder. Ensure that the connection is secure.
3. Check the audio levels: Before recording or going live, check the audio levels to ensure the mic is picking up sound properly. Adjust the gain or volume settings on your recording device or transmitter as needed.
4. Position the cable: Carefully route the cable from the microphone to your recording device or transmitter, making sure it is not tangled or obstructed. Use clips or tape to secure the cable along your clothing to prevent it from rubbing against other surfaces and causing unwanted noise.
5. Test the audio: Speak into the lavalier mic and listen to the audio output to ensure it is clear and balanced. Make any necessary adjustments to the mic position or audio settings to achieve the desired sound quality.
Remember to handle the lavalier mic with care and avoid excessive movement or rubbing against clothing, as this can create unwanted noise.
1、 Positioning: Proper placement for optimal sound capture.
Positioning: Proper placement for optimal sound capture is crucial when using a lavalier microphone. Here is a step-by-step guide on how to use a lavalier mic and position it correctly for the best sound quality.
1. Attach the microphone: Begin by attaching the lavalier microphone to the clothing of the person who will be speaking. The microphone should be positioned near the chest area, around 6-8 inches below the chin. Use the provided clip or adhesive to secure the mic in place.
2. Avoid clothing rustle: Make sure the microphone is not rubbing against any clothing or accessories, as this can cause unwanted rustling sounds. Use a windscreen or foam cover to minimize wind noise and reduce plosive sounds.
3. Check for interference: Ensure that the microphone is not obstructed by any objects or clothing that could interfere with the sound capture. Avoid placing the mic near jewelry, zippers, or any other items that may cause unwanted noise.
4. Test the sound: Before recording or going live, test the sound quality by speaking into the microphone and listening for any distortions or background noise. Adjust the positioning if necessary to achieve optimal sound capture.
5. Monitor the audio: Throughout the recording or live session, monitor the audio levels to ensure that the sound is clear and consistent. Adjust the microphone positioning or gain settings if needed to maintain a balanced sound.
It is important to note that the latest point of view in using lavalier microphones emphasizes the need for wireless options. Wireless lavalier microphones provide greater flexibility and freedom of movement, allowing the speaker to move around without being restricted by cables. Additionally, advancements in technology have led to improved sound quality and reduced interference with wireless systems. However, it is still essential to follow proper positioning techniques to achieve the best sound capture regardless of whether the microphone is wired or wireless.

2、 Connection: Connecting the lavalier mic to the recording device.
Connection: Connecting the lavalier mic to the recording device.
To use a lavalier mic effectively, it is crucial to understand how to connect it to your recording device. The process may vary slightly depending on the specific model of the mic and the recording device you are using. Here is a general guide on how to connect a lavalier mic:
1. Identify the microphone and the recording device: Ensure that you have the correct lavalier mic for your recording device. Lavalier mics typically have a small clip-on design and a thin cable that connects to the recording device.
2. Locate the microphone input: On your recording device, find the microphone input. It is usually labeled with a microphone symbol or marked as "mic in." This input is where you will connect the lavalier mic.
3. Connect the lavalier mic: Take the connector end of the lavalier mic cable and plug it into the microphone input of your recording device. Ensure that the connection is secure.
4. Adjust the microphone settings: Once the lavalier mic is connected, you may need to adjust the microphone settings on your recording device. This includes adjusting the input level, selecting the correct input source, and enabling any necessary features like phantom power if your lavalier mic requires it.
5. Test the microphone: Before you start recording, it is essential to test the lavalier mic to ensure it is working correctly. Speak into the mic and monitor the audio levels on your recording device. Make any necessary adjustments to ensure optimal sound quality.
It is worth noting that some lavalier mics may require additional accessories or adapters to connect to certain recording devices. Always refer to the user manual of your specific lavalier mic and recording device for detailed instructions.
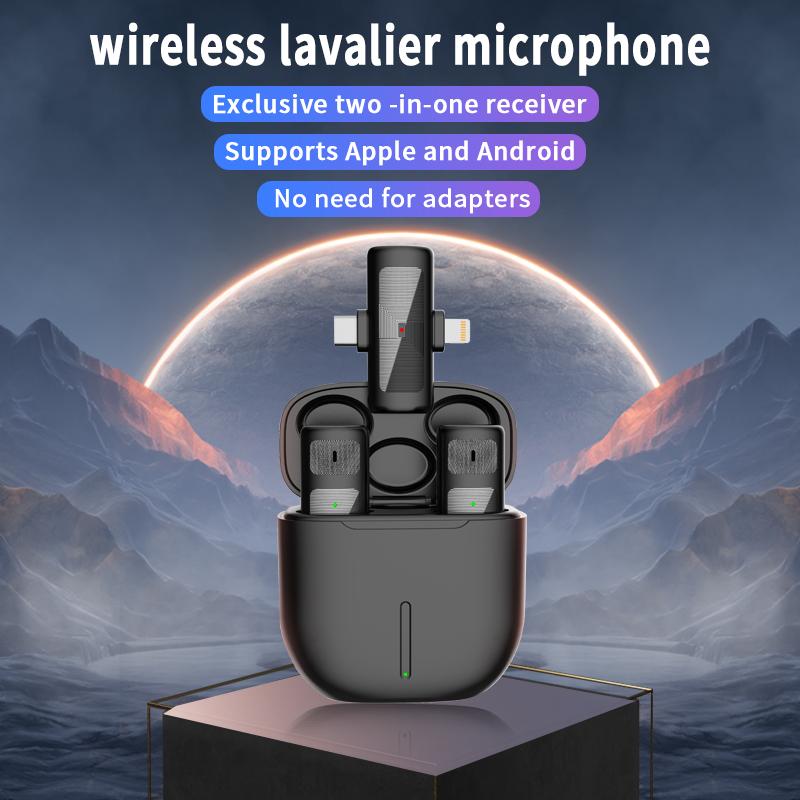
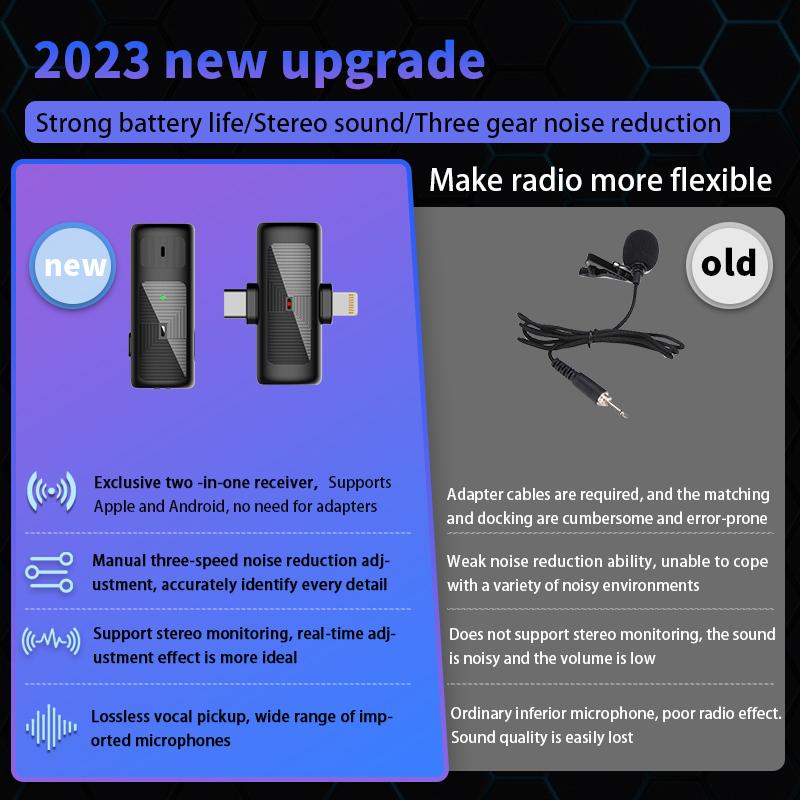
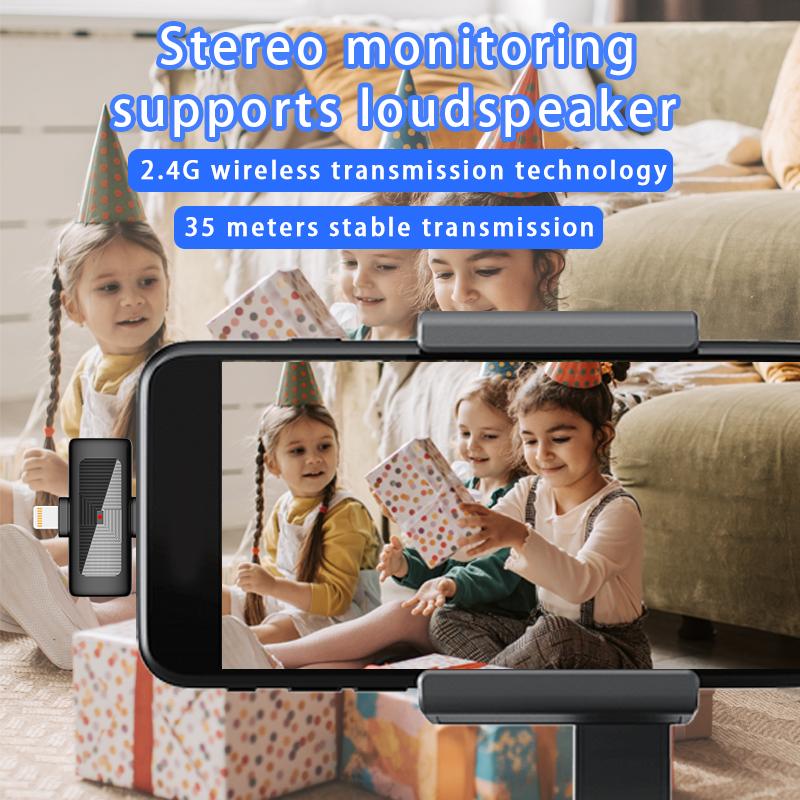
In recent years, advancements in wireless technology have made wireless lavalier mics increasingly popular. These wireless systems eliminate the need for a physical cable connection between the mic and the recording device, providing more freedom of movement for the user. When using a wireless lavalier mic, the connection process involves pairing the microphone with the receiver unit, which then connects to the recording device. The specific steps for connecting a wireless lavalier mic may vary depending on the model and brand, so it is essential to follow the instructions provided by the manufacturer.
Overall, connecting a lavalier mic to a recording device is a relatively straightforward process. By following the steps outlined above and referring to the user manuals, you can ensure a proper connection and achieve high-quality audio recordings.
3、 Powering: Understanding power requirements and options for the mic.
Powering: Understanding power requirements and options for the mic.
To use a lavalier microphone effectively, it is crucial to understand its power requirements and available options for powering it. Lavalier mics are typically powered by either battery or phantom power.
Battery-powered lavalier mics are convenient and portable, making them suitable for on-the-go recording or live performances. These mics usually require a small battery, such as a button cell or AA battery, to operate. It is essential to check the battery life regularly and replace it when necessary to ensure uninterrupted performance.
On the other hand, phantom power is a common method of powering lavalier mics in professional audio setups. Phantom power is supplied through the microphone cable from an audio interface, mixer, or preamp. It eliminates the need for batteries and provides a reliable power source. However, it is crucial to ensure that the audio equipment you are using supports phantom power and that it is enabled.
It is worth noting that some lavalier microphones offer the option to switch between battery and phantom power, providing flexibility in different recording scenarios. This feature allows you to adapt to various setups and ensures compatibility with different audio equipment.
In recent years, there have been advancements in lavalier microphone technology, such as the introduction of USB-powered lavalier mics. These mics can be directly connected to a computer or mobile device via USB, eliminating the need for additional power sources. USB-powered lavalier mics are popular for podcasting, video conferencing, and content creation, offering convenience and ease of use.
In conclusion, understanding the power requirements and available options for powering a lavalier microphone is essential for optimal performance. Whether it is battery-powered, phantom-powered, or USB-powered, choosing the right power source for your lavalier mic will ensure reliable and high-quality audio capture in various recording situations.
4、 Troubleshooting: Common issues and solutions when using lavalier mics.
Troubleshooting: Common issues and solutions when using lavalier mics.
Lavalier microphones, also known as lapel mics, are popular for their convenience and versatility. They are commonly used in presentations, interviews, and video productions. However, like any audio equipment, lavalier mics can encounter issues that may affect the quality of the sound. Here are some common problems and their solutions:
1. Poor sound quality: If the audio sounds muffled or distant, check the placement of the microphone. Ensure that it is positioned correctly, usually around 6-8 inches below the speaker's mouth. Experiment with different placements to find the optimal position.
2. Background noise: Lavalier mics are sensitive and can pick up unwanted background noise. To minimize this, try using a windscreen or foam cover on the microphone to reduce wind noise and plosives. Additionally, choose a location with minimal ambient noise and consider using a noise gate or audio editing software to remove unwanted sounds in post-production.
3. Cable noise: Lavalier mics often have thin cables that can rub against clothing, causing rustling or scratching sounds. To prevent this, use a cable clip or tape to secure the cable to the speaker's clothing, reducing movement and friction noise.
4. Wireless interference: If you are using a wireless lavalier mic, interference from other devices or radio frequencies can cause dropouts or static. Ensure that you are using a clear frequency and keep the transmitter and receiver away from other electronic devices.
5. Battery issues: Check the battery level of your lavalier mic regularly. Low battery power can result in distorted or weak audio. Always carry spare batteries or use rechargeable ones to avoid interruptions during recordings or performances.
Remember, each lavalier microphone may have specific instructions and features, so it's essential to consult the user manual for detailed guidance. Additionally, staying updated with the latest advancements in lavalier microphone technology can help you make the most of your equipment and troubleshoot any issues effectively.











There are no comments for this blog.