How To Use Manual Lens On Nikon Dslr ?
To use a manual lens on a Nikon DSLR, follow these steps:
1. Set the camera to manual mode (M) by turning the mode dial to M.
2. Locate the aperture ring on the manual lens. Set it to the desired aperture value.
3. Mount the lens on the camera by aligning the lens mount index with the camera's lens mount and rotating it clockwise until it locks.
4. Go to the camera's menu and enable the "Release without lens" or "Non-CPU lens data" option, depending on your camera model.
5. Set the focus mode switch on the lens to manual focus (MF).
6. Use the focus ring on the lens to manually adjust the focus.
7. Adjust the shutter speed and ISO settings to achieve the desired exposure.
8. Take a test shot and review the image on the camera's LCD screen. Make any necessary adjustments to the settings.
9. Continue shooting in manual mode, adjusting the aperture, focus, shutter speed, and ISO as needed.
Note: When using a manual lens, the camera's light meter may not work accurately, so you may need to rely on trial and error or use an external light meter for precise exposure.
1、 Understanding manual focus on a Nikon DSLR
Understanding manual focus on a Nikon DSLR
Using a manual lens on a Nikon DSLR can be a rewarding experience for photographers who want more control over their focus. While modern DSLRs are primarily designed for autofocus lenses, they still offer the ability to use manual focus lenses. Here's a step-by-step guide on how to use a manual lens on a Nikon DSLR:
1. Mount the lens: Start by attaching the manual lens to your Nikon DSLR camera body. Ensure that the lens is securely locked into place.
2. Set the camera to manual mode: Switch your camera to manual mode by turning the mode dial to "M." This allows you to have full control over the exposure settings.
3. Enable focus confirmation: Some Nikon DSLRs have a feature called "Focus Confirmation" that helps you achieve accurate manual focus. To enable it, go to the camera's menu and navigate to the custom settings. Look for the "AF-S Priority Selection" or "AF-C Priority Selection" option and set it to "Release."
4. Use the focus ring: With the camera in manual mode, turn the focus ring on the lens to adjust the focus. Look through the viewfinder or use the camera's Live View mode to see the changes in focus.
5. Utilize focus aids: Nikon DSLRs often provide focus aids such as focus peaking or digital zoom in Live View mode. These features can assist in achieving precise manual focus.
6. Check focus using the viewfinder: If you prefer using the viewfinder, look for the focus indicator or focus confirmation dot in the bottom of the viewfinder. When the dot lights up or the indicator is centered, it indicates that the subject is in focus.
7. Take test shots: Capture test shots to ensure that your subject is properly focused. Review the images on the camera's LCD screen and zoom in to check for sharpness.
It's important to note that using manual focus lenses requires practice and patience. However, it can be a rewarding experience as it allows for more precise control over focus and depth of field.
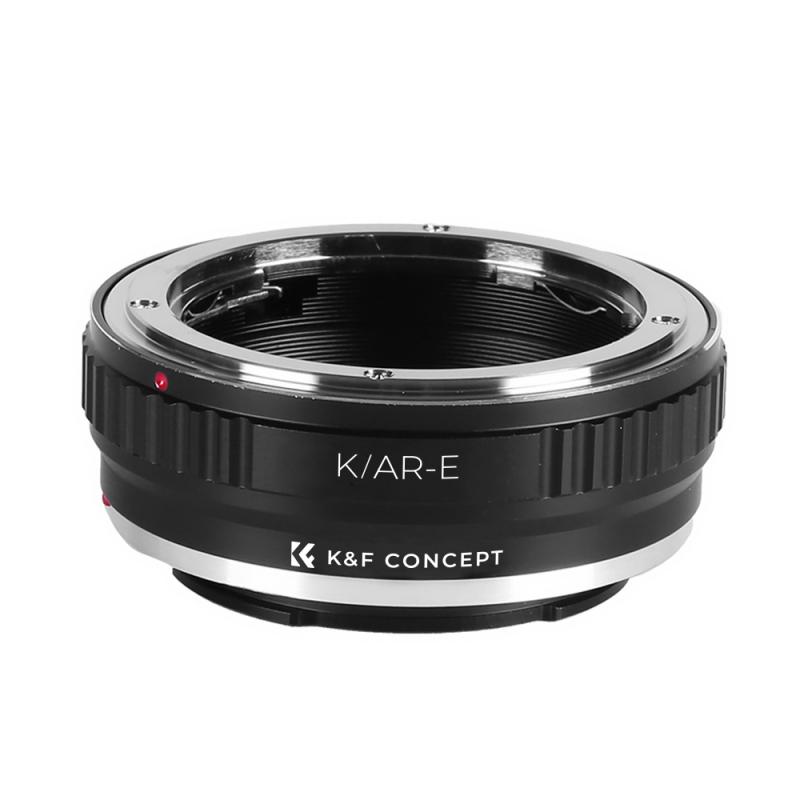
2、 Adjusting aperture settings with a manual lens on Nikon DSLR
To use a manual lens on a Nikon DSLR, you need to follow a few steps to ensure proper functionality and achieve desired results. Here's a guide on adjusting aperture settings with a manual lens on a Nikon DSLR:
1. Mounting the lens: Start by attaching the manual lens to your Nikon DSLR camera body. Ensure that the lens is securely locked into place.
2. Enable manual mode: Switch your camera to manual mode by turning the mode dial to "M." This allows you to have full control over the camera settings, including aperture.
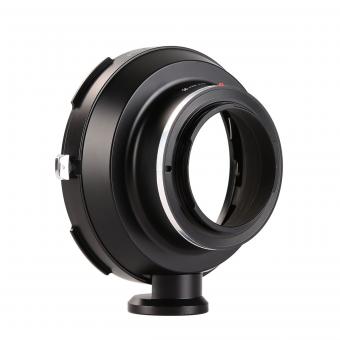
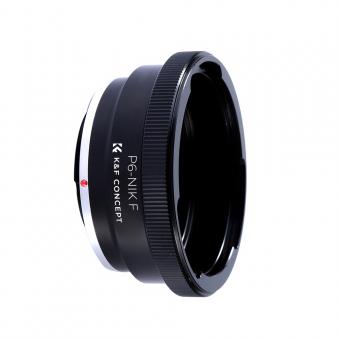
3. Set the aperture ring: On the manual lens, locate the aperture ring. This ring controls the size of the lens opening, which determines the amount of light entering the camera. Rotate the aperture ring to your desired f-stop value. Keep in mind that some manual lenses may not have an aperture ring, in which case you will need to use an adapter with an aperture control ring.
4. Adjust the exposure: With the aperture set, you will need to adjust the shutter speed and ISO to achieve proper exposure. Use the camera's built-in light meter or the histogram to guide you in finding the correct exposure settings.
5. Manual focusing: Since manual lenses do not have autofocus capabilities, you will need to manually focus the lens. Use the camera's focus assist features, such as focus peaking or magnification, to help you achieve sharp focus.
6. Take test shots: Capture a few test shots to evaluate the exposure and focus. Review the images on your camera's LCD screen and make any necessary adjustments to the aperture, shutter speed, ISO, or focus.
It's important to note that using a manual lens on a Nikon DSLR may limit some features, such as automatic exposure modes and lens-specific metadata. However, manual lenses can provide unique creative opportunities and are often favored by photographers for their build quality and optical characteristics.
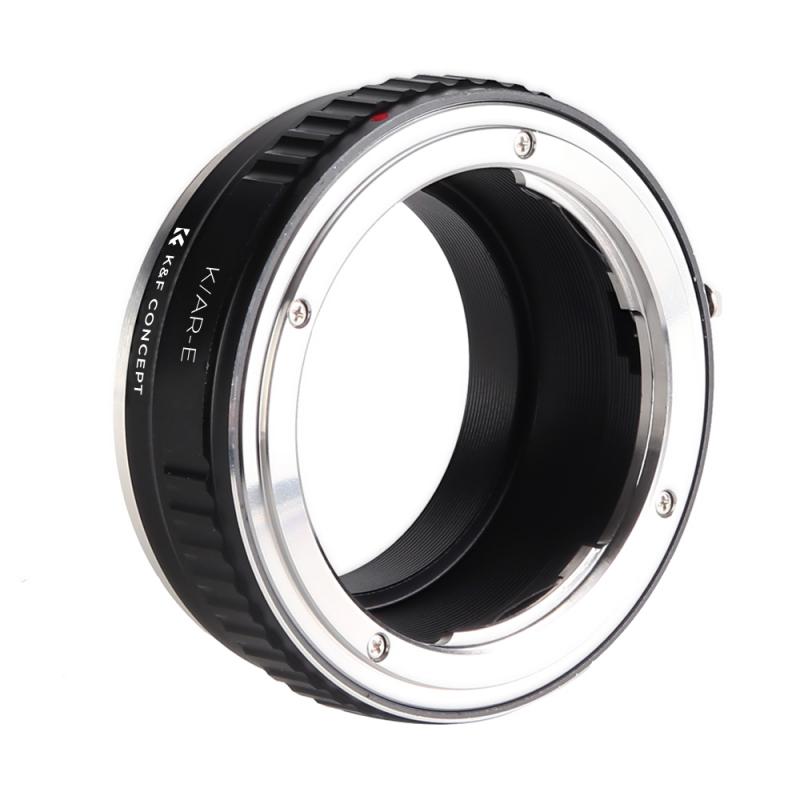
3、 Setting shutter speed for manual lens on Nikon DSLR
To use a manual lens on a Nikon DSLR, you need to follow a few steps:
1. Mount the lens: Start by attaching the manual lens to your Nikon DSLR camera. Ensure that the lens is securely mounted and locked into place.
2. Set the camera to manual mode: Switch your camera to manual mode by turning the mode dial to "M." This allows you to have full control over the camera settings.
3. Set the aperture: On most manual lenses, you will find an aperture ring. Rotate this ring to set your desired aperture value. Keep in mind that when using a manual lens, the camera will not be able to control the aperture electronically, so you need to adjust it manually.
4. Focus manually: Since manual lenses do not have autofocus capabilities, you will need to focus manually. Use the focus ring on the lens to adjust the focus until your subject appears sharp in the viewfinder or on the camera's LCD screen.
5. Set the shutter speed: Now, you need to set the shutter speed manually. This can be done by using the camera's control dial or by pressing the shutter speed button and rotating the main command dial simultaneously. Adjust the shutter speed according to your desired exposure.
It's important to note that when using a manual lens, your camera's light meter may not work accurately. Therefore, you may need to rely on trial and error or use an external light meter to determine the correct exposure settings.
In conclusion, using a manual lens on a Nikon DSLR requires setting the camera to manual mode, adjusting the aperture and focus manually, and setting the shutter speed manually as well. It may take some practice to get comfortable with using manual lenses, but it can be a rewarding experience that allows for more creative control over your photography.
4、 Using exposure compensation with manual lens on Nikon DSLR
Using a manual lens on a Nikon DSLR requires a few extra steps compared to using an autofocus lens. Here's a step-by-step guide on how to use a manual lens on a Nikon DSLR:
1. Mount the lens: Start by attaching the manual lens to your Nikon DSLR camera body. Ensure that the lens is securely attached and locked into place.
2. Set the camera to manual mode: Switch your camera to manual mode by turning the mode dial to "M." This allows you to have full control over the exposure settings.
3. Set the aperture: Adjust the aperture ring on the manual lens to your desired f-stop. Unlike autofocus lenses, manual lenses do not communicate with the camera, so the camera won't be able to control the aperture.
4. Set the shutter speed: Use the camera's built-in light meter or an external light meter to determine the correct exposure. Adjust the shutter speed accordingly.
5. Focus manually: Since manual lenses lack autofocus capabilities, you'll need to focus manually. Use the focus ring on the lens to achieve sharp focus. Utilize the camera's focus confirmation feature, if available, to assist you in achieving accurate focus.
6. Take the shot: Once you have set the aperture, shutter speed, and achieved proper focus, press the shutter button to capture the image.
Using exposure compensation with a manual lens on a Nikon DSLR can be a bit tricky. Since the camera doesn't communicate with the lens, the exposure compensation dial won't have any effect. However, you can still adjust the exposure by changing the aperture or shutter speed manually. If you find that your images are consistently overexposed or underexposed, you can compensate by adjusting the exposure settings accordingly.
It's important to note that using a manual lens on a Nikon DSLR requires practice and patience. Manual focusing and exposure adjustments can take time to master, but with practice, you can achieve great results and enjoy the creative control that manual lenses offer.
