How To Use Mic For Youtube Videos ?
To use a microphone for YouTube videos, you will need to connect it to your computer or camera. If you are using a USB microphone, simply plug it into your computer's USB port. If you are using an XLR microphone, you will need an audio interface to connect it to your computer.
Once your microphone is connected, you will need to select it as the audio input device in your recording software. This can usually be done in the settings or preferences menu of your software.
Before recording, make sure to test your microphone levels and adjust them as needed. You can do this by recording a short test clip and listening back to it to ensure the audio is clear and at an appropriate volume.
When recording your YouTube video, make sure to position the microphone close to your mouth to ensure clear audio. You may also want to consider using a pop filter to reduce any popping or hissing sounds.
After recording, you can edit your audio in your video editing software to further enhance the quality. This may include adjusting the volume, removing background noise, or adding effects.
1、 Microphone types for YouTube videos
Microphone types for YouTube videos:
When it comes to creating high-quality YouTube videos, having a good microphone is essential. There are several types of microphones that you can use for YouTube videos, each with its own advantages and disadvantages.
1. USB Microphones: USB microphones are a popular choice for YouTubers because they are easy to use and affordable. They plug directly into your computer's USB port and don't require any additional equipment. They are great for recording voiceovers and podcasts.
2. Shotgun Microphones: Shotgun microphones are directional microphones that are designed to pick up sound from a specific direction. They are great for recording interviews and outdoor videos because they can isolate the sound you want to capture and reduce background noise.
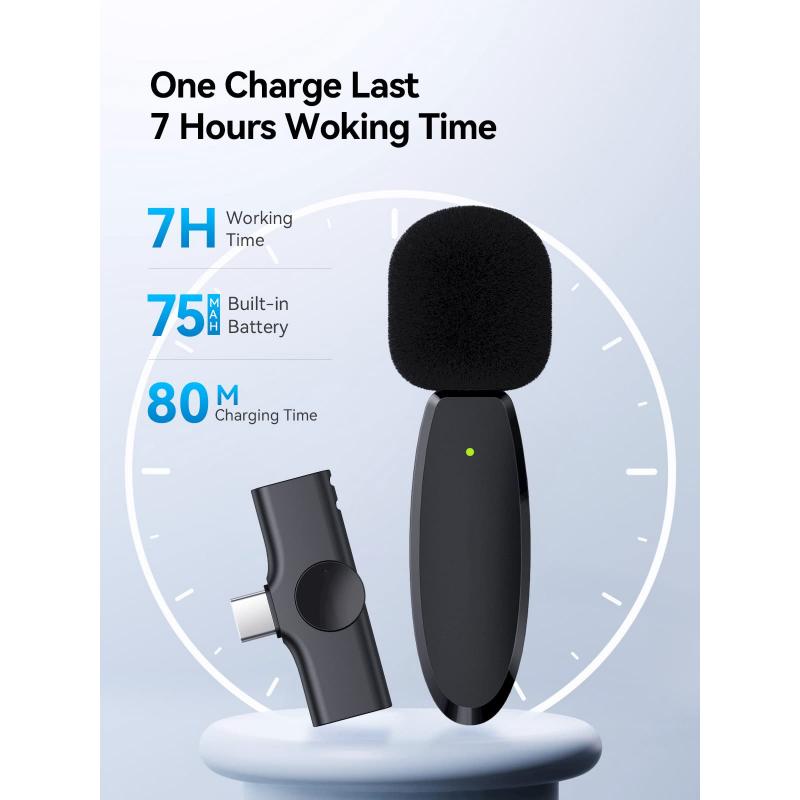
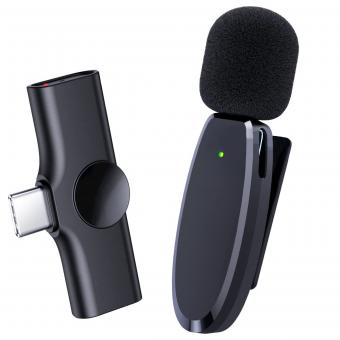
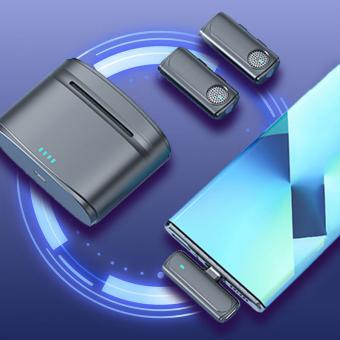
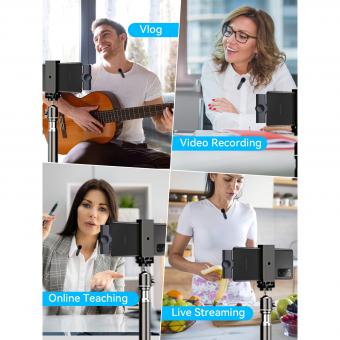
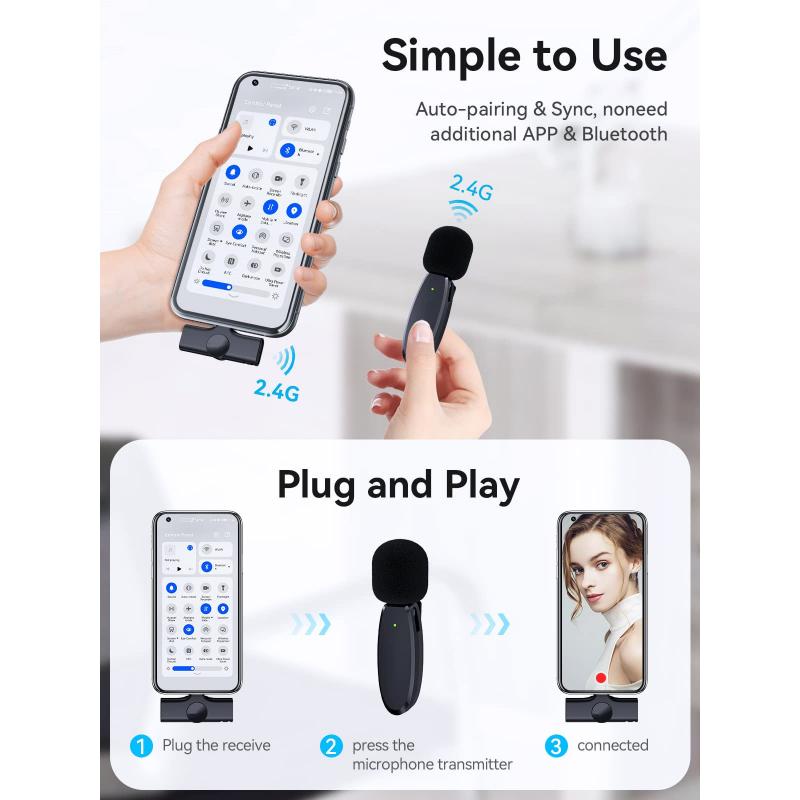
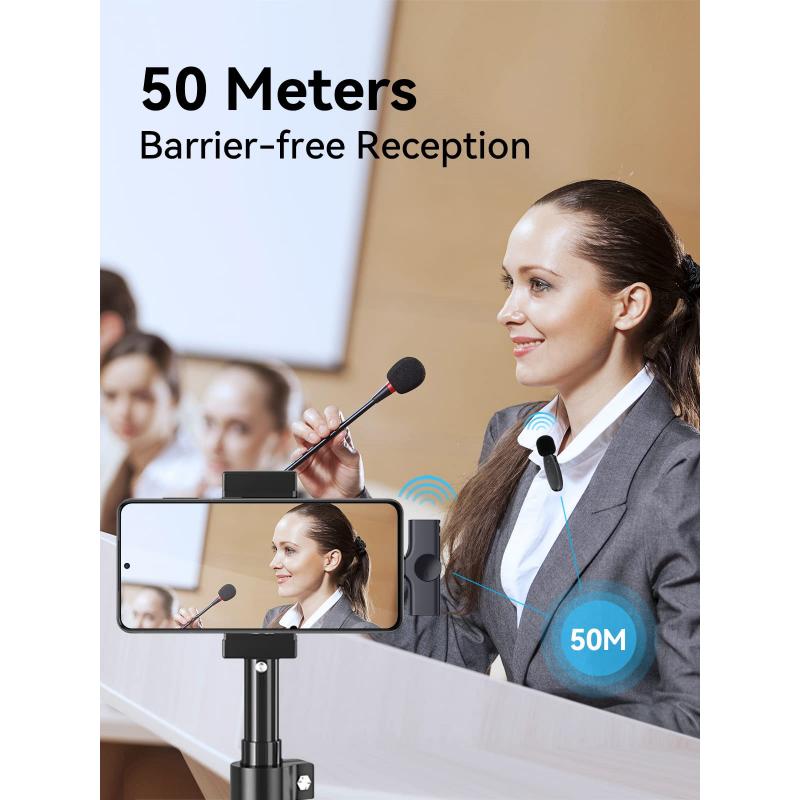
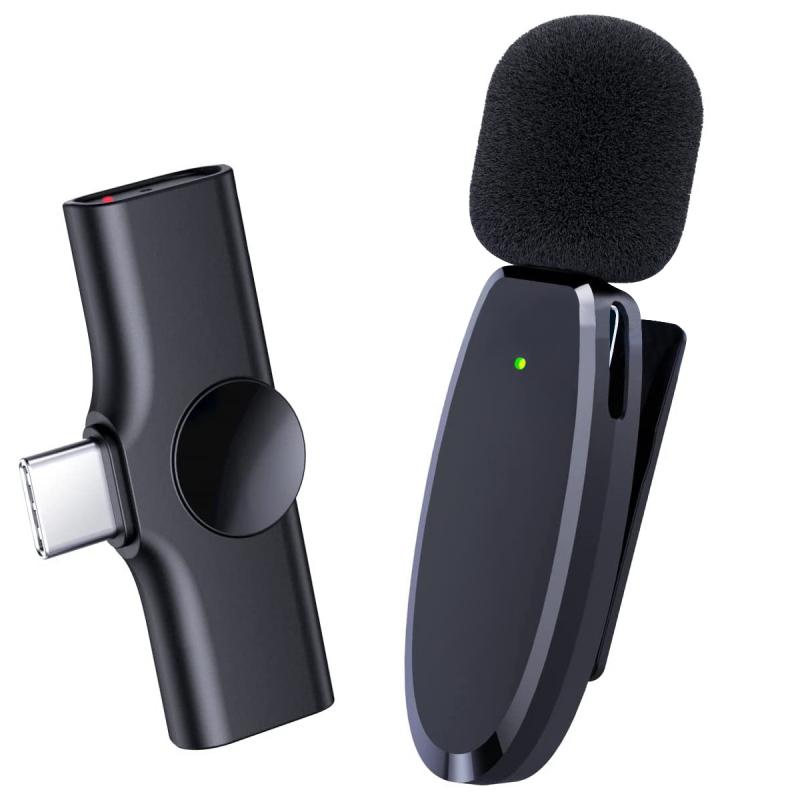
3. Lavalier Microphones: Lavalier microphones are small, clip-on microphones that you can attach to your clothing. They are great for recording videos where you need to move around or be hands-free, such as vlogs or cooking videos.
4. Condenser Microphones: Condenser microphones are high-quality microphones that are great for recording music and vocals. They require additional equipment, such as a preamp or audio interface, but they produce a clear and detailed sound.
5. Dynamic Microphones: Dynamic microphones are durable and versatile microphones that are great for recording live performances and loud sounds. They are also affordable and don't require any additional equipment.
In conclusion, the type of microphone you choose for your YouTube videos will depend on your specific needs and budget. It's important to do your research and invest in a high-quality microphone to ensure that your videos sound professional and engaging. Additionally, with the rise of ASMR videos, binaural microphones have become increasingly popular for creating an immersive audio experience for viewers.
2、 Setting up your microphone for recording
Setting up your microphone for recording is an essential step in creating high-quality YouTube videos. A good microphone can make a significant difference in the audio quality of your videos, making them more engaging and professional. Here's how to use a mic for YouTube videos:
1. Choose the right microphone: There are many types of microphones available, including USB, XLR, and shotgun microphones. Choose the one that suits your needs and budget.
2. Position the microphone correctly: The position of the microphone is crucial for capturing clear audio. Place it close to your mouth, but not too close that it picks up breathing sounds.
3. Adjust the microphone settings: Depending on the type of microphone you're using, you may need to adjust the settings to get the best sound quality. For example, you may need to adjust the gain or volume levels.
4. Test the microphone: Before recording, test the microphone to ensure that it's working correctly. Record a short test clip and listen to it to make sure the audio is clear and free of background noise.
5. Edit the audio: After recording, you may need to edit the audio to remove any unwanted noise or adjust the levels. Use a software like Audacity or Adobe Audition to edit your audio.
In conclusion, using a microphone for YouTube videos is essential for creating high-quality content. By following these steps, you can ensure that your audio is clear and engaging, making your videos more professional and enjoyable to watch.
3、 Tips for improving audio quality
1. Invest in a good microphone: A good microphone is essential for producing high-quality audio for your YouTube videos. There are many different types of microphones available, including USB microphones, condenser microphones, and dynamic microphones. Choose the one that suits your needs and budget.
2. Choose a quiet recording location: Background noise can ruin the quality of your audio. Choose a quiet location to record your videos, and try to minimize any external noise.
3. Use a pop filter: A pop filter is a simple device that can help reduce the popping sounds that occur when you say words that start with "p" or "b". This can make a big difference in the quality of your audio.
4. Adjust your microphone settings: Make sure your microphone is set up correctly and adjust the settings to suit your recording environment. This can include adjusting the gain, volume, and EQ settings.
5. Edit your audio: Once you have recorded your audio, use editing software to clean up any unwanted noise or improve the overall quality of the sound.
6. Test your audio before recording: Always test your audio before recording to ensure that everything is working correctly. This can save you a lot of time and frustration in the long run.
In addition to these tips, it's important to stay up-to-date with the latest trends and technologies in audio production. For example, many content creators are now using AI-powered tools to improve the quality of their audio. By staying informed and experimenting with new techniques, you can continue to improve the quality of your audio and create engaging content for your audience.
4、 Common microphone mistakes to avoid
How to use mic for YouTube videos:
Using a microphone for YouTube videos can greatly improve the audio quality of your content. Here are some tips on how to use a mic for YouTube videos:
1. Choose the right microphone: There are many types of microphones available, such as condenser, dynamic, and shotgun. Choose the one that suits your needs and budget.
2. Position the microphone correctly: The position of the microphone is crucial for good audio quality. Place it close to your mouth, but not too close that it picks up breathing sounds.
3. Adjust the gain: The gain controls the sensitivity of the microphone. Adjust it to avoid distortion or background noise.
4. Test the audio: Before recording, test the audio to ensure that it sounds clear and balanced.
5. Edit the audio: After recording, edit the audio to remove any unwanted noise or improve the overall sound quality.
Common microphone mistakes to avoid:
1. Not using a windscreen: Wind noise can ruin your audio quality. Use a windscreen to prevent this.
2. Not checking the battery: If you're using a wireless microphone, make sure the battery is fully charged before recording.
3. Not monitoring the audio: Use headphones to monitor the audio while recording to ensure that it sounds good.
4. Not using the right microphone for the job: Different microphones are suited for different situations. Choose the right one for your needs.
5. Not considering the environment: The environment can affect the audio quality. Avoid recording in noisy or echoey rooms.
6. Not using a pop filter: A pop filter can prevent plosives (popping sounds) when pronouncing certain words.
7. Not using the microphone correctly: Follow the manufacturer's instructions on how to use the microphone correctly.
In conclusion, using a microphone for YouTube videos can greatly improve the audio quality of your content. Avoiding common microphone mistakes can help you achieve the best results. With the latest advancements in microphone technology, there are many affordable options available for creators to choose from.
