How To Use Microscope Camera ?
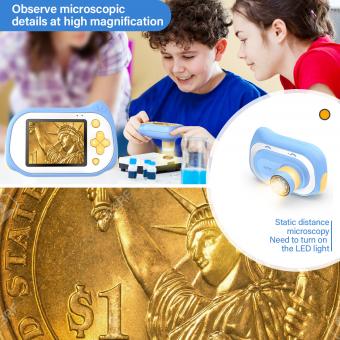
To use a microscope camera, first, ensure that the camera is compatible with your microscope model. Next, attach the camera to the eyepiece or trinocular port of the microscope, depending on the camera type. Adjust the camera's position and focus to align it with the microscope's optical path. Connect the camera to a computer or monitor using the appropriate cables. Install any necessary software or drivers for the camera. Turn on the camera and launch the software on your computer. Adjust the camera settings, such as resolution, exposure, and white balance, to optimize the image quality. Finally, you can view and capture images or videos of the microscopic specimens using the camera software.
1、 Connecting the microscope camera to the microscope
Connecting a microscope camera to a microscope is a relatively simple process that allows you to capture high-quality images and videos of the microscopic world. Here is a step-by-step guide on how to use a microscope camera:
1. Choose a compatible microscope camera: There are various types of microscope cameras available, so make sure to select one that is compatible with your microscope model. Consider factors such as resolution, connectivity options, and software compatibility.
2. Prepare the microscope: Ensure that your microscope is clean and in good working condition. Adjust the focus and lighting settings to obtain a clear view of the specimen.
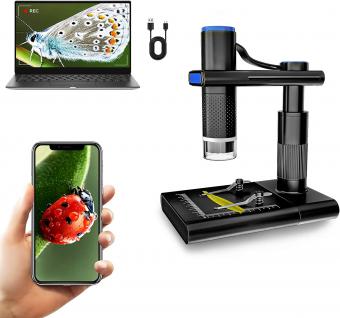
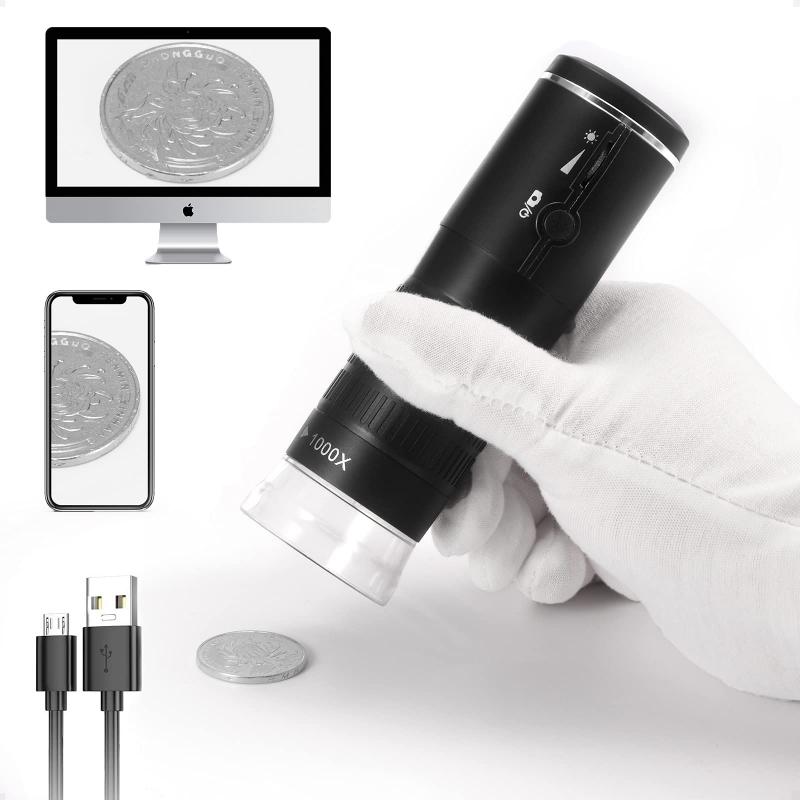
3. Connect the camera: Most microscope cameras connect to the microscope via a USB cable. Locate the USB port on the camera and connect it to a USB port on your computer or a dedicated monitor. Some cameras may also offer wireless connectivity options.
4. Install the camera software: Depending on the camera model, you may need to install specific software provided by the manufacturer. This software allows you to control the camera settings, capture images and videos, and perform additional functions like measurement and annotation.
5. Adjust camera settings: Launch the camera software and adjust the settings according to your requirements. This may include selecting the desired resolution, adjusting exposure and white balance, and choosing the file format for saving images and videos.
6. Capture images and videos: Once the camera is connected and the settings are adjusted, you can start capturing images and videos of the microscopic specimens. Use the software controls to focus, zoom, and adjust other parameters as needed.
7. Save and analyze the captured data: After capturing the images and videos, save them to your computer or an external storage device. You can then analyze the data using image processing software or share it with others for further analysis or documentation.
It is worth noting that with advancements in technology, some microscope cameras now offer additional features such as live streaming, time-lapse imaging, and compatibility with smartphones and tablets. Always refer to the manufacturer's instructions for specific details on connecting and using your microscope camera.
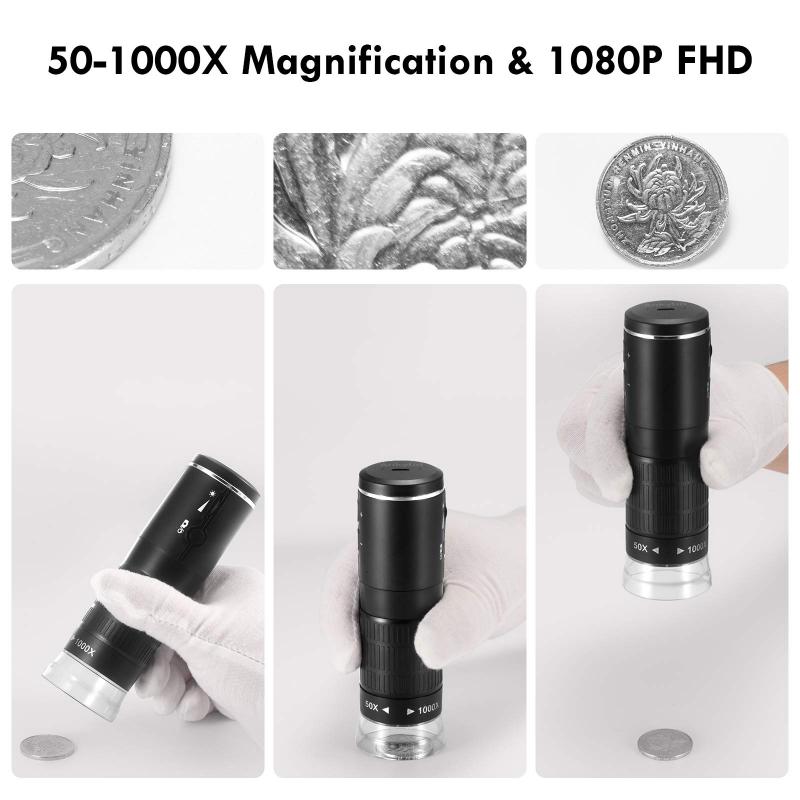
2、 Adjusting the camera settings for optimal image quality
To use a microscope camera effectively, it is important to adjust the camera settings for optimal image quality. Here is a step-by-step guide on how to do so:
1. Connect the microscope camera to your computer or monitor using the appropriate cables. Ensure that the camera is securely attached to the microscope.
2. Launch the camera software on your computer. This software allows you to control the camera settings and capture images or videos.
3. Adjust the exposure settings. Exposure determines the amount of light that enters the camera sensor. Start by setting the exposure to automatic mode and observe the image quality. If the image appears too bright or too dark, manually adjust the exposure until you achieve a clear and well-lit image.
4. Set the white balance. White balance ensures that colors appear accurate and natural in the captured images. Most camera software offers preset white balance options such as daylight, fluorescent, or incandescent. Choose the appropriate setting based on the lighting conditions in your environment.
5. Adjust the focus. Use the focus controls on your microscope to bring the specimen into sharp focus. Additionally, some camera software provides a focus adjustment feature that allows you to fine-tune the focus electronically.
6. Experiment with other camera settings. Depending on your camera model and software, you may have access to additional settings such as contrast, saturation, and sharpness. Adjust these settings to enhance the image quality according to your preferences.
7. Capture and save your images. Once you have adjusted the camera settings to your satisfaction, you can start capturing images or recording videos of the specimens under the microscope. Save the files in a suitable format for further analysis or sharing.
It is worth noting that the latest microscope cameras often come with advanced features such as high-resolution sensors, real-time image processing, and compatibility with various imaging techniques. Familiarize yourself with the specific capabilities of your camera to make the most of its features and optimize image quality.
3、 Capturing still images with the microscope camera
Capturing still images with a microscope camera is a valuable tool for researchers, scientists, and educators. It allows for the documentation and analysis of microscopic specimens with high resolution and clarity. Here is a step-by-step guide on how to use a microscope camera to capture still images:
1. Set up the microscope: Ensure that the microscope is properly set up and focused on the specimen of interest. Adjust the lighting and magnification as needed.
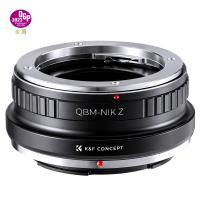
2. Connect the camera: Depending on the type of microscope camera you have, connect it to the microscope using the appropriate cables or adapters. Some cameras may require a USB connection, while others may have a direct attachment to the microscope eyepiece.
3. Install the software: Install any necessary software or drivers that come with the microscope camera. This software will allow you to control the camera settings and capture images.
4. Adjust camera settings: Open the camera software and adjust the settings to optimize image quality. This may include adjusting brightness, contrast, focus, and resolution. Experiment with different settings to achieve the desired results.
5. Position the specimen: Carefully position the specimen under the microscope and ensure it is in focus. Use the microscope's fine adjustment knobs to achieve sharp focus.
6. Capture the image: Once the specimen is in focus and properly positioned, use the camera software to capture the image. Most software will have a button or option to capture a still image. Click the button to capture the image.
7. Review and save the image: After capturing the image, review it on the computer screen. If satisfied, save the image to a desired location on your computer or external storage device. Consider saving the image in a high-resolution format for future analysis or publication.
It is important to note that the specific steps may vary depending on the type and model of the microscope camera you are using. Always refer to the manufacturer's instructions for detailed guidance.
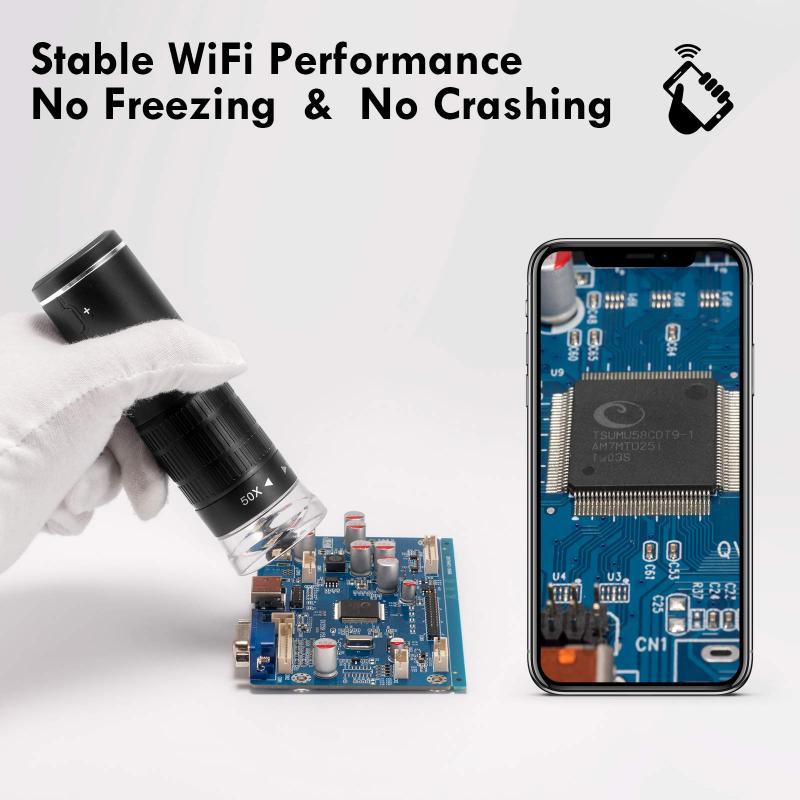
In recent years, there have been advancements in microscope camera technology, such as the integration of Wi-Fi capabilities. This allows for wireless connectivity, enabling users to capture and transfer images directly to their smartphones or tablets. Additionally, some microscope cameras now offer real-time video streaming, allowing for live observation and analysis of specimens.
Overall, using a microscope camera to capture still images is a straightforward process that can greatly enhance the study and documentation of microscopic specimens. With the latest advancements in technology, these cameras continue to improve, providing researchers and educators with powerful tools for their work.
4、 Recording videos using the microscope camera
Recording videos using a microscope camera is a valuable tool for scientific research, education, and documentation. It allows you to capture high-resolution videos of microscopic specimens and share them with others. Here is a step-by-step guide on how to use a microscope camera for video recording:
1. Set up the microscope: Ensure that your microscope is properly set up and focused on the specimen you want to record. Adjust the lighting and magnification as needed for optimal visibility.
2. Connect the camera: Most microscope cameras connect to a computer or monitor via USB or HDMI. Follow the manufacturer's instructions to connect the camera to your device.
3. Install software: Install the necessary software provided by the camera manufacturer onto your computer. This software allows you to control the camera settings and capture videos.
4. Adjust camera settings: Open the camera software and adjust the settings according to your requirements. This may include adjusting the exposure, focus, white balance, and resolution.
5. Start recording: Once the camera settings are adjusted, you can start recording. Click on the record button in the software or use the camera's physical buttons if available. Ensure that the specimen is in focus and centered in the field of view.
6. Review and save the video: After recording, review the video to ensure it meets your expectations. If satisfied, save the video to your computer or an external storage device for future use.
7. Share and analyze: You can now share the recorded video with colleagues, students, or the scientific community. Additionally, you can analyze the video using specialized software to extract valuable data or make observations.
It is worth noting that the latest microscope cameras often come with advanced features such as live streaming capabilities, image stacking, and time-lapse recording. These features enhance the user experience and provide more flexibility in capturing and analyzing microscopic videos.
