How To Use Nd 2 Stops Filter ?
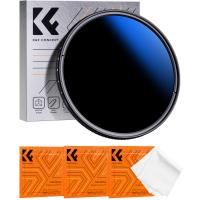
To use an ND 2 stops filter, simply attach it to the front of your camera lens. The filter will reduce the amount of light entering the lens by two stops, allowing you to achieve longer exposure times or wider apertures in bright conditions. This can be useful for various photography techniques such as creating motion blur in waterfalls or capturing smooth, flowing movements in landscapes. Adjust your camera settings accordingly to compensate for the reduced light, and experiment with different exposure times and apertures to achieve the desired effect.
1、 Understanding ND Filters: Types, Uses, and Benefits
To use an ND 2 stops filter, follow these steps:
1. Attach the filter: Screw the ND 2 stops filter onto the front of your camera lens. Make sure it is securely attached to prevent any light leakage.
2. Adjust the exposure settings: With the filter attached, you will need to compensate for the reduced amount of light entering the camera. Start by adjusting the shutter speed or aperture to achieve the desired exposure. For example, if you were shooting at 1/1000s without the filter, you may need to slow down the shutter speed to 1/250s with the filter.
3. Experiment with long exposures: One of the main uses of an ND filter is to create long exposure effects, such as capturing smooth waterfalls or streaking clouds. With the ND 2 stops filter, you can achieve longer exposures compared to shooting without a filter. Start by setting your camera to Bulb mode or a slow shutter speed (e.g., 30 seconds) and experiment with different exposure times to achieve the desired effect.
4. Use a tripod: When using an ND filter, it is crucial to keep your camera steady to avoid any blurriness caused by camera shake. Use a sturdy tripod to ensure sharp images during long exposures.
The latest point of view on using ND filters is that they are not only useful for long exposures but also for controlling depth of field in bright conditions. By reducing the amount of light entering the camera, an ND filter allows you to use wider apertures, creating a shallow depth of field even in bright sunlight. This can be particularly useful for portrait or macro photography, where a blurred background is desired. Additionally, ND filters can help to reduce glare and reflections when shooting in highly reflective environments, such as water or glass.
2、 Step-by-Step Guide: Attaching an ND Filter to Your Lens
Step-by-Step Guide: Attaching an ND Filter to Your Lens
Using an ND (Neutral Density) filter can greatly enhance your photography by allowing you to control the amount of light entering your camera. This is particularly useful in situations where you want to achieve a longer exposure or a shallower depth of field. Here's a step-by-step guide on how to use an ND 2 stops filter:
1. Choose the right filter: ND filters come in various strengths, measured in stops. For this guide, we will focus on the ND 2 stops filter, which reduces the amount of light entering the lens by two stops.
2. Prepare your camera and lens: Ensure that your camera is turned off and remove any lens caps or filters currently attached to your lens.
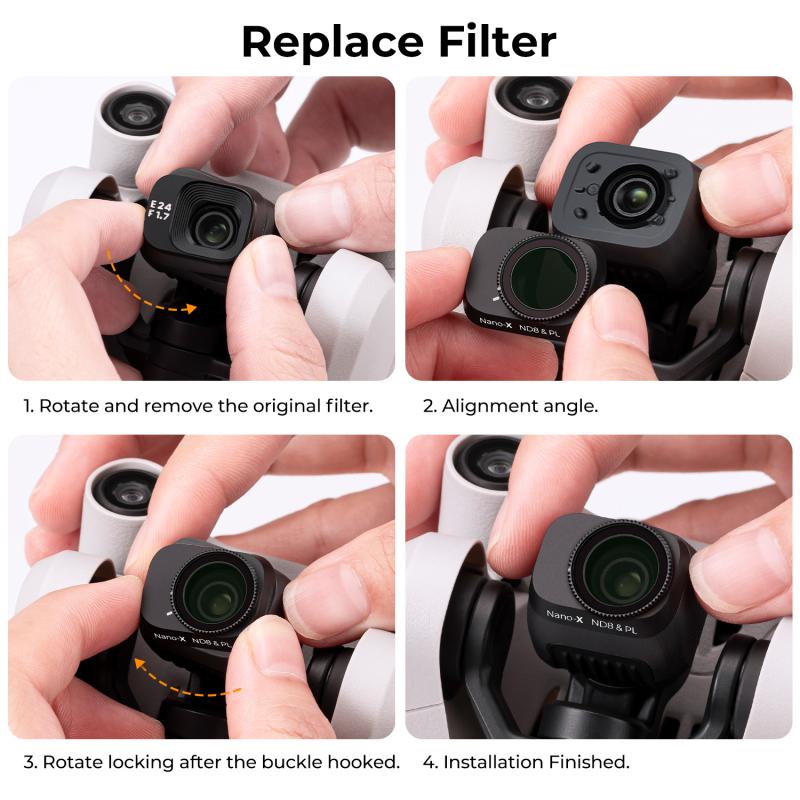
3. Align the filter: Hold the ND 2 stops filter up to your lens and align it with the filter threads. Most filters have threads on both sides, allowing you to stack multiple filters if desired.
4. Screw on the filter: Gently rotate the filter clockwise until it is securely attached to the lens. Be careful not to overtighten, as this may cause difficulty in removing the filter later.
5. Adjust camera settings: With the filter attached, turn on your camera and adjust the settings accordingly. Since the ND 2 stops filter reduces the amount of light, you may need to compensate by increasing the exposure time or widening the aperture.
6. Capture your shot: Once your camera settings are adjusted, compose your shot and press the shutter button. The ND filter will help you achieve the desired effect, such as capturing smooth water motion or blurring the background.
Remember, practice makes perfect. Experiment with different settings and compositions to fully explore the creative possibilities of using an ND 2 stops filter. Additionally, always ensure that you clean and store your filter properly to maintain its quality and longevity.
3、 Adjusting Camera Settings for ND Filter Photography
To use an ND 2 stops filter effectively, follow these steps:
1. Attach the filter: Screw the ND 2 stops filter onto the front of your camera lens. Make sure it is securely attached to prevent any light leakage.
2. Set the camera to manual mode: Switch your camera to manual mode to have full control over the exposure settings.
3. Adjust ISO: Set the ISO to the desired value based on the lighting conditions. Lower ISO values like 100 or 200 are ideal for capturing high-quality images with minimal noise.
4. Select the aperture: Choose a small aperture (higher f-number) to reduce the amount of light entering the camera. This helps in achieving longer exposure times and creating motion blur effects.
5. Adjust shutter speed: With the ND 2 stops filter in place, the camera will receive less light. To compensate for this, you need to increase the shutter speed. Start with a longer exposure time and adjust as needed to achieve the desired effect.
6. Use a tripod: Since longer exposure times can lead to camera shake, it is essential to use a tripod to keep the camera steady. This ensures sharp and blur-free images.
7. Experiment and adjust: Take test shots and review the results. If the image is still too bright, increase the shutter speed or adjust the aperture accordingly. Conversely, if the image is too dark, decrease the shutter speed or open up the aperture.
Remember, the ND 2 stops filter reduces the amount of light entering the camera by two stops. This allows you to capture long exposures even in bright conditions, resulting in creative effects like silky smooth waterfalls or streaking clouds. Keep in mind that the specific settings may vary depending on the lighting conditions and the effect you want to achieve.
4、 Capturing Long Exposures with an ND Filter
To use an ND 2 stops filter for capturing long exposures, follow these steps:
1. Attach the filter: Screw the ND 2 stops filter onto the front of your camera lens. Ensure it is securely attached to prevent any light leakage.
2. Set up your shot: Compose your scene and adjust your camera settings for the desired exposure. Keep in mind that using an ND filter will reduce the amount of light entering the camera, so you may need to compensate by adjusting your aperture, ISO, or shutter speed.
3. Calculate the exposure time: With the ND 2 stops filter, you are reducing the amount of light by two stops. This means you need to double the exposure time compared to what you would normally use without the filter. For example, if you would typically use a 1-second exposure, you will now need to use a 2-second exposure.
4. Use a tripod: Long exposures require stability to avoid any camera shake. Mount your camera on a sturdy tripod to ensure sharp images.
5. Use a remote shutter release: To further minimize camera shake, use a remote shutter release or the camera's self-timer function to trigger the exposure without touching the camera.
6. Capture the shot: Once everything is set up, press the shutter button and let the camera capture the long exposure. Be patient and allow the exposure to complete without any disturbances.
Remember, the ND 2 stops filter is just a tool to help you achieve longer exposures. Experiment with different exposure times and compositions to create stunning long exposure images.











There are no comments for this blog.