How To Use Nd Filter Phantom 4 Pro ?
To use an ND filter with the Phantom 4 Pro drone, follow these steps:
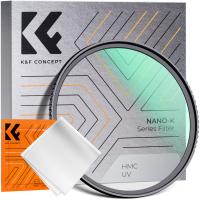
1. Choose the appropriate ND filter: ND filters come in different strengths, such as ND4, ND8, ND16, etc. Select the filter based on the lighting conditions and the effect you want to achieve.
2. Remove the lens cover: Unscrew and remove the lens cover from the camera of the Phantom 4 Pro.
3. Attach the ND filter: Screw the ND filter onto the camera lens in place of the lens cover. Make sure it is securely attached.
4. Power on the drone: Turn on the Phantom 4 Pro drone and wait for it to initialize.
5. Adjust camera settings: Access the camera settings on the drone's remote controller or the DJI Go app. Adjust the shutter speed, ISO, and other settings based on the lighting conditions and desired exposure.
6. Start capturing footage: Once the camera settings are adjusted, you can start capturing photos or videos with the ND filter in place. The filter will help reduce the amount of light entering the camera, allowing you to achieve slower shutter speeds and smoother motion blur.
Remember to practice and experiment with different ND filters and settings to achieve the desired results in various lighting conditions.
1、 Understanding ND filters and their purpose in aerial photography.
Understanding ND filters and their purpose in aerial photography is crucial for capturing high-quality images and videos with your Phantom 4 Pro drone. ND filters, or Neutral Density filters, are essential tools that help control the amount of light entering the camera lens, allowing you to achieve the desired exposure and creative effects.
To use an ND filter with your Phantom 4 Pro, follow these steps:
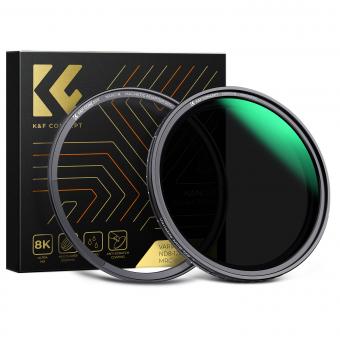
1. Choose the right ND filter: ND filters come in different strengths, denoted by numbers such as ND4, ND8, ND16, etc. The higher the number, the darker the filter. Select the appropriate ND filter based on the lighting conditions and the effect you want to achieve.
2. Attach the filter: The Phantom 4 Pro camera lens does not have a built-in filter thread, so you will need to use a filter adapter or a specialized ND filter designed for the drone. Attach the filter securely to the camera lens.
3. Adjust camera settings: Once the ND filter is attached, adjust the camera settings accordingly. Start by setting the ISO to the lowest value possible (e.g., ISO 100) and the shutter speed to double the frame rate (e.g., 1/60th of a second for 30fps). This will help maintain the correct exposure with the ND filter.
4. Monitor the exposure: Keep an eye on the camera's histogram or use the live view on your remote controller to ensure that the exposure is well-balanced. Adjust the ND filter strength or camera settings as needed to achieve the desired exposure.
Using ND filters with your Phantom 4 Pro allows you to capture stunning aerial shots with reduced glare, balanced exposure, and smoother motion blur. They are particularly useful in bright conditions, such as sunny days or when shooting over water or snow, where excessive light can lead to overexposed images or videos.
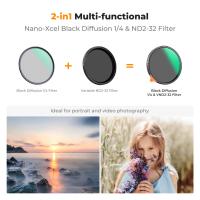
The latest point of view on using ND filters with the Phantom 4 Pro is to consider using variable ND filters. These filters offer adjustable strength, allowing you to dial in the desired amount of light reduction without needing to carry multiple filters. Variable ND filters provide greater flexibility and convenience, especially when shooting in changing lighting conditions.
In conclusion, understanding how to use ND filters with your Phantom 4 Pro is essential for achieving optimal exposure and creative control in aerial photography. Experiment with different filter strengths and settings to capture breathtaking images and videos from your drone.
2、 Choosing the right ND filter strength for your Phantom 4 Pro.
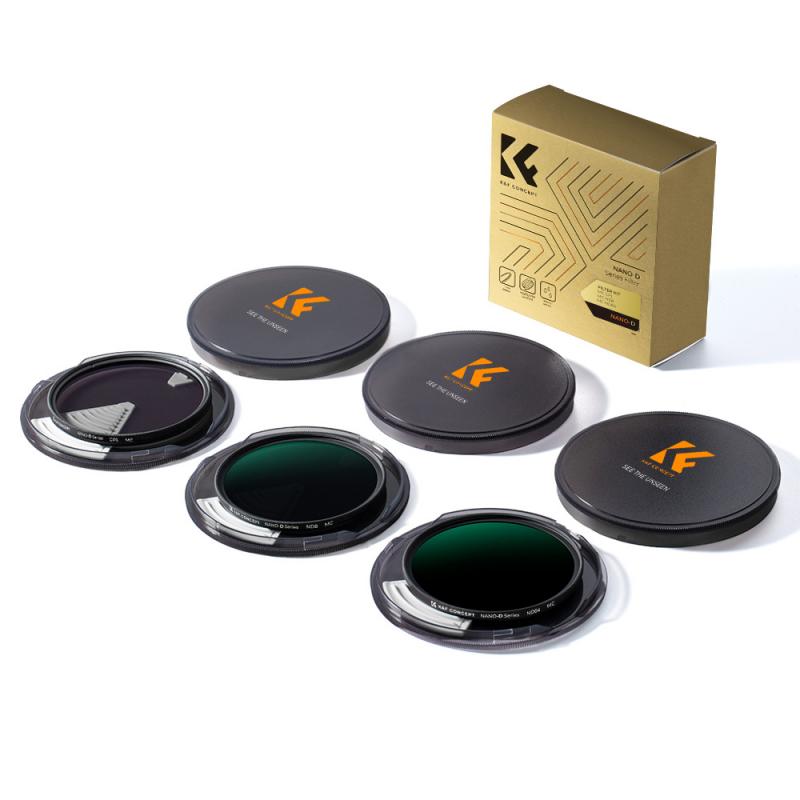
Choosing the right ND filter strength for your Phantom 4 Pro is essential to achieve the desired results in your aerial photography or videography. ND filters, or neutral density filters, are used to reduce the amount of light entering the camera lens, allowing you to use slower shutter speeds or wider apertures in bright conditions. This helps to create more balanced exposures and achieve creative effects such as motion blur or shallow depth of field.
To use an ND filter with your Phantom 4 Pro, follow these steps:
1. Determine the lighting conditions: Assess the brightness of the environment you will be shooting in. If it's a sunny day with harsh lighting, you will need a stronger ND filter. On the other hand, if it's a cloudy or overcast day, a lighter ND filter may be sufficient.
2. Choose the appropriate ND filter strength: ND filters come in different strengths, usually denoted by numbers such as ND4, ND8, ND16, etc. The higher the number, the stronger the filter. Start with a lower strength filter and gradually increase if needed.
3. Attach the ND filter: The Phantom 4 Pro has a threaded camera lens, allowing you to easily screw on the ND filter. Make sure it is securely attached to avoid any unwanted movement or vibration during flight.
4. Adjust camera settings: Once the ND filter is attached, adjust the camera settings accordingly. You may need to decrease the shutter speed or open up the aperture to compensate for the reduced light.
5. Test and adjust: Take test shots or footage to assess the exposure and make any necessary adjustments. Pay attention to the histogram and ensure that the highlights and shadows are properly balanced.
It's important to note that the appropriate ND filter strength may vary depending on the specific shooting conditions and desired effect. Experimentation and practice will help you determine the ideal filter strength for different scenarios.
In terms of the latest point of view, advancements in drone technology and camera sensors have made it possible to capture high-quality images and videos even in challenging lighting conditions. This has led to the development of more specialized ND filters, such as graduated ND filters, which are designed to balance exposure between the sky and the ground. These filters can be particularly useful when shooting landscapes or aerial panoramas.
Additionally, some ND filters now come with multi-coating or anti-reflective coatings to minimize glare and reflections, resulting in sharper and more vibrant images. These coatings also help to protect the filter from scratches and smudges, ensuring long-lasting performance.
In conclusion, using an ND filter with your Phantom 4 Pro can greatly enhance your aerial photography or videography. By choosing the right filter strength and adjusting camera settings accordingly, you can achieve well-balanced exposures and creative effects. Stay updated with the latest advancements in ND filter technology to make the most out of your drone photography experience.
3、 Attaching and securing the ND filter to your drone's camera.
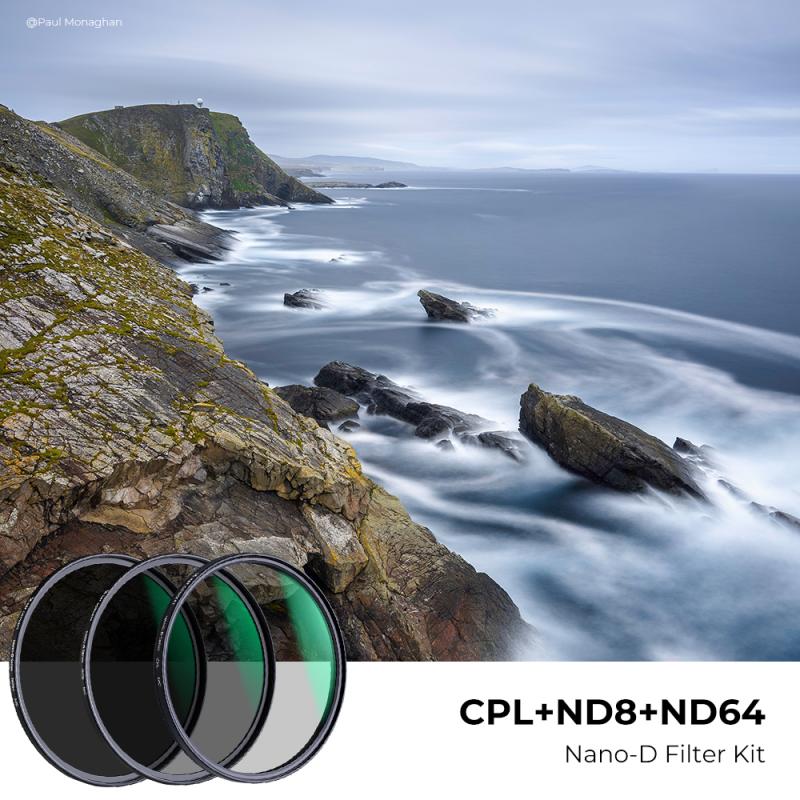
To use an ND filter with your Phantom 4 Pro drone, you need to follow a few simple steps. The ND (Neutral Density) filter is a useful accessory that helps control the amount of light entering the camera, allowing you to capture better quality footage in bright conditions. Here's how to attach and secure the ND filter to your drone's camera:
1. Start by removing the lens cover from your Phantom 4 Pro camera. This will expose the lens and allow you to attach the ND filter.
2. Take the ND filter and carefully align it with the camera lens. Make sure the filter is positioned correctly and covers the entire lens area.
3. Gently press the filter onto the lens and rotate it clockwise until it locks into place. Ensure that the filter is securely attached and doesn't wobble or move.
4. Once the ND filter is attached, power on your drone and camera. You can now adjust the camera settings to suit your shooting requirements.
5. When you're done using the ND filter, simply reverse the process. Power off your drone, remove the filter by rotating it counterclockwise, and store it safely.
It's important to note that different ND filters have varying levels of light reduction, so choose the appropriate filter based on the lighting conditions you'll be shooting in. Additionally, always ensure that the filter is clean and free from any smudges or dirt that could affect the image quality.
As technology advances, new ND filters may be released specifically designed for the Phantom 4 Pro drone. It's always a good idea to check for any updated instructions or recommendations from the manufacturer to ensure you're using the latest techniques and accessories for optimal results.
4、 Adjusting camera settings to compensate for the ND filter.
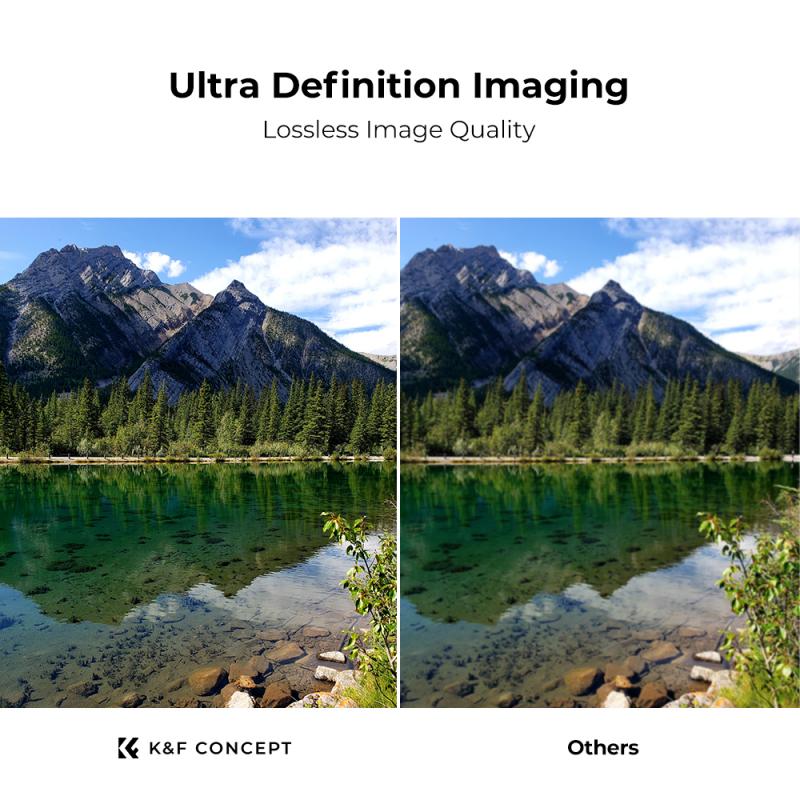
To use an ND filter with the Phantom 4 Pro, you need to follow a few steps. First, ensure that you have the correct ND filter for your specific needs. ND filters come in different strengths, such as ND4, ND8, ND16, etc., which determine the amount of light that is allowed to pass through the lens. The stronger the ND filter, the less light will reach the camera sensor.
Once you have the appropriate ND filter, attach it to the camera lens of your Phantom 4 Pro. The filter should easily screw onto the lens thread. Make sure it is securely attached to avoid any unwanted movement or vibrations during flight.
After attaching the ND filter, you will need to adjust the camera settings to compensate for the reduced light. Start by switching the camera to Manual mode. This will give you full control over the camera settings. Adjust the ISO, shutter speed, and aperture to achieve the desired exposure. With the ND filter in place, you will need to decrease the shutter speed or increase the aperture to allow more light into the camera sensor.
It's important to note that the specific camera settings will depend on the lighting conditions and the strength of the ND filter being used. Experimentation and practice are key to finding the optimal settings for your particular situation.
In conclusion, using an ND filter with the Phantom 4 Pro involves attaching the filter to the lens and adjusting the camera settings to compensate for the reduced light. By shooting in Manual mode and adjusting the ISO, shutter speed, and aperture, you can achieve the desired exposure and capture stunning aerial footage.







(1)-200x200.jpg)



There are no comments for this blog.