How To Use Nd Filters For Photography ?
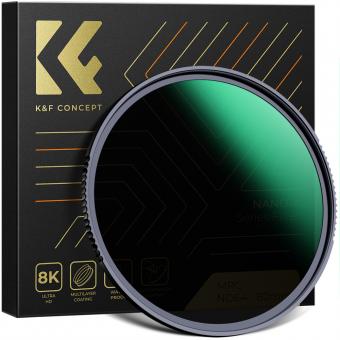
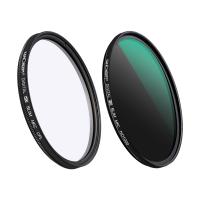
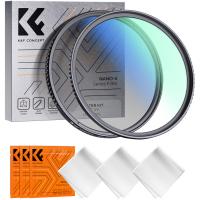
To use ND filters for photography, simply attach the filter to the front of your camera lens. ND filters are designed to reduce the amount of light entering the lens, allowing you to use longer shutter speeds or wider apertures in bright conditions. This can be particularly useful for achieving creative effects such as motion blur in waterfalls or capturing long exposures in daylight. Different ND filters have varying levels of light reduction, so choose the filter strength based on the desired effect and lighting conditions. Experiment with different settings and compositions to achieve the desired results.
1、 Understanding ND Filters: Types, Uses, and Benefits in Photography
Understanding ND Filters: Types, Uses, and Benefits in Photography
ND filters, or Neutral Density filters, are essential tools for photographers looking to control the amount of light entering their camera lens. These filters are designed to evenly reduce the intensity of light without affecting the color or contrast of the image. Here is a guide on how to use ND filters effectively in photography.
Types of ND Filters:
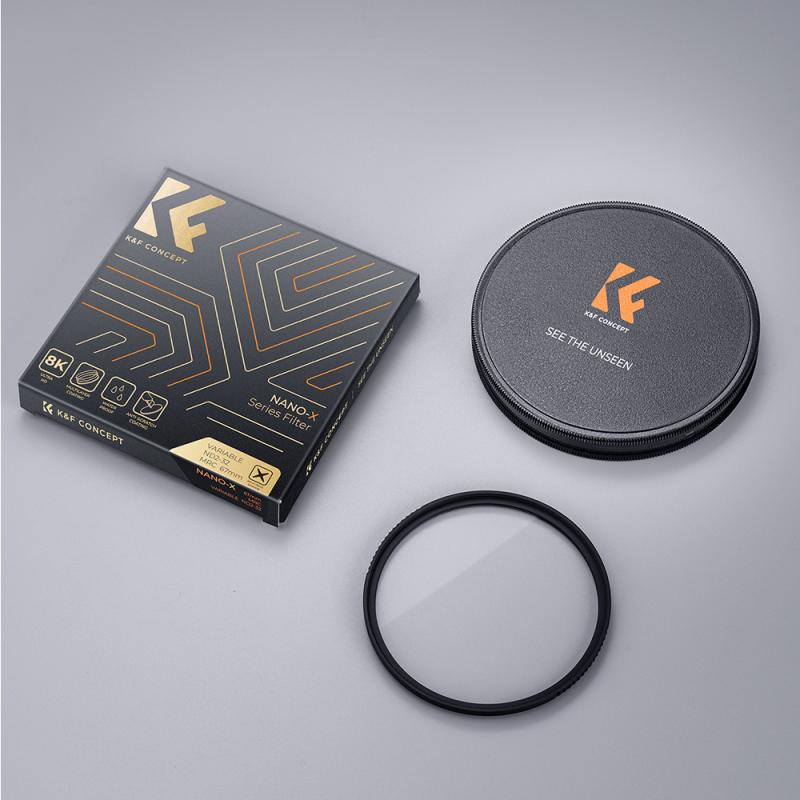
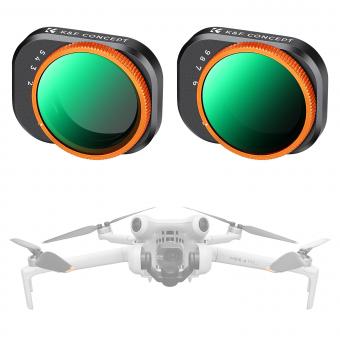
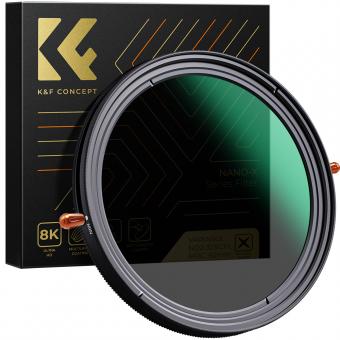
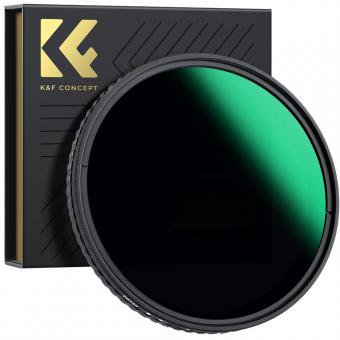
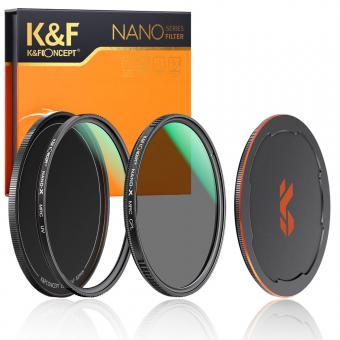
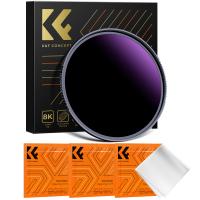
There are various types of ND filters available, including screw-on filters, square filters, and variable ND filters. Screw-on filters are the most common and are attached directly to the lens. Square filters require a filter holder system, allowing for easy adjustment and stacking of multiple filters. Variable ND filters offer adjustable light reduction by rotating the filter.
Uses of ND Filters:
1. Long Exposure Photography: ND filters are commonly used to create stunning long exposure images. By reducing the amount of light entering the lens, longer shutter speeds can be used, resulting in smooth and dreamy effects in waterfalls, seascapes, and cityscapes.
2. Balancing Exposure: ND filters are useful in situations where there is a significant difference in brightness between the foreground and background. By using an ND filter, you can balance the exposure and capture detail in both areas.
3. Portraits: ND filters can be used to achieve a shallow depth of field in bright lighting conditions. By reducing the amount of light, wider apertures can be used, resulting in a blurred background and a sharp subject.
Benefits of ND Filters:
- Increased creative control: ND filters allow photographers to have more control over exposure, enabling them to capture images with different effects and moods.
- Reduced post-processing: By using ND filters to achieve the desired exposure in-camera, photographers can minimize the need for extensive post-processing adjustments.
- Versatility: ND filters can be used in various genres of photography, including landscape, architecture, and portrait photography, making them a valuable tool for photographers of all specialties.
In conclusion, understanding how to use ND filters effectively can greatly enhance your photography. By choosing the right type of filter and utilizing it in different scenarios, you can achieve stunning images with greater control over exposure and creative effects.
2、 Choosing the Right ND Filter Strength for Different Lighting Conditions
Choosing the Right ND Filter Strength for Different Lighting Conditions
ND (Neutral Density) filters are essential tools for photographers looking to control the amount of light entering their camera lens. These filters are particularly useful in situations where the available light is too bright, such as when shooting in broad daylight or capturing long exposure shots. Understanding how to use ND filters effectively can greatly enhance your photography skills and allow you to achieve stunning results.
To begin, it is important to select the appropriate ND filter strength for the lighting conditions you are shooting in. ND filters come in various strengths, typically measured in stops, which indicate the amount of light the filter blocks. The most common strengths include ND2, ND4, ND8, and ND16, with each filter blocking one, two, three, or four stops of light respectively.
In bright daylight conditions, such as a sunny day at the beach, a higher ND filter strength like ND8 or ND16 is recommended. These filters will significantly reduce the amount of light entering the lens, allowing you to use slower shutter speeds or wider apertures without overexposing the image.
In low-light situations, such as during sunset or in dimly lit environments, a lower ND filter strength like ND2 or ND4 may be sufficient. These filters will still provide some light reduction, allowing you to maintain proper exposure while capturing the desired effect.
It is worth noting that the latest point of view on ND filters suggests using variable ND filters. These filters allow you to adjust the strength by rotating the filter, providing greater flexibility in different lighting conditions. Variable ND filters are particularly useful when shooting in rapidly changing light, as they eliminate the need to switch between different filter strengths.
In conclusion, understanding how to use ND filters effectively is crucial for achieving the desired exposure and creative effects in your photography. By selecting the appropriate filter strength for different lighting conditions, you can control the amount of light entering your lens and capture stunning images. Consider investing in a variable ND filter for added flexibility and convenience.
3、 Properly Mounting and Attaching ND Filters to Your Camera
Properly Mounting and Attaching ND Filters to Your Camera
ND (Neutral Density) filters are essential tools for photographers looking to control the amount of light entering their camera lens. These filters are particularly useful in situations where you want to achieve long exposures, capture motion blur, or use wider apertures in bright lighting conditions. To make the most of your ND filters, it is important to know how to properly mount and attach them to your camera.
1. Choose the right filter size: ND filters come in various sizes, so it is crucial to select the one that fits your lens diameter. You can find this information on the front of your lens or in the lens specifications.
2. Screw-on filters: The most common type of ND filters are screw-on filters. To attach them, simply screw the filter onto the front of your lens in a clockwise direction until it is securely in place. Make sure not to overtighten, as this can make it difficult to remove later.
3. Square or rectangular filters: Some photographers prefer square or rectangular ND filters, which require a filter holder system. These systems consist of a filter holder that attaches to the lens via an adapter ring. The filters then slide into the holder, allowing for easy adjustment and stacking of multiple filters.
4. Graduated ND filters: Graduated ND filters are often used in landscape photography to balance the exposure between the sky and the foreground. These filters have a gradient that transitions from dark to clear. To use them, position the dark portion of the filter over the brighter area of the scene, such as the sky.
5. Experiment and practice: Once you have attached your ND filter, it's important to experiment and practice with different exposure settings and compositions. ND filters can significantly alter the exposure, so take the time to understand how they affect your images and adjust accordingly.
Remember, the latest point of view on using ND filters may vary depending on advancements in technology and new filter options available in the market. It is always a good idea to stay updated with the latest information and techniques to make the most of your photography equipment.
4、 Techniques for Achieving Long Exposures with ND Filters
Techniques for Achieving Long Exposures with ND Filters
ND (Neutral Density) filters are essential tools for photographers looking to achieve long exposures and creative effects in their images. These filters reduce the amount of light entering the camera, allowing for longer shutter speeds without overexposing the image. Here are some techniques for effectively using ND filters in your photography:
1. Choosing the right filter: ND filters come in various strengths, measured in stops. The higher the number of stops, the darker the filter and the longer the exposure you can achieve. Start with a 3-stop or 6-stop ND filter for general long exposure photography.
2. Setting up your camera: Mount your camera on a sturdy tripod to avoid any camera shake during the long exposure. Use a remote shutter release or the camera's self-timer to further minimize vibrations.
3. Calculating exposure time: With an ND filter, the exposure time can increase significantly. To calculate the correct exposure time, use a light meter or the camera's built-in metering system. Alternatively, you can use the "Sunny 16" rule as a starting point and adjust accordingly.
4. Composition and subject selection: Long exposures work best with subjects that have movement, such as flowing water, clouds, or traffic. Look for interesting elements that will be enhanced by the blurred effect created by the longer exposure.
5. Experiment with different shutter speeds: Depending on the effect you want to achieve, try different shutter speeds to capture the desired amount of motion blur. For example, a 1-second exposure may create a slight blur in water, while a 30-second exposure can create a smooth, ethereal effect.
6. Bracketing and post-processing: To ensure you capture the perfect shot, consider bracketing your exposures by taking multiple shots at different shutter speeds. This will give you more options during post-processing to select the best image and make any necessary adjustments.
7. Be mindful of light conditions: ND filters are particularly useful in bright daylight conditions when the available light can be too intense for longer exposures. However, be aware that using ND filters in low light situations may require extremely long exposure times, which can introduce noise into the image.
Remember, practice is key when using ND filters for long exposures. Experiment with different filters, subjects, and settings to find your own unique style and create stunning images.
