How To Use Nd Filters Mavic 2 Pro ?
To use ND filters with the Mavic 2 Pro, follow these steps:
1. Choose the appropriate ND filter based on the lighting conditions and desired shutter speed. ND4, ND8, and ND16 filters are commonly used for bright daylight conditions.
2. Remove the gimbal cover from the Mavic 2 Pro.
3. Screw the ND filter onto the front of the camera lens.
4. Power on the Mavic 2 Pro and wait for the camera to initialize.
5. Adjust the camera settings as desired, such as ISO, shutter speed, and white balance.
6. Fly the drone and capture footage as usual.
ND filters help to reduce the amount of light entering the camera lens, allowing for longer exposure times and smoother footage. They are particularly useful for capturing cinematic footage with a slower shutter speed, which can create a more natural motion blur and reduce the "jello effect" caused by vibrations in the drone.
1、 Types of ND filters for Mavic 2 Pro
How to use ND filters for Mavic 2 Pro:
ND filters, or neutral density filters, are essential accessories for aerial photography and videography. They help to reduce the amount of light entering the camera lens, allowing you to use slower shutter speeds and wider apertures in bright conditions. This results in more balanced exposures and smoother, more cinematic footage.
To use ND filters with your Mavic 2 Pro, simply attach the filter to the front of the camera lens. The Mavic 2 Pro has a threaded lens mount, so you can easily screw on the filter. Make sure the filter is securely attached and aligned properly before taking off.
Types of ND filters for Mavic 2 Pro:
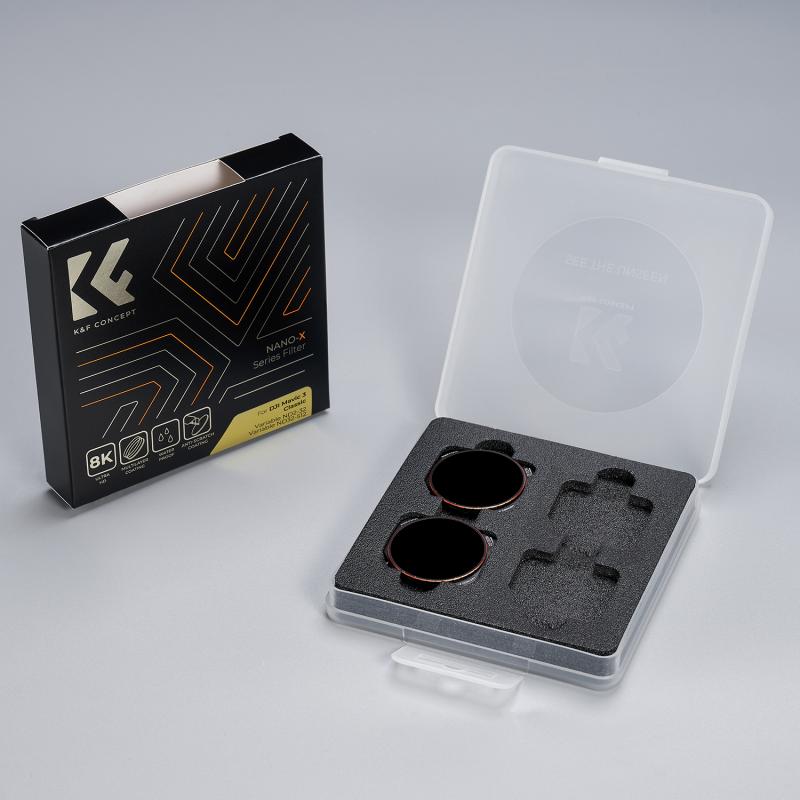
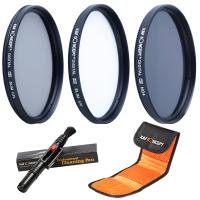
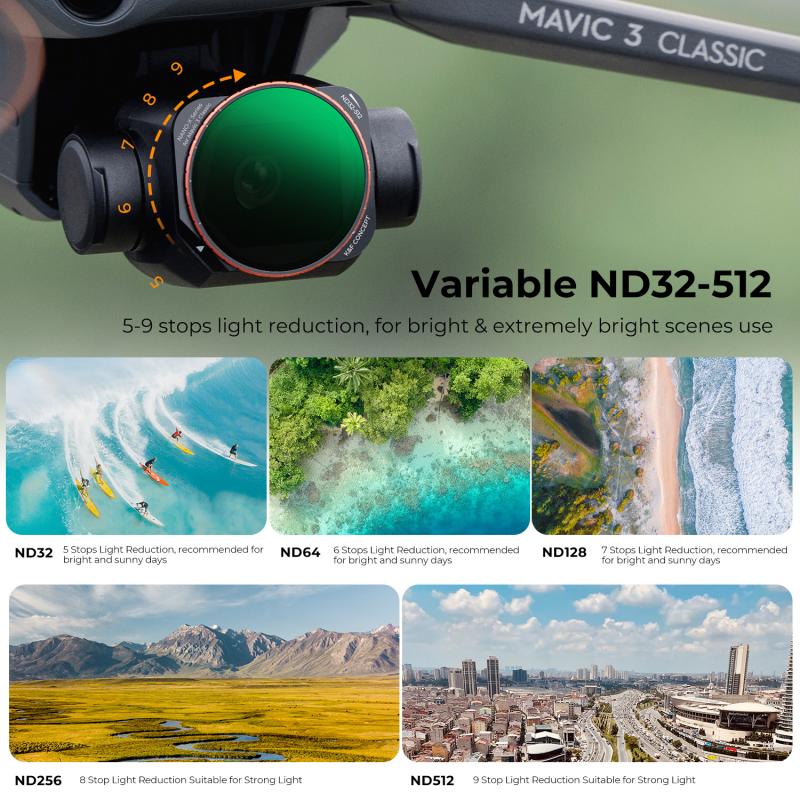
There are several types of ND filters available for the Mavic 2 Pro, each with a different level of light reduction. The most common types are ND4, ND8, ND16, ND32, and ND64. The number indicates the amount of light that is blocked, with ND4 blocking the least amount of light and ND64 blocking the most.
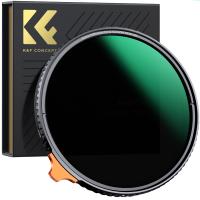
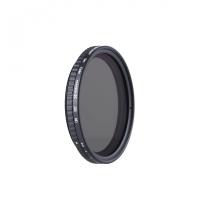
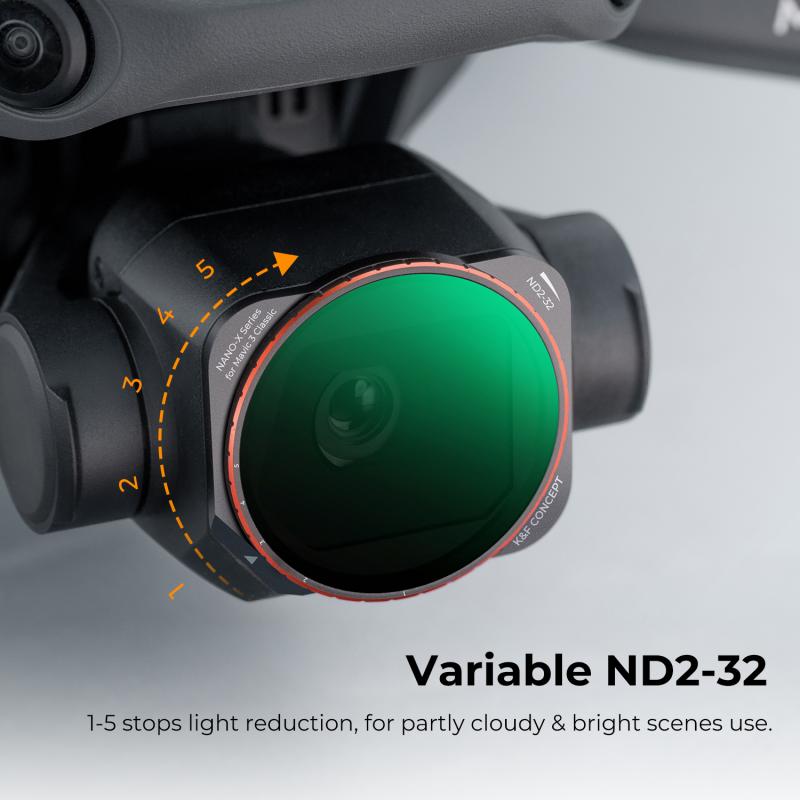
Recently, some manufacturers have also started producing variable ND filters for the Mavic 2 Pro. These filters allow you to adjust the amount of light reduction by rotating the filter, giving you more flexibility in changing lighting conditions.
In conclusion, using ND filters with your Mavic 2 Pro can greatly improve the quality of your aerial photography and videography. It is important to choose the right type of filter for the lighting conditions and to ensure that the filter is properly attached before taking off.
2、 Choosing the right ND filter for your shot
How to use ND filters Mavic 2 Pro:
ND filters are essential for capturing high-quality footage with your Mavic 2 Pro drone. They help to reduce the amount of light entering the camera, allowing you to use slower shutter speeds and wider apertures, which can result in more cinematic and professional-looking footage.
Choosing the right ND filter for your shot:
The right ND filter depends on the lighting conditions and the effect you want to achieve. For bright sunny days, a higher ND filter like ND16 or ND32 is recommended, while for cloudy or overcast days, a lower ND filter like ND4 or ND8 is suitable. For shooting waterfalls or other moving water, a higher ND filter like ND64 or ND1000 is recommended to create a smooth and silky effect.
It's important to note that using ND filters can affect the exposure and white balance of your footage, so it's recommended to adjust these settings accordingly. Also, make sure to remove the ND filter when shooting in low light conditions to avoid underexposure.
The latest point of view:
With the latest advancements in drone technology, some newer models like the Mavic Air 2 and Mavic 2 Pro have built-in ND filters that can be adjusted in-flight. This feature allows for more flexibility and convenience when shooting in changing lighting conditions.
In conclusion, using ND filters with your Mavic 2 Pro drone can greatly enhance the quality of your footage. By choosing the right ND filter for your shot and adjusting your camera settings accordingly, you can achieve more cinematic and professional-looking results.
3、 Installing ND filters on Mavic 2 Pro
How to use ND filters on Mavic 2 Pro:
1. Choose the right ND filter: ND filters come in different strengths, ranging from ND4 to ND32. The strength of the filter determines how much light it blocks. Choose the right ND filter based on the lighting conditions and the effect you want to achieve.
2. Install the ND filter: The Mavic 2 Pro has a camera with a built-in gimbal. To install the ND filter, remove the gimbal cover and screw the filter onto the camera lens. Make sure the filter is securely attached to the lens.
3. Adjust camera settings: Once the ND filter is installed, adjust the camera settings to compensate for the reduced light. You may need to adjust the shutter speed, ISO, and aperture to get the right exposure.
4. Experiment with different filters: ND filters can be used to create different effects, such as motion blur or shallow depth of field. Experiment with different filters to see what works best for your needs.
The latest point of view on using ND filters with the Mavic 2 Pro is that they are essential for capturing high-quality footage in bright sunlight. ND filters help to reduce the amount of light entering the camera, which can cause overexposure and washed-out colors. They also allow you to use slower shutter speeds, which can create a more cinematic look. Overall, ND filters are a must-have accessory for any serious drone videographer.
4、 Adjusting camera settings with ND filters
How to use ND filters with Mavic 2 Pro? ND filters are essential for capturing high-quality aerial footage with the Mavic 2 Pro. These filters help to reduce the amount of light entering the camera lens, allowing you to use slower shutter speeds and wider apertures. This results in smoother, more cinematic footage with better color and contrast.
To use ND filters with the Mavic 2 Pro, you first need to select the appropriate filter for the lighting conditions. ND filters come in different strengths, ranging from ND4 to ND32, with higher numbers indicating greater light reduction. For bright, sunny conditions, you'll want to use a higher strength filter, while for overcast or low-light conditions, a lower strength filter will suffice.
Once you've selected the appropriate filter, attach it to the front of the Mavic 2 Pro's camera lens. Then, adjust the camera settings to compensate for the reduced light. You'll typically want to use a slower shutter speed and wider aperture to maintain proper exposure. You may also need to adjust the ISO to achieve the desired exposure.
It's important to note that using ND filters can affect the Mavic 2 Pro's autofocus performance, particularly in low-light conditions. To ensure sharp focus, you may need to switch to manual focus mode and adjust the focus manually.
In summary, using ND filters with the Mavic 2 Pro is essential for capturing high-quality aerial footage. By selecting the appropriate filter and adjusting the camera settings, you can achieve smoother, more cinematic footage with better color and contrast. However, it's important to be aware of the potential impact on autofocus performance and adjust focus manually if necessary.
