How To Use Nd Filters On Mavic Pro ?
To use ND filters on the Mavic Pro, follow these steps:
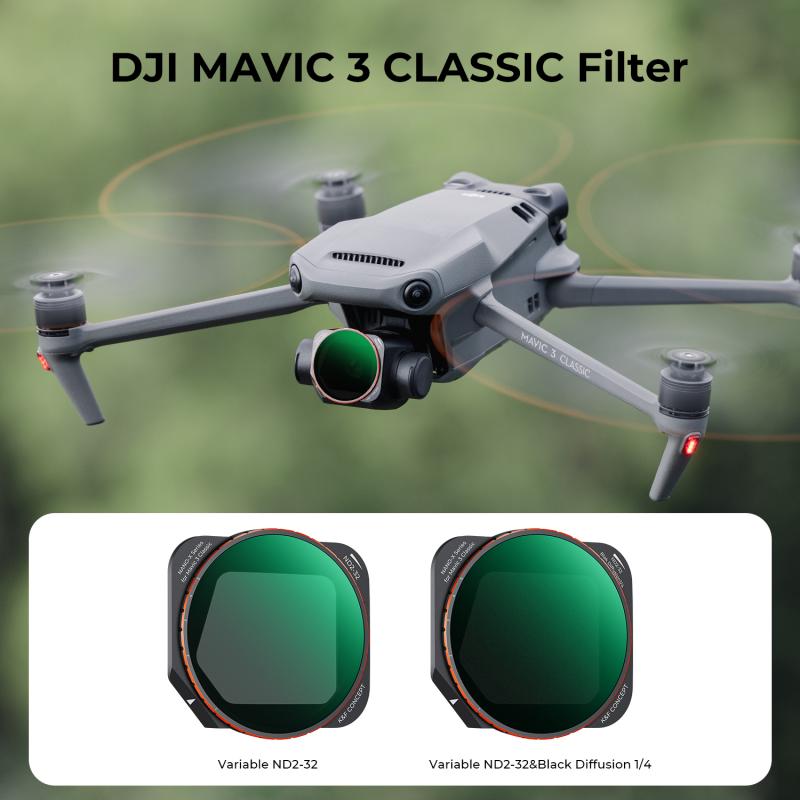
1. Choose the appropriate ND filter: ND filters come in different strengths, such as ND4, ND8, ND16, etc. Select the filter based on the lighting conditions and the effect you want to achieve.
2. Attach the filter to the camera: The Mavic Pro has a camera gimbal that allows you to easily attach filters. Simply screw the filter onto the front of the camera lens.
3. Adjust camera settings: Once the filter is attached, you may need to adjust the camera settings to compensate for the reduced light. This could involve lowering the shutter speed or adjusting the ISO settings.
4. Start flying: With the ND filter in place and the camera settings adjusted, you can now start flying your Mavic Pro and capture stunning aerial footage with reduced glare and balanced exposure.
Remember to experiment with different filters and settings to achieve the desired results in different lighting conditions.
1、 Understanding ND Filters: Types and Uses for Mavic Pro
Understanding ND Filters: Types and Uses for Mavic Pro
ND filters, or Neutral Density filters, are essential accessories for aerial photography and videography with the DJI Mavic Pro. These filters help control the amount of light entering the camera, allowing you to achieve better exposure and creative effects. Here's a guide on how to use ND filters on the Mavic Pro.
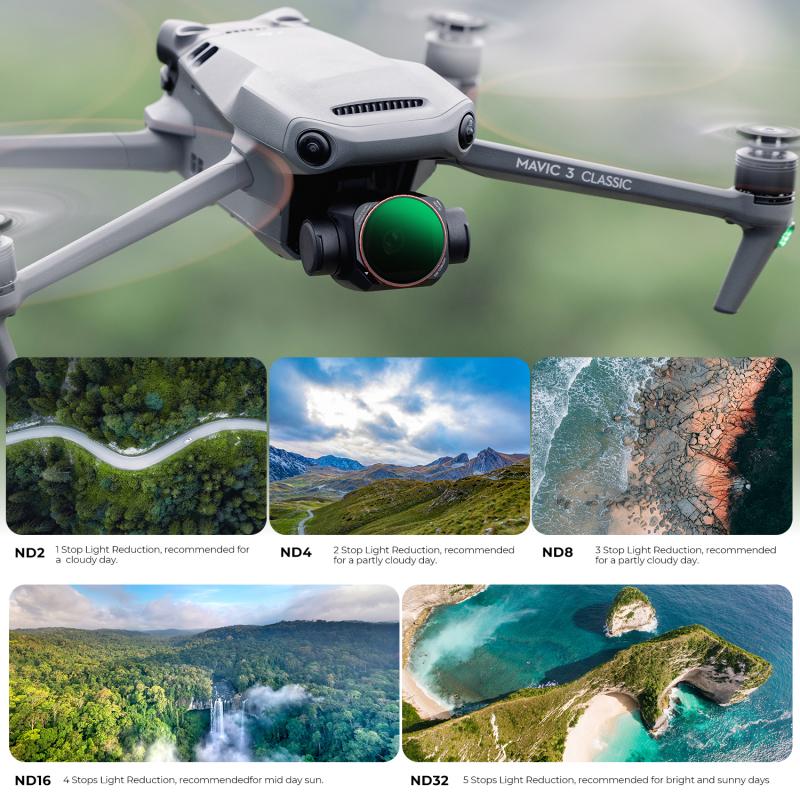
1. Choose the right ND filter: ND filters come in different strengths, usually denoted by numbers such as ND4, ND8, ND16, etc. The higher the number, the darker the filter. Select the appropriate filter based on the lighting conditions and the effect you want to achieve. For bright sunny days, a higher ND number like ND16 or ND32 is recommended to reduce the amount of light entering the camera.
2. Attach the filter: The Mavic Pro has a gimbal cover that needs to be removed before attaching the filter. Once removed, simply screw the filter onto the camera lens. Ensure it is securely attached to prevent any movement or vibration during flight.
3. Adjust camera settings: With the ND filter attached, you'll need to adjust the camera settings accordingly. Start by setting the camera to manual mode (M) and adjust the shutter speed and ISO to achieve the desired exposure. The ND filter allows you to use slower shutter speeds, which can result in smoother motion blur or create long exposure effects.
4. Experiment and practice: ND filters offer a wide range of creative possibilities. Experiment with different filters and settings to achieve the desired effect. For example, a higher ND filter can be used to capture long exposure shots of flowing water or create motion blur in moving subjects.
It's important to note that the latest Mavic Pro models, such as the Mavic Pro 2, have built-in variable ND filters. These filters can be adjusted to different strengths without physically changing the filter. This provides greater convenience and flexibility in various lighting conditions.
In conclusion, ND filters are valuable tools for enhancing your aerial photography and videography with the Mavic Pro. By understanding the different types of filters and their uses, you can capture stunning shots and unleash your creativity.
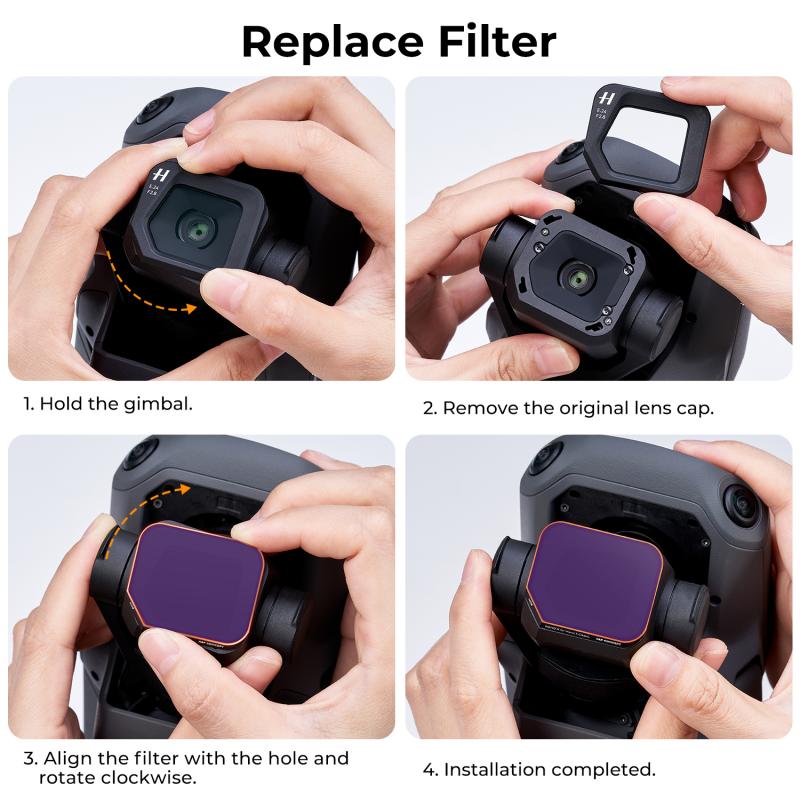
2、 Step-by-Step Guide: Attaching ND Filters to Mavic Pro
Step-by-Step Guide: Attaching ND Filters to Mavic Pro
ND (Neutral Density) filters are essential accessories for aerial photography and videography. They help control the amount of light entering the camera lens, allowing you to achieve better exposure and capture stunning shots. Here's a step-by-step guide on how to use ND filters on the Mavic Pro:
1. Choose the right ND filter: ND filters come in different strengths, such as ND4, ND8, ND16, etc. The number indicates the amount of light the filter blocks. Select the appropriate filter based on the lighting conditions and the effect you want to achieve.
2. Remove the Mavic Pro's lens cover: Before attaching the ND filter, remove the lens cover by gently twisting it counterclockwise.
3. Align the filter with the camera lens: Hold the ND filter in front of the camera lens and align it properly. The filter should have threads that match the lens threads on the Mavic Pro.
4. Screw on the filter: Once aligned, carefully screw on the filter clockwise until it is securely attached to the lens. Make sure not to overtighten it.
5. Check for proper attachment: After attaching the filter, check if it is firmly in place. Give it a gentle twist to ensure it doesn't come loose during flight.
6. Calibrate the gimbal: After attaching the ND filter, it's important to calibrate the gimbal to ensure smooth and stable footage. Follow the instructions in the Mavic Pro's user manual to perform the gimbal calibration.
7. Start shooting: With the ND filter attached, you are now ready to capture stunning aerial shots. Experiment with different filters and settings to achieve the desired effect.
Remember, using ND filters on the Mavic Pro can greatly enhance your aerial photography and videography. However, it's important to choose the right filter strength for the lighting conditions and adjust your camera settings accordingly. Keep practicing and experimenting to master the art of using ND filters with your Mavic Pro.
3、 Adjusting Camera Settings: Optimizing ND Filter Usage on Mavic Pro
Adjusting Camera Settings: Optimizing ND Filter Usage on Mavic Pro
Using ND (Neutral Density) filters on your Mavic Pro can greatly enhance the quality of your aerial photography and videography. These filters help control the amount of light entering the camera, allowing you to achieve better exposure and capture stunning shots even in bright conditions. Here's a step-by-step guide on how to use ND filters effectively on your Mavic Pro:
1. Choose the right ND filter: ND filters come in different strengths, usually denoted by numbers such as ND4, ND8, ND16, etc. The higher the number, the darker the filter. Select the appropriate filter based on the lighting conditions and the effect you want to achieve. For bright sunny days, ND16 or higher filters are recommended.
2. Attach the filter: The Mavic Pro's camera has a threaded lens, making it easy to attach the ND filter. Simply screw the filter onto the lens until it is securely in place. Ensure that the filter is aligned properly to avoid any vignetting or image distortion.
3. Adjust camera settings: Once the ND filter is attached, it's important to adjust the camera settings accordingly. Start by setting the camera to Manual mode (M) to have full control over the exposure. Adjust the ISO and shutter speed to achieve the desired exposure level. The ND filter will allow you to use slower shutter speeds without overexposing the image.
4. Experiment and practice: ND filters offer a wide range of creative possibilities. Take some test shots and experiment with different settings to find the perfect balance between exposure, shutter speed, and motion blur. Practice flying the drone smoothly to avoid any unwanted camera shake.
Remember, using ND filters requires some trial and error to achieve the desired results. Keep practicing and experimenting with different filters and settings to master the art of using ND filters on your Mavic Pro.
4、 Capturing Stunning Aerial Footage: Tips for Using ND Filters
Capturing Stunning Aerial Footage: Tips for Using ND Filters
Using ND (Neutral Density) filters on your DJI Mavic Pro can greatly enhance the quality of your aerial footage. ND filters are essential for controlling the amount of light that enters the camera, allowing you to achieve the perfect exposure and capture stunning footage in various lighting conditions. Here's how you can effectively use ND filters on your Mavic Pro:
1. Understand the ND filter strengths: ND filters come in different strengths, such as ND4, ND8, ND16, and so on. The number represents the amount of light the filter blocks. For example, an ND4 filter reduces the light entering the camera by 2 stops, while an ND16 filter reduces it by 4 stops. Choose the appropriate filter based on the lighting conditions and desired effect.
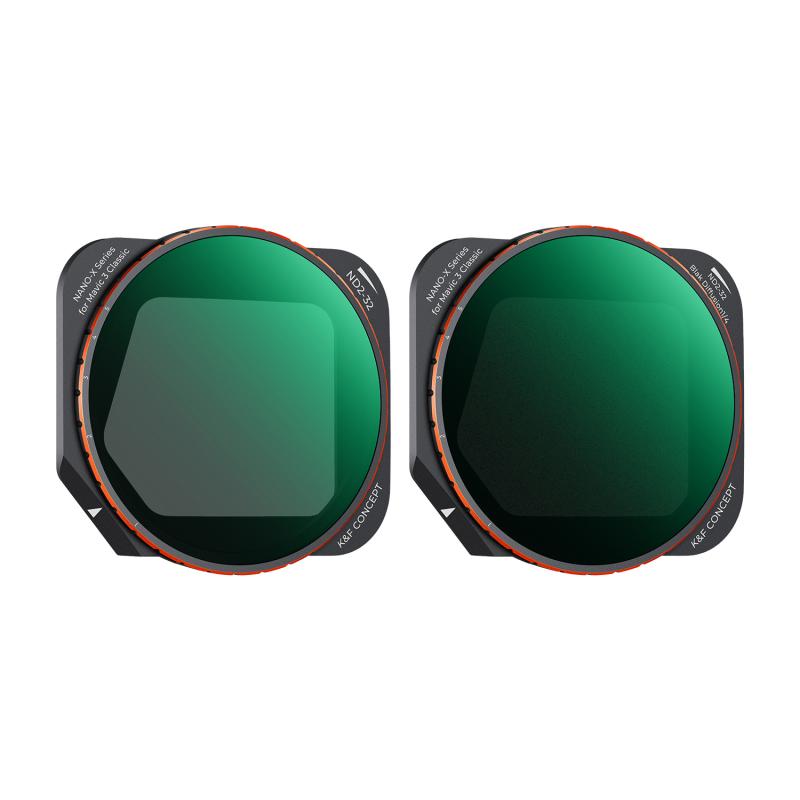
2. Attach the ND filter: The Mavic Pro's camera does not have a built-in filter thread, so you'll need to use a filter adapter or a specialized ND filter set designed for the Mavic Pro. Attach the filter securely to the camera lens before taking off.
3. Adjust camera settings: Once the ND filter is attached, adjust the camera settings accordingly. Start by setting the ISO to the lowest possible value (usually 100) and the shutter speed to double the frame rate. For example, if you're shooting at 30 frames per second, set the shutter speed to 1/60th of a second.
4. Experiment with different filters: ND filters allow you to achieve various creative effects, such as motion blur or smooth waterfalls. Experiment with different filters and settings to find the look that best suits your desired outcome.
5. Keep an eye on exposure: While ND filters help control light, it's important to monitor the exposure during flight. Use the Mavic Pro's histogram or exposure meter to ensure your footage is properly exposed.
In conclusion, using ND filters on your DJI Mavic Pro can significantly enhance the quality of your aerial footage. By understanding the different filter strengths, attaching the filter correctly, adjusting camera settings, experimenting with filters, and monitoring exposure, you can capture stunning aerial footage with ease.
