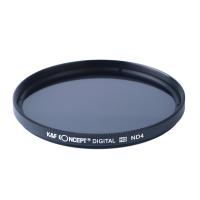
How To Use Nd Variable Filter ?
To use an ND variable filter, follow these steps:
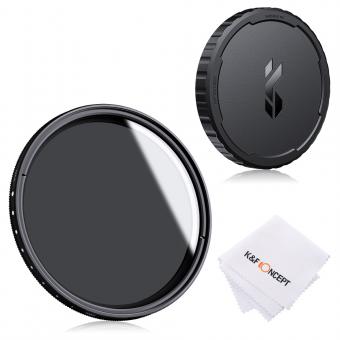
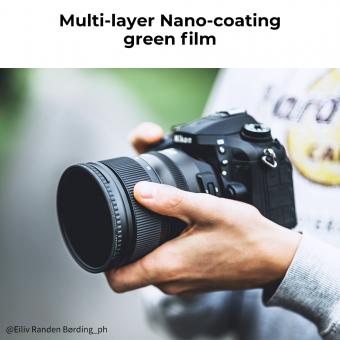
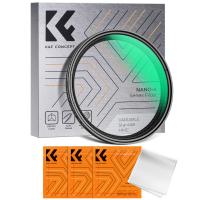
1. Attach the filter to your camera lens by screwing it onto the filter thread.
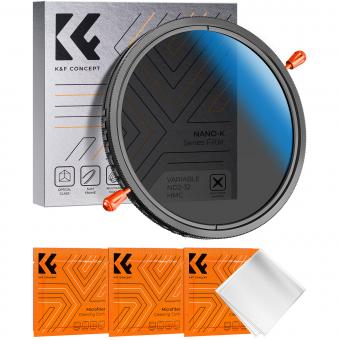
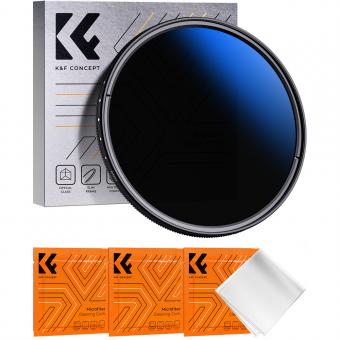
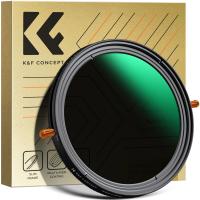
2. Adjust the filter's density by rotating the outer ring. This will allow you to control the amount of light entering the lens.
3. Start with the minimum density setting and take a test shot. Evaluate the exposure and adjust the density as needed.
4. Keep in mind that increasing the density will result in a longer exposure time, so you may need to use a tripod to avoid camera shake.
5. Experiment with different density settings to achieve the desired effect. ND variable filters are commonly used in landscape photography to create long exposure effects, such as smoothing water or capturing motion blur.
Remember to refer to your specific filter's instructions for any additional details or considerations.
1、 Understanding ND Filters: Types, Uses, and Benefits
To use an ND (Neutral Density) variable filter effectively, follow these steps:
1. Choose the right filter: ND variable filters come in different densities, usually ranging from ND2 to ND400. The density determines the amount of light that is blocked. Select a filter based on the lighting conditions and the effect you want to achieve.
2. Attach the filter: Screw the filter onto the front of your camera lens. Ensure it is securely attached to prevent any light leakage.
3. Adjust the density: ND variable filters have a rotating ring that allows you to adjust the density. By rotating the ring, you can increase or decrease the amount of light entering the lens. This feature is particularly useful when shooting in changing lighting conditions.
4. Set the exposure: With the filter attached, adjust your camera settings to compensate for the reduced light. You may need to increase the exposure time or widen the aperture to maintain the desired exposure.
5. Experiment and practice: ND filters offer various creative possibilities. Try different densities and exposure settings to achieve the desired effect. For example, a higher density filter can create long exposure effects like silky waterfalls or motion blur in crowded places.
It's important to note that the latest point of view on ND filters emphasizes their versatility and usefulness in various photography genres. ND filters are not only popular among landscape photographers but also portrait, street, and architectural photographers. They allow for greater control over exposure, enabling photographers to capture scenes with a shallow depth of field even in bright lighting conditions. Additionally, ND filters can be used for video recording, helping to achieve a cinematic look by reducing the shutter speed and creating smooth motion blur. Overall, understanding how to use ND variable filters effectively can greatly enhance your photography and unleash your creativity.
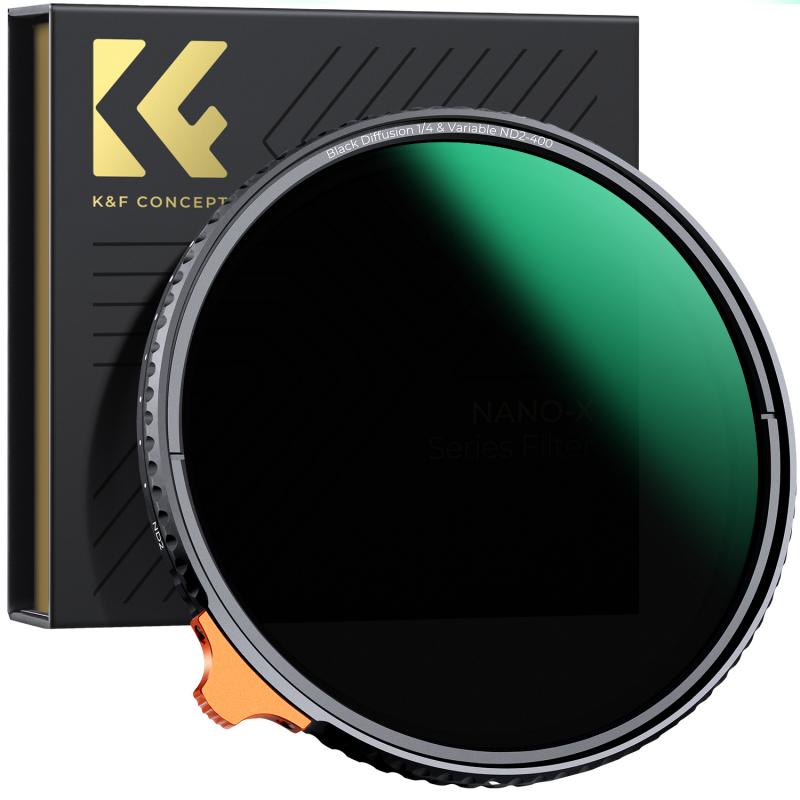
2、 Step-by-Step Guide: Attaching an ND Variable Filter to Your Lens
Step-by-Step Guide: Attaching an ND Variable Filter to Your Lens
Using an ND variable filter is a great way to control the amount of light entering your camera lens, allowing you to achieve creative effects and maintain proper exposure in various lighting conditions. Here's a step-by-step guide on how to use an ND variable filter:
1. Choose the right filter: ND variable filters come in different strengths, usually measured in stops. Select a filter that suits your needs, considering the lighting conditions and the effect you want to achieve.
2. Attach the filter to your lens: Start by removing any lens caps or filters already attached to your lens. Screw the ND variable filter onto the front of your lens, ensuring a secure fit. Most filters have a thread size indicated on them, so make sure to match it with your lens.
3. Adjust the filter strength: ND variable filters have two rotating rings that allow you to adjust the strength of the filter. One ring controls the density, while the other controls the polarization. Rotate the rings to increase or decrease the amount of light entering the lens.
4. Check your exposure: Once the filter is attached and adjusted, look through the viewfinder or use the camera's LCD screen to assess the exposure. Adjust the filter strength as needed to achieve the desired effect while maintaining proper exposure.
5. Experiment and practice: ND variable filters offer a wide range of creative possibilities. Take the time to experiment with different filter strengths and shooting conditions to understand how they affect your images. Practice using the filter in various scenarios to become comfortable with its usage.
Remember, each ND variable filter may have specific instructions provided by the manufacturer, so it's always a good idea to refer to the user manual for any additional guidance.
In recent years, advancements in filter technology have led to the development of high-quality ND variable filters that offer improved color accuracy and reduced image degradation. These filters often feature multi-coating to minimize reflections and flare, ensuring optimal image quality.
By following this step-by-step guide and considering the latest advancements in filter technology, you can effectively use an ND variable filter to enhance your photography and achieve stunning results.
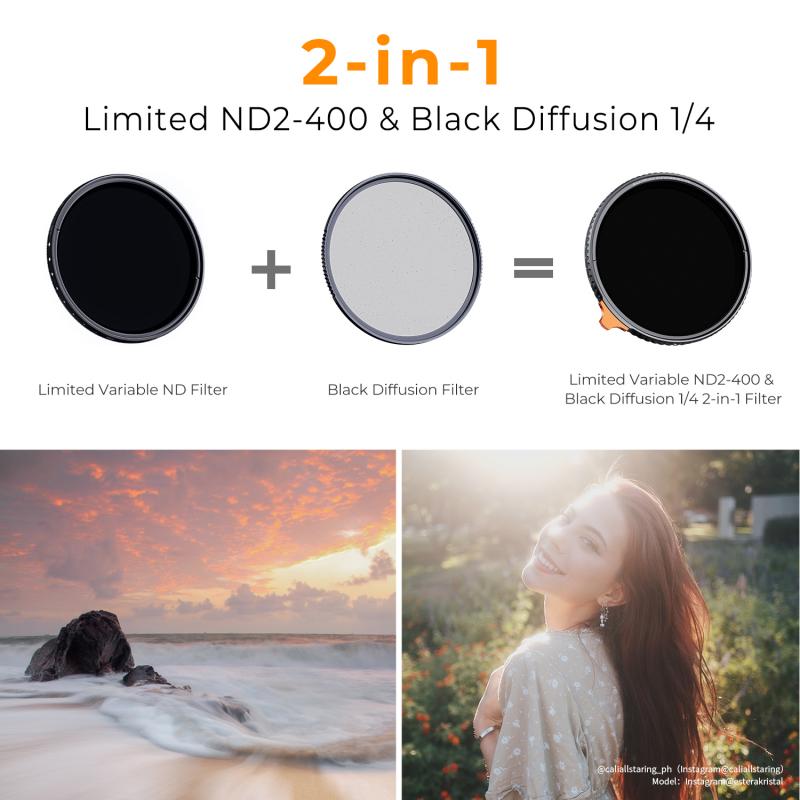
3、 Adjusting the Density: Controlling Light with an ND Variable Filter
To use an ND variable filter, follow these steps:
1. Attach the filter: Screw the ND variable filter onto the front of your camera lens. Make sure it is securely attached.
2. Set the filter density: Most ND variable filters have a rotating ring that allows you to adjust the density. Rotate the ring to increase or decrease the density of the filter. This will control the amount of light that enters the camera.
3. Adjust exposure settings: Once the filter is attached and the density is set, you need to adjust your camera's exposure settings. Start by setting your camera to manual mode. Then, adjust the aperture, shutter speed, and ISO to achieve the desired exposure. The specific settings will depend on the lighting conditions and the effect you want to achieve.
4. Experiment and fine-tune: ND variable filters offer a wide range of density adjustments, allowing you to have more control over the exposure. Experiment with different densities and settings to find the perfect balance of light and achieve the desired effect. Keep in mind that using a higher density will require longer exposure times, so use a tripod to avoid camera shake.
The latest point of view on using ND variable filters is that they are a versatile tool for photographers and videographers. They allow for precise control over exposure, making them ideal for capturing long exposures, creating motion blur, or shooting in bright conditions. Additionally, ND variable filters are convenient as they eliminate the need to carry multiple filters with different densities. However, it is important to invest in a high-quality filter to ensure accurate color reproduction and minimal image degradation.
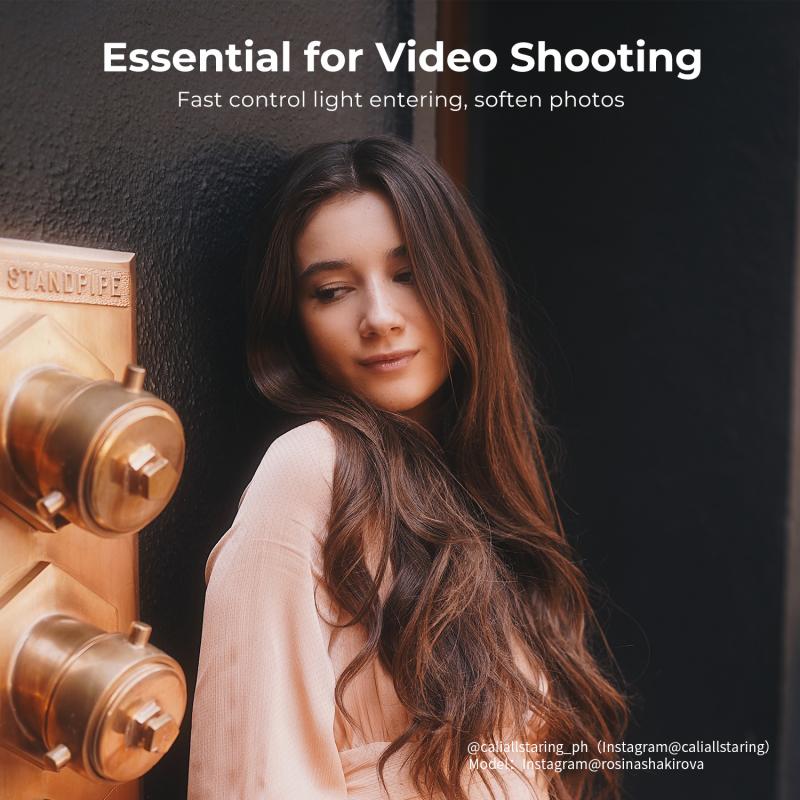
4、 Achieving the Desired Effect: Creative Applications of ND Variable Filters
To use an ND variable filter effectively, follow these steps:
1. Choose the right filter: ND variable filters come in different strengths, usually measured in stops. Select a filter that suits your desired effect. For example, a filter with a range of 2-8 stops is ideal for long exposure photography, while a filter with a range of 1-5 stops is suitable for controlling depth of field.
2. Attach the filter: Screw the filter onto the front of your lens. Ensure it is securely attached to prevent any light leakage.
3. Set the desired strength: Most ND variable filters have a rotating ring that allows you to adjust the strength of the filter. Start with the minimum setting and gradually increase it until you achieve the desired effect. This flexibility is particularly useful when shooting in changing lighting conditions.
4. Compose your shot: Frame your subject and adjust your camera settings accordingly. Keep in mind that using an ND variable filter will reduce the amount of light entering the lens, so you may need to compensate by adjusting your aperture, ISO, or shutter speed.
5. Capture the image: Once you have composed your shot and adjusted your camera settings, press the shutter button to capture the image. Experiment with different filter strengths and compositions to achieve the desired effect.
The latest point of view on using ND variable filters emphasizes the importance of understanding the filter's impact on image quality. While these filters offer great flexibility, they can sometimes introduce color casts or reduce sharpness. To mitigate these issues, it is recommended to invest in high-quality filters from reputable brands and to test them thoroughly before important shoots. Additionally, post-processing techniques can be employed to correct any color shifts or loss of sharpness that may occur. Overall, with proper understanding and experimentation, ND variable filters can be powerful tools for achieving creative effects in photography.

