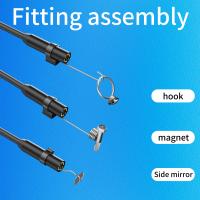
How To Use Phone As Microscope ?
To use your phone as a microscope, you can follow these steps:
1. Obtain a microscope attachment: Purchase or create a microscope attachment that can be easily mounted onto your phone's camera. These attachments are typically small lenses that can magnify the image.
2. Clean the lens: Ensure that both the lens of your phone's camera and the microscope attachment are clean and free from any dust or smudges. This will help to capture clear and accurate images.
3. Attach the microscope lens: Carefully attach the microscope lens onto your phone's camera. Make sure it is securely fastened and aligned properly.
4. Position the sample: Place the sample or object you want to examine onto a slide or any flat surface. Ensure that it is well-lit and positioned correctly.
5. Focus and capture: Open your phone's camera app and use the focusing feature to adjust the image until it appears clear and sharp. Once you have achieved the desired focus, capture the image or record a video for further analysis.
Remember to experiment with different lighting conditions and magnification levels to optimize your results.
1、 Phone camera magnification capabilities
Phone camera magnification capabilities have significantly improved in recent years, allowing users to utilize their phones as makeshift microscopes. While not as powerful as professional microscopes, this method can still be useful for basic magnification needs.
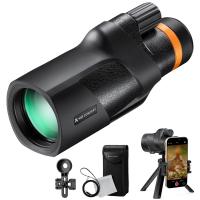
To use your phone as a microscope, you will need a few additional tools. First, you will need a lens attachment specifically designed for phone cameras. These attachments come in various magnification levels and can be easily attached to your phone's camera lens. Additionally, you may need a stable platform to hold your phone steady during observation, such as a tripod or a phone stand.
Once you have the necessary tools, simply attach the lens to your phone's camera and position it over the object you want to magnify. Adjust the focus and zoom settings on your phone's camera app to achieve the desired level of magnification. It's important to note that the quality of the image will depend on the capabilities of your phone's camera and the lens attachment used.
While using your phone as a microscope can be convenient and cost-effective, it is important to remember that it has limitations. The magnification capabilities of phone cameras are still limited compared to professional microscopes, and the image quality may not be as clear or detailed. Additionally, the depth of field and lighting conditions may affect the quality of the image.
In conclusion, using your phone as a microscope can be a practical solution for basic magnification needs. However, for more precise and detailed observations, it is recommended to use professional microscopes.
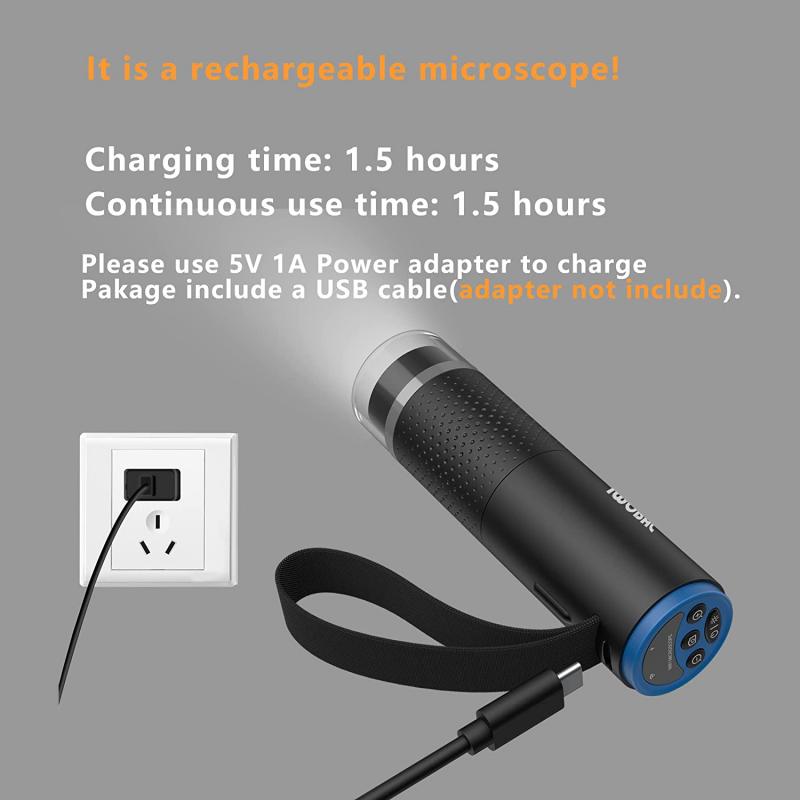
2、 Attaching a lens to your phone for microscopic imaging
Attaching a lens to your phone for microscopic imaging is a simple and cost-effective way to transform your smartphone into a microscope. With advancements in smartphone camera technology, it is now possible to capture detailed images of tiny objects with impressive clarity. Here's how you can use your phone as a microscope:
1. Purchase a smartphone microscope lens attachment: There are various lens attachments available in the market that can be easily clipped onto your phone's camera. These lenses typically come with different magnification levels, allowing you to choose the one that suits your needs.
2. Clean the lens: Before attaching the microscope lens, ensure that your phone's camera lens is clean and free from any smudges or dust particles. This will help in capturing clear and sharp images.
3. Attach the lens: Clip the microscope lens attachment onto your phone's camera lens. Make sure it is securely attached to avoid any movement or instability while capturing images.
4. Position the object: Place the object you want to examine on a flat surface or slide. Adjust the focus of your phone's camera to get a clear view of the object.
5. Capture the image: Once the object is in focus, use your phone's camera app to capture the image. Experiment with different lighting conditions and angles to achieve the best results.
The latest point of view on using a phone as a microscope is that it has become increasingly popular among scientists, researchers, and hobbyists due to its convenience and portability. Smartphone microscope attachments have improved in quality, allowing for higher magnification and better image resolution. Additionally, there are now smartphone apps available that can enhance the functionality of the microscope, enabling features like image analysis and measurement.
Using your phone as a microscope opens up a world of possibilities for exploring the microscopic realm. It can be used for various applications, such as examining plant cells, analyzing microorganisms, or even inspecting electronic components. The affordability and accessibility of this method make it a valuable tool for education, research, and everyday curiosity.
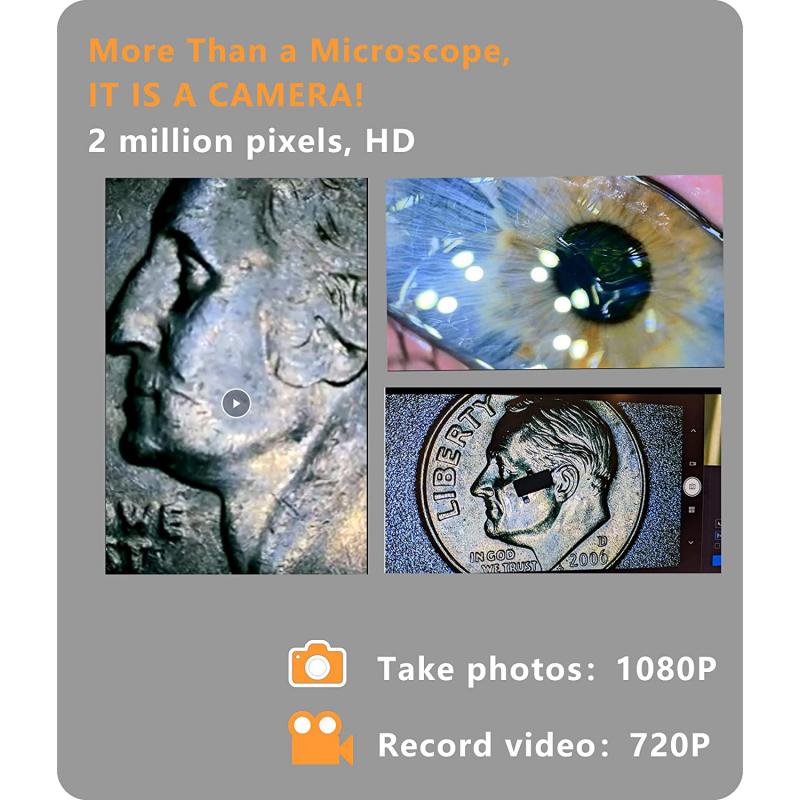
3、 Using phone apps for microscope functionality
Using your phone as a microscope can be a convenient and cost-effective way to explore the microscopic world. There are two main methods to achieve this: using phone apps for microscope functionality or physically attaching your phone to a traditional microscope.
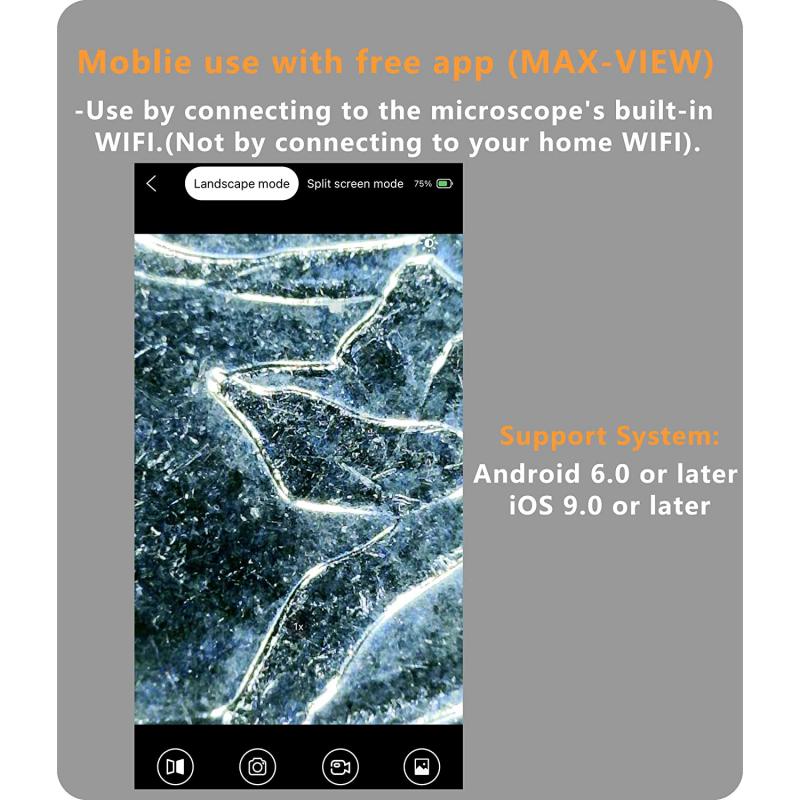
Using phone apps for microscope functionality is a popular option. There are numerous apps available for both iOS and Android devices that can turn your phone's camera into a microscope. These apps utilize the phone's camera and software to magnify and capture images of small objects. They often offer features like zoom, focus adjustment, and image enhancement to improve the quality of the microscopic images.
To use these apps, simply download and install them from your phone's app store. Once installed, open the app and place the object you want to examine under the phone's camera lens. Adjust the focus and zoom settings as needed to get a clear image. You can then capture photos or videos of the microscopic view and save them for later analysis or sharing.
It's important to note that while phone apps can provide a basic level of magnification, they may not offer the same level of precision and clarity as a dedicated microscope. However, they can still be useful for educational purposes, hobbyists, or quick observations.
In recent years, there have been advancements in smartphone technology that have improved the capabilities of using phones as microscopes. Some phones now come with built-in macro lenses or even microscope attachments that can be easily clipped onto the phone's camera. These attachments provide higher magnification and better image quality, making them a great option for more detailed observations.
In conclusion, using phone apps for microscope functionality is a convenient and accessible way to explore the microscopic world. With the advancements in smartphone technology, it is now easier than ever to capture and analyze microscopic images using just your phone. Whether you are a student, scientist, or simply curious about the unseen world, using your phone as a microscope can open up a whole new realm of discovery.
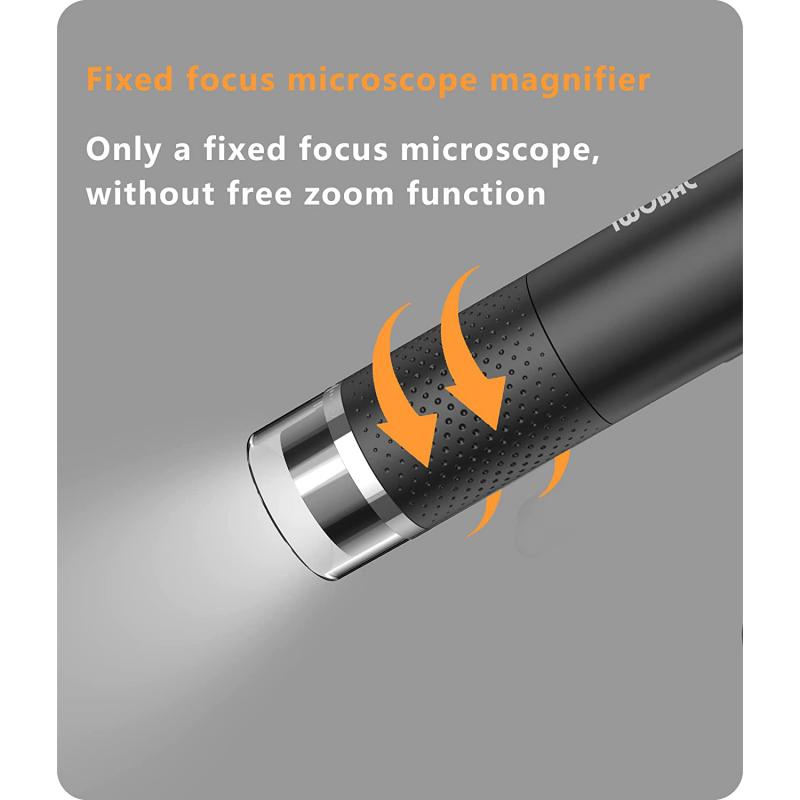
4、 DIY phone microscope setups and techniques
DIY phone microscope setups and techniques have become increasingly popular in recent years, allowing individuals to transform their smartphones into powerful microscopes. This innovative approach offers a cost-effective and portable solution for various applications, including scientific research, education, and even hobbyist exploration.
To use your phone as a microscope, you will need a few basic materials. The most crucial component is a lens attachment that can be easily affixed to your phone's camera. These attachments come in various forms, such as clip-on lenses or lens adapters, and can be purchased online or at specialty stores. Additionally, you will need a stable platform to hold your phone and the specimen you wish to observe. This can be achieved by using a simple stand or by improvising with household items like a tripod or a stack of books.
Once you have the necessary equipment, the process is relatively straightforward. Attach the lens to your phone's camera, ensuring it is aligned correctly. Place your specimen on the stable platform and position your phone above it. Adjust the focus and zoom settings on your phone's camera app until you achieve a clear image. It is recommended to use a well-lit area or an external light source to enhance visibility.
It is worth noting that the quality of the images captured using a DIY phone microscope setup may not match those obtained with professional microscopes. However, advancements in smartphone camera technology have significantly improved image resolution and clarity, allowing for detailed observations of various specimens.
In conclusion, using your phone as a microscope is an accessible and affordable option for those interested in exploring the microscopic world. DIY phone microscope setups and techniques continue to evolve, with new lens attachments and accessories being developed to enhance the capabilities of smartphone cameras. Whether you are a student, scientist, or simply curious about the microscopic realm, this innovative approach offers a convenient way to observe and document the wonders that lie beyond the naked eye.
