How To Use Rangefinder At Night ?
To use a rangefinder at night, ensure that the rangefinder has a built-in or attachable night vision feature. Activate the night vision mode and adjust the settings for optimal visibility in low light conditions. Look through the rangefinder's viewfinder and aim it at the target you want to measure the distance to. Press the button or trigger to activate the rangefinder's laser or infrared beam, which will bounce off the target and return to the rangefinder. The rangefinder will then calculate the distance based on the time it takes for the beam to return. The distance measurement will be displayed on the rangefinder's screen or viewfinder. Make sure to practice using the rangefinder at night to become familiar with its operation and to ensure accurate distance measurements.
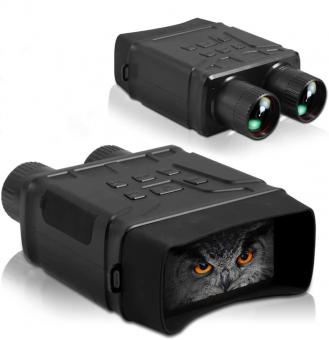
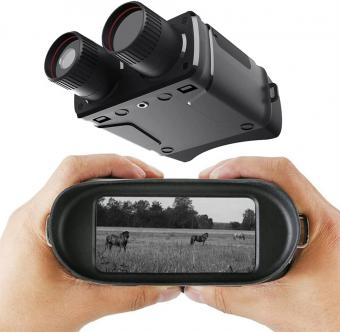
1、 Night vision technology in rangefinders for improved visibility.
Night vision technology in rangefinders has revolutionized the way we navigate and perceive our surroundings in low-light conditions. With the incorporation of this advanced technology, rangefinders now offer improved visibility and accuracy, making them an essential tool for various activities such as hunting, wildlife observation, and military operations.
To use a rangefinder with night vision capabilities, follow these steps:
1. Familiarize yourself with the rangefinder: Read the user manual thoroughly to understand the device's features, settings, and controls. This will help you optimize its performance in low-light conditions.
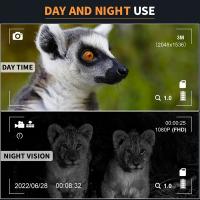
2. Activate night vision mode: Most rangefinders with night vision technology have a dedicated mode or button to activate this feature. Switching to night vision mode enhances the device's sensitivity to low levels of light, allowing you to see clearly in the dark.
3. Adjust the brightness: Depending on the ambient light conditions, you may need to adjust the brightness settings of the rangefinder. This will ensure that the display is clear and easy to read without causing discomfort to your eyes.
4. Use the rangefinder as usual: Once the night vision mode is activated and the brightness is adjusted, you can use the rangefinder just like you would during the day. Align the device with your target, press the button to measure the distance, and read the results on the display.
The latest advancements in night vision technology have significantly improved the performance of rangefinders in low-light conditions. These devices now offer enhanced image quality, extended range, and improved target detection capabilities. Some rangefinders even incorporate thermal imaging technology, allowing users to detect heat signatures and identify targets more effectively.
It is important to note that the effectiveness of night vision technology in rangefinders can vary depending on factors such as ambient light levels, weather conditions, and the quality of the device itself. Therefore, it is advisable to invest in a high-quality rangefinder with reliable night vision capabilities for optimal performance in low-light situations.
2、 Adjusting rangefinder settings for low-light conditions.
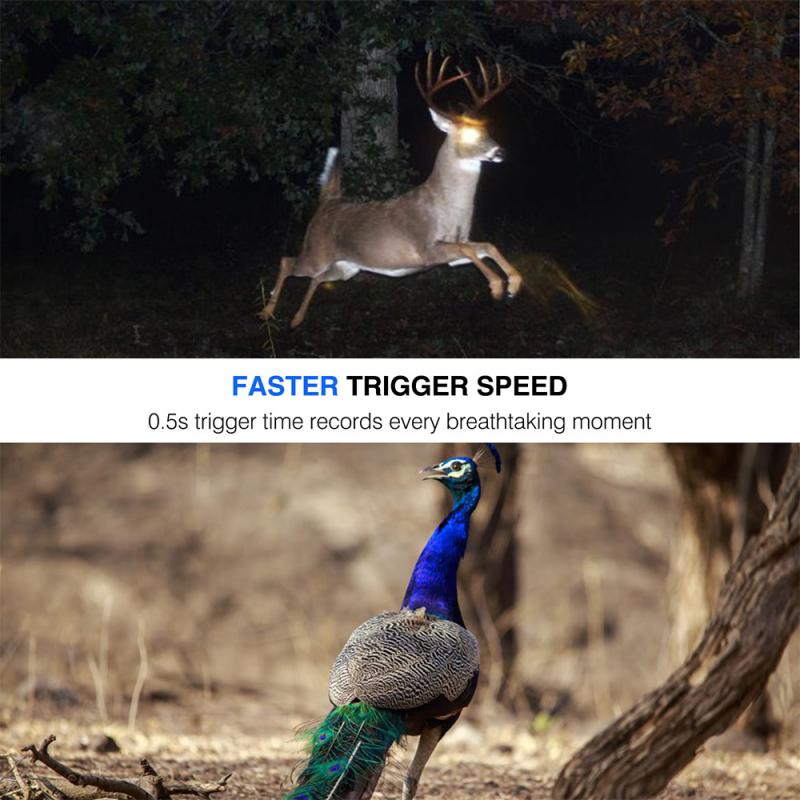
Using a rangefinder at night can be challenging due to the limited visibility. However, there are a few techniques you can employ to make the most out of your rangefinder in low-light conditions.
1. Adjusting rangefinder settings: Most modern rangefinders come with adjustable settings to enhance visibility in low-light conditions. Look for a rangefinder with a brightness adjustment feature and set it to a higher level to increase the visibility of the target.
2. Utilize the latest technology: Some rangefinders are equipped with advanced features like night vision or infrared technology. These technologies can significantly improve visibility in the dark. Consider investing in a rangefinder with these capabilities for optimal performance in low-light conditions.
3. Use a tripod or stabilizing device: Holding a rangefinder steady can be challenging in low-light conditions. To ensure accurate measurements, use a tripod or a stabilizing device to keep the rangefinder steady while taking readings.
4. Enhance target visibility: In low-light conditions, it can be difficult to distinguish the target from the background. To improve visibility, use reflective targets or attach reflective tape to the target. This will help the rangefinder to lock onto the target more easily.
5. Practice and familiarize yourself: Using a rangefinder in low-light conditions requires practice and familiarity. Spend time practicing in different lighting conditions to understand how your rangefinder performs and to develop a feel for making accurate measurements in the dark.
Remember, technology is constantly evolving, and new advancements are being made in rangefinder technology. Stay updated with the latest releases and consider investing in a rangefinder that offers improved performance in low-light conditions.
3、 Utilizing infrared rangefinders for enhanced night-time accuracy.
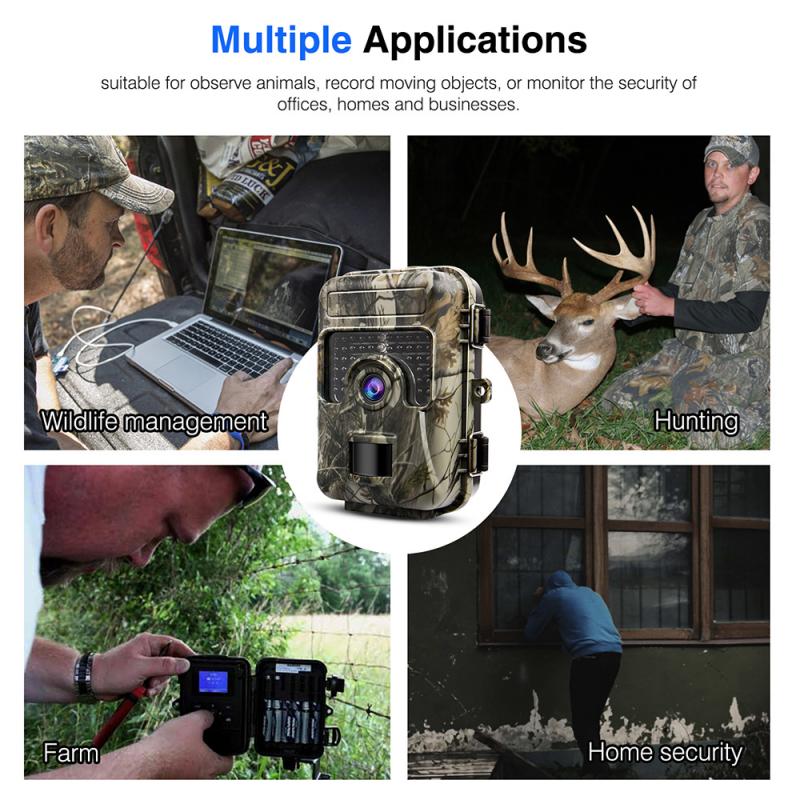
To use a rangefinder at night, specifically an infrared rangefinder, there are a few key steps to follow. These steps will help enhance accuracy and ensure optimal performance in low-light conditions.
1. Familiarize yourself with the rangefinder: Read the user manual thoroughly to understand the device's features, settings, and limitations. This will help you make the most of its capabilities during night-time use.
2. Adjust the settings: Most infrared rangefinders have adjustable settings for brightness, contrast, and target acquisition. Experiment with these settings to find the optimal configuration for night-time use. Increasing the brightness and contrast can help improve visibility in low-light conditions.
3. Use a stable platform: To ensure accurate readings, stabilize the rangefinder by using a tripod or any other stable platform. This will minimize hand movements and vibrations that can affect accuracy, especially in low-light situations where the rangefinder's sensors are more sensitive.
4. Understand the limitations: Infrared rangefinders work by emitting infrared light and measuring the time it takes for the light to bounce back from the target. However, certain factors like fog, rain, or dense vegetation can affect the accuracy of the readings. Be aware of these limitations and adjust your expectations accordingly.
5. Practice and gain experience: Like any other tool, using an infrared rangefinder at night requires practice. Spend time familiarizing yourself with the device, its settings, and its performance in different night-time scenarios. This will help you develop a better understanding of its capabilities and limitations.
The latest point of view on utilizing infrared rangefinders for enhanced night-time accuracy involves advancements in technology. Manufacturers are constantly improving the sensitivity and range of infrared sensors, allowing for more precise measurements even in extremely low-light conditions. Additionally, some rangefinders now incorporate image stabilization and target tracking features, further enhancing accuracy and ease of use at night. These advancements make infrared rangefinders increasingly reliable tools for night-time applications such as hunting, wildlife observation, and military operations.
4、 Understanding the limitations of rangefinders in darkness.
Understanding the limitations of rangefinders in darkness is crucial for effectively using them at night. Rangefinders are optical devices that measure the distance between the user and a target, typically using laser technology. While they are highly useful during the day, their performance can be significantly affected in low light conditions.
To use a rangefinder at night, there are a few key considerations to keep in mind. Firstly, it is important to choose a rangefinder specifically designed for low light conditions. These models often have features such as enhanced light gathering capabilities, larger objective lenses, and illuminated reticles to improve visibility in the dark.
Additionally, it is essential to understand the limitations of rangefinders in darkness. The accuracy and range of a rangefinder can be compromised in low light conditions due to reduced visibility and the inability of the laser to effectively reflect off the target. Therefore, it is advisable to use a rangefinder in conjunction with other tools, such as night vision devices or thermal imaging scopes, to enhance visibility and improve accuracy.
Furthermore, it is crucial to practice using the rangefinder in different lighting conditions to become familiar with its limitations and adjust accordingly. This will help develop a better understanding of how the rangefinder performs in darkness and enable more accurate distance measurements.
In recent years, technological advancements have led to the development of rangefinders with improved low light performance. Some models now incorporate features like infrared laser technology or image stabilization to enhance accuracy and visibility in dark environments. However, it is important to note that even with these advancements, rangefinders may still have limitations in complete darkness or extreme low light conditions.
In conclusion, using a rangefinder at night requires understanding its limitations in darkness and selecting a model specifically designed for low light conditions. Additionally, using other tools like night vision devices or thermal imaging scopes can enhance visibility and accuracy. Regular practice and staying updated with the latest technological advancements can further improve the effectiveness of rangefinders in low light situations.













There are no comments for this blog.