How To Use Rode Lavalier Mic ?
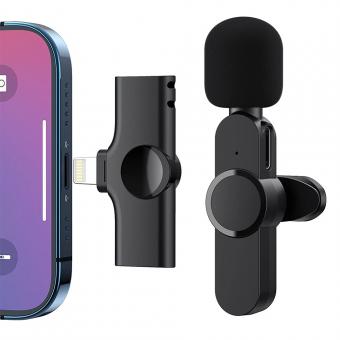
To use a Rode lavalier microphone, start by connecting the microphone to the audio input of your recording device. This can be done using a 3.5mm TRS or TRRS connector, depending on the specific model of the microphone and the device you are using. Make sure the connection is secure.
Next, position the lavalier microphone on the person you want to capture audio from. Attach the microphone to their clothing using the provided clip or adhesive pads. Ensure that the microphone is placed close to the person's mouth for optimal sound quality.
Once the microphone is properly positioned, adjust the audio levels on your recording device to ensure that the sound is clear and not distorted. You may need to experiment with the levels to find the right balance.
Finally, test the microphone by recording a sample audio and listening to it to ensure that the sound quality is satisfactory. Make any necessary adjustments to the microphone placement or audio levels as needed.
Remember to follow the manufacturer's instructions and guidelines specific to your Rode lavalier microphone model for the best results.
1、 Positioning: Proper placement for optimal sound capture.
To use a Rode lavalier microphone effectively, proper positioning is crucial for optimal sound capture. Here are some guidelines to follow:
1. Attach the microphone: Begin by attaching the lavalier microphone securely to the clothing of the person speaking. It should be positioned close to the mouth, ideally around 6-8 inches away, to ensure clear and direct sound capture.
2. Avoid clothing rustle: Be mindful of clothing rustle, as it can interfere with the audio quality. To minimize this, position the microphone on a fabric that doesn't produce much noise when it rubs against it. Additionally, use the included clips or adhesive pads to secure the microphone in place and prevent it from moving around.
3. Consider wind protection: If you are recording outdoors or in a windy environment, it is advisable to use a windscreen or a foam cover to reduce wind noise. This will help maintain the clarity of the audio.
4. Check for interference: Make sure there are no obstructions or objects that may cause interference with the microphone's signal. Avoid placing the microphone near electronic devices or cables that could introduce unwanted noise.
5. Monitor audio levels: Always monitor the audio levels during recording to ensure that the sound is not too low or too high. Adjust the input levels on your recording device accordingly to avoid distortion or clipping.
It's worth noting that the latest point of view emphasizes the importance of testing and adjusting the microphone's position before recording. Each individual's voice and speaking style may require slight adjustments to achieve the best sound quality. Experimenting with different positions and settings can help you find the optimal setup for your specific recording needs.
2、 Connection: Connecting the lavalier mic to the recording device.
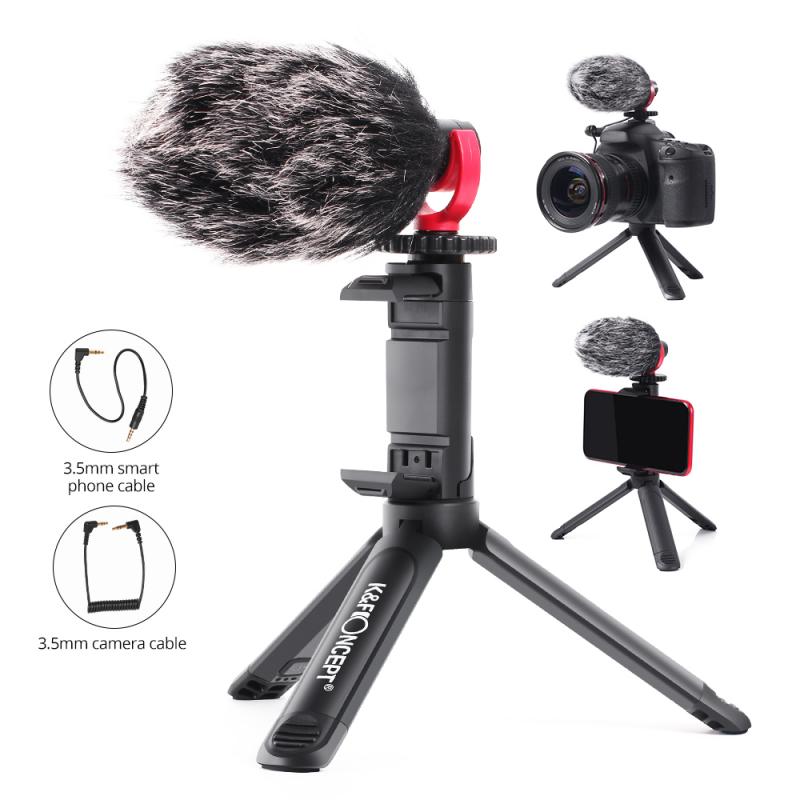
To use a Rode lavalier microphone, you need to follow a few simple steps. The first step is to connect the lavalier mic to the recording device. This can be done by using the provided cable that comes with the microphone. The cable usually has a 3.5mm jack on one end, which needs to be plugged into the microphone, and the other end of the cable should be plugged into the recording device.
Once the microphone is connected, you may need to adjust the settings on your recording device to ensure that it is recognizing the lavalier mic as the input source. This can usually be done by accessing the audio settings on your device and selecting the appropriate input source.
It is also important to position the lavalier mic correctly for optimal sound quality. The microphone should be clipped onto the clothing of the person speaking, ideally around chest level. Make sure the microphone is securely attached and positioned close to the mouth, but not obstructing it.
Additionally, it is recommended to do a sound check before recording to ensure that the microphone is picking up the audio clearly. Adjust the recording levels if necessary to avoid distortion or low volume.
Lastly, it is always a good practice to test the audio quality and make any necessary adjustments before starting the actual recording. This can help avoid any issues or audio problems during the recording process.
Overall, using a Rode lavalier microphone is a straightforward process. By following these steps and considering the latest point of view, you can ensure that you capture high-quality audio for your recordings.
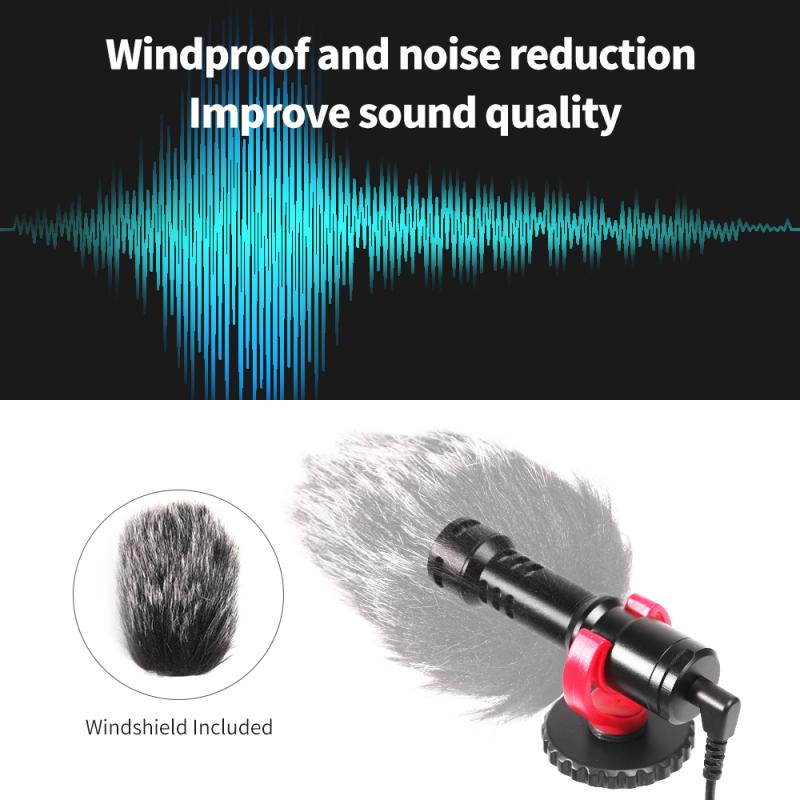
3、 Settings: Adjusting microphone settings for desired sound quality.
To use a Rode Lavalier microphone effectively, there are a few key steps to follow. First, ensure that the microphone is securely attached to the clothing of the person speaking. The microphone should be positioned close to the mouth, but not obstructing it, to capture clear and accurate audio.
Next, it is important to adjust the microphone settings for the desired sound quality. This can be done by connecting the microphone to a compatible audio recording device, such as a camera or a smartphone, and accessing the settings menu. Here, you can adjust the microphone gain or sensitivity to ensure that the audio is neither too soft nor too loud. It is recommended to start with a lower gain setting and gradually increase it until the desired sound quality is achieved.
Additionally, it is important to consider the environment in which the microphone is being used. If there is excessive background noise, it may be necessary to adjust the microphone settings accordingly. Some microphones, including the Rode Lavalier, have built-in features such as low-cut filters or windshields that can help reduce unwanted noise.
Lastly, it is always a good idea to test the microphone before recording any important audio. This can be done by speaking into the microphone and listening to the playback to ensure that the sound quality is clear and free from any distortion or interference.
In conclusion, using a Rode Lavalier microphone involves securely attaching it to the clothing of the speaker, adjusting the microphone settings for desired sound quality, considering the environment, and testing the microphone before recording. Following these steps will help ensure optimal audio capture and enhance the overall recording experience.
4、 Troubleshooting: Common issues and solutions when using a lavalier mic.
Troubleshooting: Common issues and solutions when using a lavalier mic.
Using a lavalier microphone, such as the Rode Lavalier Mic, can greatly enhance the audio quality of your recordings or live performances. However, like any audio equipment, it is not immune to issues that may arise during use. Here are some common problems you may encounter and their solutions:
1. Poor sound quality: If you notice that the sound captured by the lavalier mic is muffled or distorted, check the positioning of the microphone. Ensure that it is placed correctly, approximately 6-8 inches below the speaker's mouth, and that it is not obstructed by clothing or other objects.
2. Background noise: Lavalier mics are highly sensitive and can pick up unwanted background noise. To minimize this, try using a windscreen or foam cover on the microphone to reduce wind noise and plosives. Additionally, make sure to choose a quiet location for recording or performing.
3. Connectivity issues: If the microphone is not being recognized by your recording device or sound system, check the connection. Ensure that the microphone is securely plugged into the correct input jack and that the cable is not damaged. You may also want to try using a different cable or input to troubleshoot the issue.
4. Battery problems: Some lavalier microphones, including the Rode Lavalier Mic, require batteries to operate. If you experience intermittent or no sound, check the battery level. Replace the battery if necessary and make sure it is inserted correctly.
5. Wireless interference: If you are using a wireless lavalier microphone system, interference from other devices or radio frequencies can cause audio dropouts or distortion. Try changing the frequency or channel on the transmitter and receiver to find a clear signal.
Remember to always consult the user manual provided by the manufacturer for specific instructions on using and troubleshooting your lavalier microphone. Additionally, staying updated with the latest firmware and software updates for your microphone can help resolve any compatibility issues.


