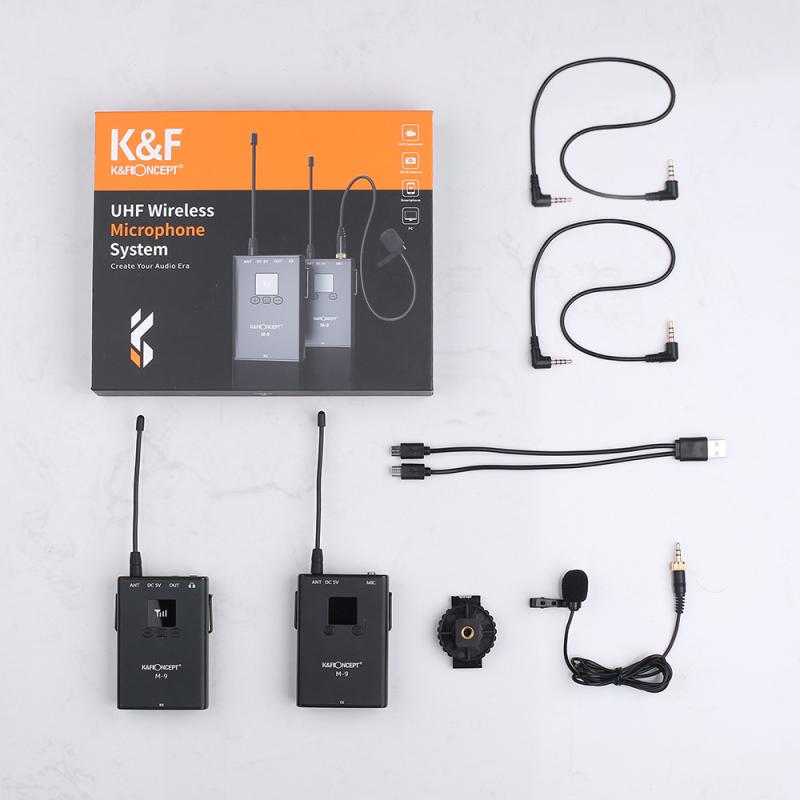
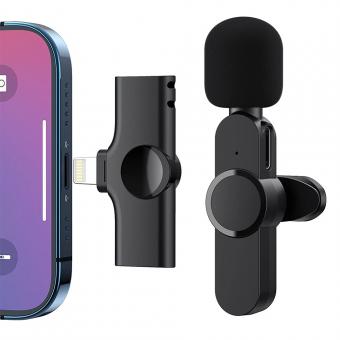
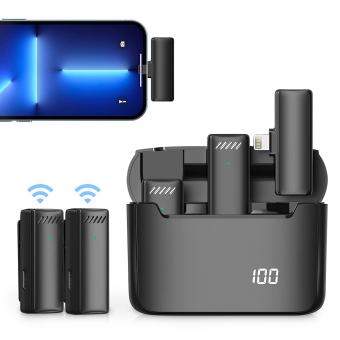
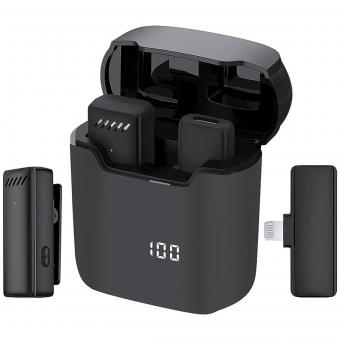
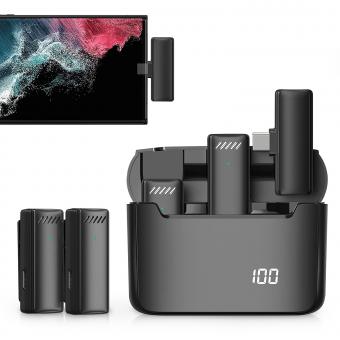
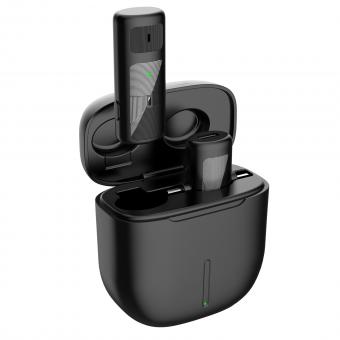
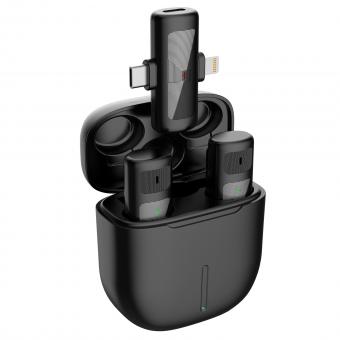
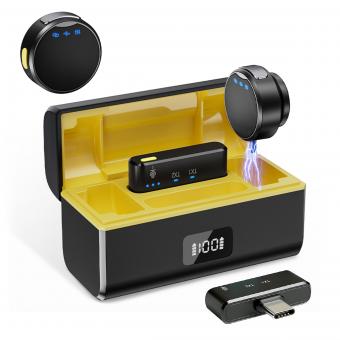
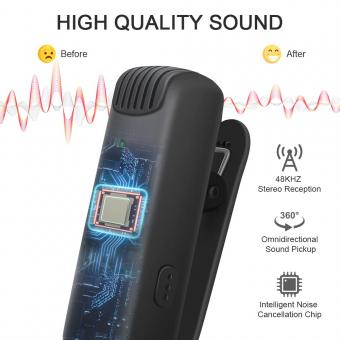
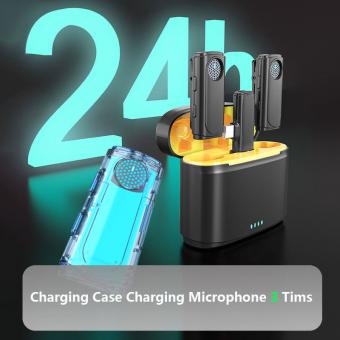
How To Use The Wireless Lavalier Microphone ?
To use a wireless lavalier microphone, first, ensure that the microphone and receiver are both turned on and have fresh batteries. Then, connect the receiver to your recording device or sound system using the appropriate cables. Next, attach the lavalier microphone to the clothing of the person who will be speaking, making sure it is positioned close to their mouth for optimal sound quality. Finally, test the microphone by speaking into it and adjusting the volume levels on the receiver as needed. It is also important to monitor the battery life of both the microphone and receiver to ensure uninterrupted use.
1、 Pairing with a receiver
How to use the wireless lavalier microphone:
1. Pairing with a receiver: The first step in using a wireless lavalier microphone is to pair it with a receiver. This can be done by turning on both the microphone and the receiver and pressing the pairing button on both devices. Once paired, the microphone will transmit audio to the receiver wirelessly.
2. Positioning the microphone: The next step is to position the microphone on the speaker's clothing. The microphone should be placed close to the speaker's mouth, but not too close that it causes distortion. It is important to test the microphone's position and adjust it accordingly to ensure clear audio.
3. Adjusting the volume: Once the microphone is positioned correctly, the volume can be adjusted on the receiver. It is important to test the volume levels and adjust them accordingly to ensure that the audio is clear and not distorted.
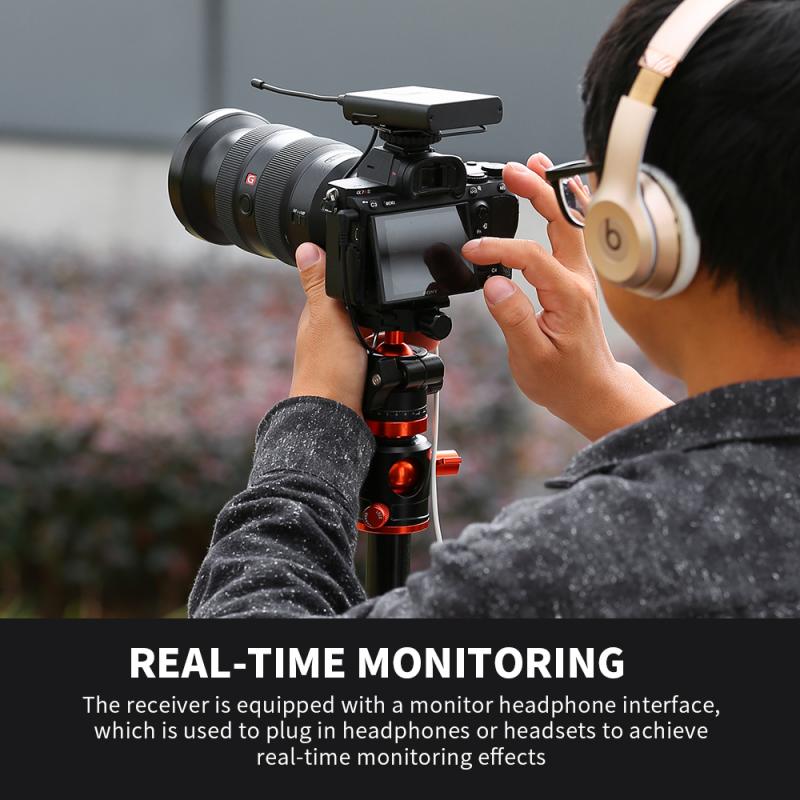
4. Monitoring the audio: It is important to monitor the audio while recording to ensure that it is clear and not distorted. This can be done by using headphones connected to the receiver or by using the audio monitoring feature on the recording device.
5. Maintenance: After use, it is important to properly store the microphone and receiver to prevent damage. It is also important to regularly clean the microphone to ensure that it continues to function properly.
In the latest point of view, wireless lavalier microphones have become increasingly popular due to their convenience and ease of use. They are commonly used in video production, live events, and public speaking engagements. With advancements in technology, wireless lavalier microphones now offer improved sound quality and longer battery life. Additionally, some models now come with features such as noise reduction and automatic frequency selection, making them even more user-friendly.
2、 Attaching the microphone
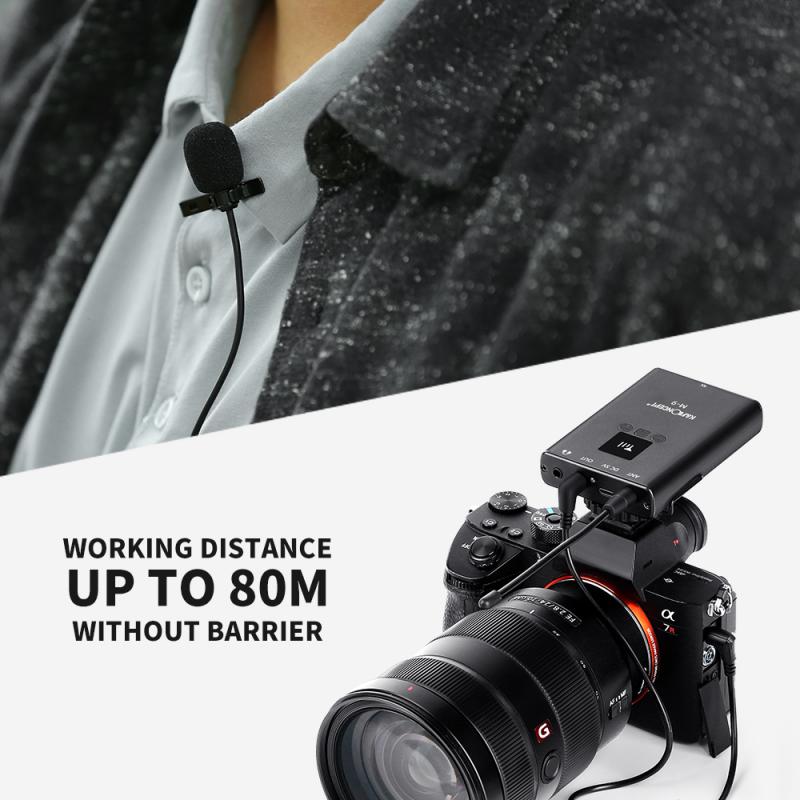
How to use the wireless lavalier microphone? The first step is to attach the microphone to the person who will be speaking. This is typically done by clipping the microphone onto the person's clothing, such as a shirt or jacket. It's important to position the microphone close to the person's mouth, but not so close that it causes distortion or interference.
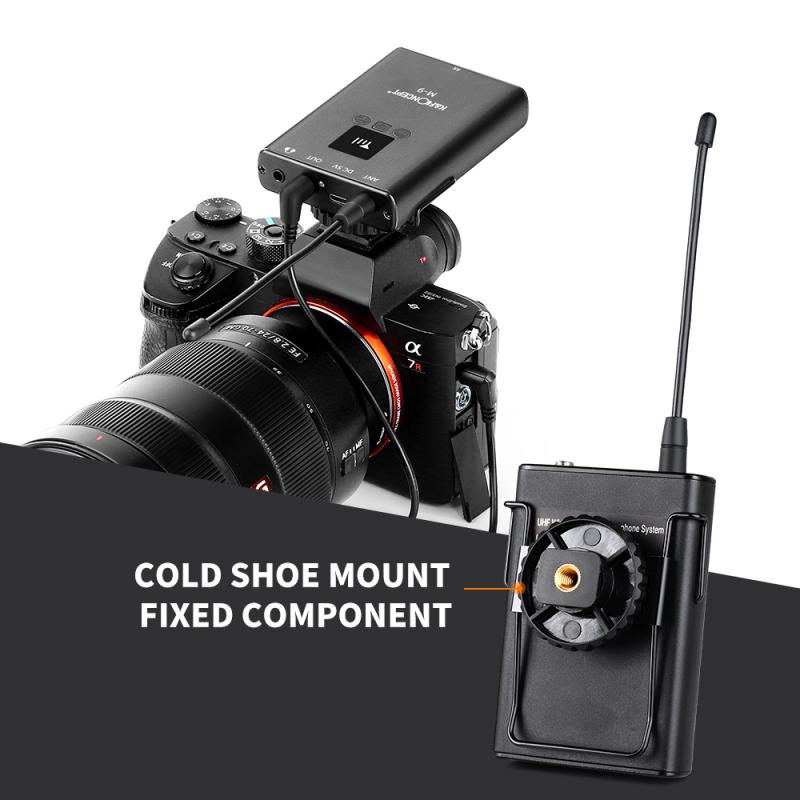
Once the microphone is attached, it's time to connect it to the wireless transmitter. This is typically done by plugging the microphone into the transmitter using a small cable. The transmitter then sends the audio signal wirelessly to the receiver, which is connected to the sound system or recording device.
It's important to test the microphone and make sure it's working properly before using it for a live event or recording. This can be done by speaking into the microphone and listening for any distortion or interference. It's also a good idea to check the battery life of the transmitter and receiver to ensure they have enough power for the duration of the event.
In recent years, wireless lavalier microphones have become increasingly popular for a variety of applications, including public speaking, video production, and live events. They offer the convenience of wireless connectivity and the ability to capture high-quality audio without the need for bulky equipment or cables. With proper use and care, a wireless lavalier microphone can be a valuable tool for anyone who needs to capture clear and reliable audio.
3、 Adjusting volume and gain
How to use the wireless lavalier microphone is a common question among those who are new to audio recording. A wireless lavalier microphone is a small microphone that can be clipped onto clothing and is connected to a wireless transmitter that sends the audio signal to a receiver. This type of microphone is commonly used in video production, interviews, and live events.
One important aspect of using a wireless lavalier microphone is adjusting the volume and gain. The volume controls the overall loudness of the audio signal, while the gain controls the sensitivity of the microphone. It is important to find the right balance between the two to ensure clear and high-quality audio.
To adjust the volume, locate the volume control on the receiver or mixer and adjust it to the desired level. It is important to monitor the audio levels using headphones or speakers to ensure that the audio is not too loud or too quiet.
To adjust the gain, locate the gain control on the transmitter or receiver and adjust it until the audio is clear and free from distortion. It is important to avoid setting the gain too high, as this can result in a noisy and distorted audio signal.
In addition to adjusting the volume and gain, it is also important to position the microphone correctly. The microphone should be placed close to the source of the sound, such as the speaker's mouth, to ensure clear and accurate audio.
Overall, using a wireless lavalier microphone requires some practice and experimentation to find the right settings for each situation. By adjusting the volume and gain and positioning the microphone correctly, you can achieve high-quality audio recordings for your video production, interviews, or live events.
4、 Testing for interference
How to use the wireless lavalier microphone:
1. First, make sure the microphone is fully charged and turned on.
2. Attach the microphone to the clothing of the person who will be speaking.
3. Turn on the receiver and make sure it is set to the same frequency as the microphone.
4. Adjust the volume levels on both the microphone and receiver to ensure clear audio.
5. Test the microphone by speaking into it and listening to the audio through the receiver.
6. If necessary, adjust the placement of the microphone to improve audio quality.
Testing for interference:
Interference can be a common issue when using wireless microphones, especially in crowded areas with multiple devices operating on similar frequencies. To test for interference, it is recommended to do a sound check before the actual event. This involves turning on all the devices that will be in use during the event and testing the microphone to ensure there is no interference or dropouts in the audio. It is also important to regularly monitor the audio during the event to ensure there are no issues. In addition, it is recommended to use a frequency scanner to identify any potential interference and adjust the frequency of the microphone accordingly. The latest point of view is that it is important to stay up to date with the latest technology and regulations regarding wireless microphones to ensure optimal performance and compliance with regulations.
