How To Use Tripod For Iphone ?
To use a tripod for an iPhone, first, ensure that you have a tripod compatible with your iPhone model. Attach the iPhone holder or mount to the tripod securely. Adjust the tripod legs to the desired height and stability. Place your iPhone into the holder, making sure it is secure. Adjust the angle and position of the iPhone as needed. Use the tripod's controls to pan, tilt, or lock the iPhone in place. Finally, use the iPhone's camera app or any other desired photography or video app to capture images or record videos while the iPhone is mounted on the tripod.
1、 Adjusting the tripod height for optimal iPhone positioning
Adjusting the tripod height for optimal iPhone positioning is crucial to capture the best shots and videos. Here's a step-by-step guide on how to use a tripod for your iPhone:
1. Choose a tripod: Look for a tripod that is compatible with your iPhone model. There are various options available in the market, ranging from compact and portable tripods to more professional-grade ones.
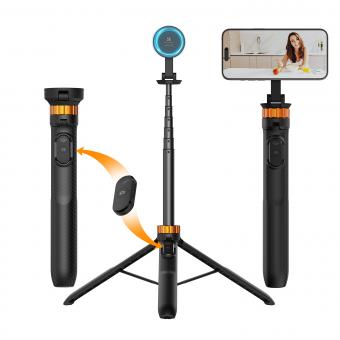
2. Attach your iPhone: Most tripods come with a smartphone mount or holder. Attach your iPhone securely to the mount, ensuring it is stable and won't slip out during use. Some mounts even offer adjustable grips to accommodate different iPhone sizes.
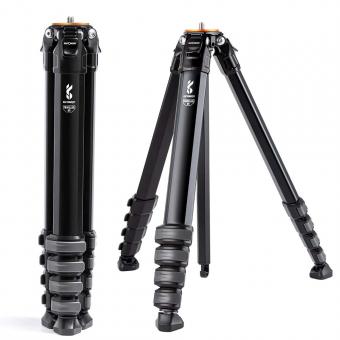
3. Adjust the tripod height: Extend the tripod legs to your desired height. Consider the type of shot you want to capture and the environment you are in. For example, if you're shooting a landscape, you may want to extend the tripod legs fully for stability. If you're shooting a close-up or low-angle shot, you may need to lower the tripod height.
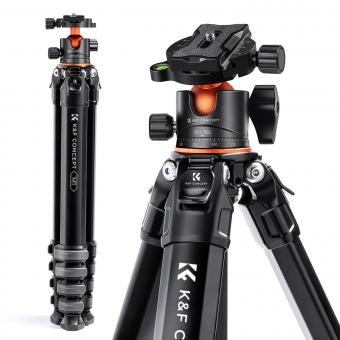
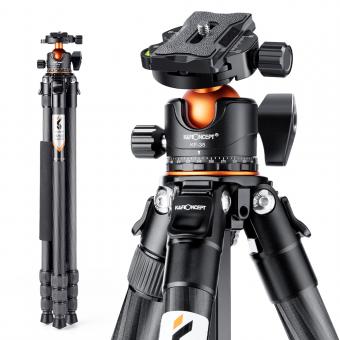
4. Level the tripod: Ensure that the tripod is level by using the built-in bubble level or by visually aligning it with the horizon. This will help avoid any tilted or crooked shots.
5. Lock the tripod: Once you have adjusted the tripod to the desired height and leveled it, lock the tripod legs in place. This will ensure stability and prevent any accidental movement during shooting.
6. Fine-tune the positioning: Use the tripod's pan and tilt controls to adjust the iPhone's position precisely. This will allow you to frame your shot perfectly and capture the desired angle.
7. Use a remote or timer: To avoid any camera shake when capturing the shot, consider using a remote shutter or the built-in timer on your iPhone. This will allow you to trigger the shot without physically touching the device.
In recent years, tripods have become more versatile and feature-rich to cater to the evolving needs of iPhone users. Some tripods now offer flexible legs that can be wrapped around objects for unique angles, while others have built-in smartphone stabilizers for smoother video footage. Additionally, there are tripods with Bluetooth connectivity, allowing you to control your iPhone's camera remotely.
Remember, practice makes perfect. Experiment with different tripod heights and angles to find what works best for your specific shooting needs. With a tripod, you can elevate your iPhone photography and videography to new heights.
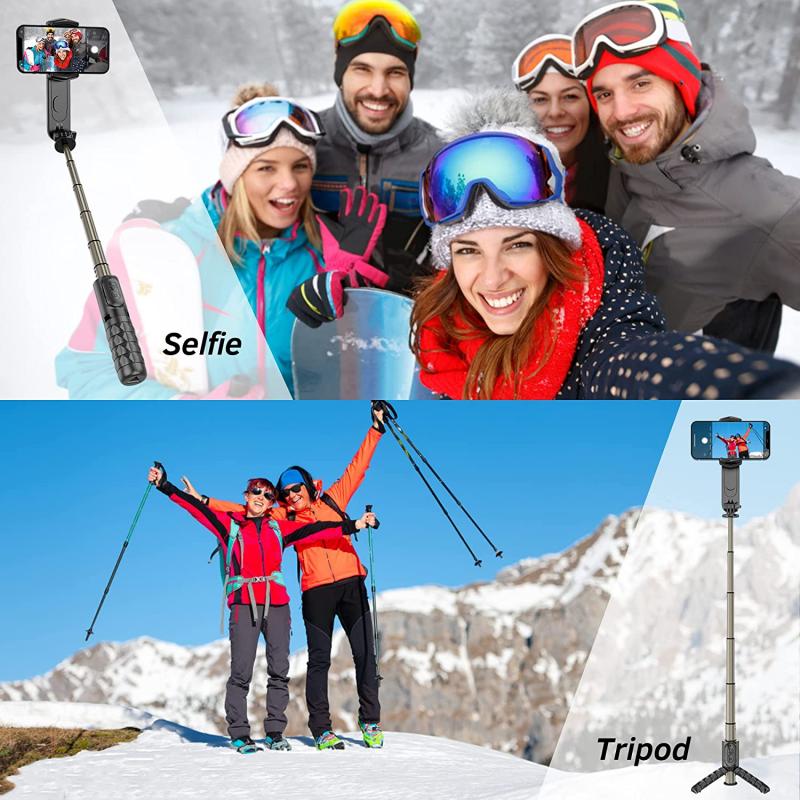
2、 Securing the iPhone onto the tripod mount securely
Securing the iPhone onto the tripod mount securely is essential to ensure stability and prevent any accidental falls or damage. Here's a step-by-step guide on how to use a tripod for an iPhone:
1. Choose a compatible tripod mount: There are various tripod mounts available in the market specifically designed for iPhones. Look for one that fits your iPhone model and offers a secure grip.
2. Attach the tripod mount to the tripod: Most tripod mounts have a standard screw thread that can be easily attached to the tripod. Screw it on tightly to ensure stability.
3. Insert the iPhone into the mount: Gently slide your iPhone into the mount, making sure it fits snugly. Some mounts have adjustable clamps or rubberized grips to hold the iPhone securely in place.
4. Adjust the angle and position: Once the iPhone is securely mounted, adjust the tripod's head to position the phone at the desired angle. This will allow you to capture the best shots or videos.
5. Lock the tripod head: Once you have set the desired angle, tighten the tripod head's locking mechanism to secure the position. This will prevent any accidental movement or rotation.
6. Use a remote shutter or self-timer: To avoid shaking the iPhone while taking photos or videos, consider using a remote shutter or the self-timer feature on your iPhone. This will allow you to capture stable shots without touching the device.
It's important to note that technology is constantly evolving, and new tripod mounts and accessories are being introduced regularly. Therefore, it's always a good idea to stay updated with the latest advancements and choose a tripod mount that suits your specific iPhone model and needs.
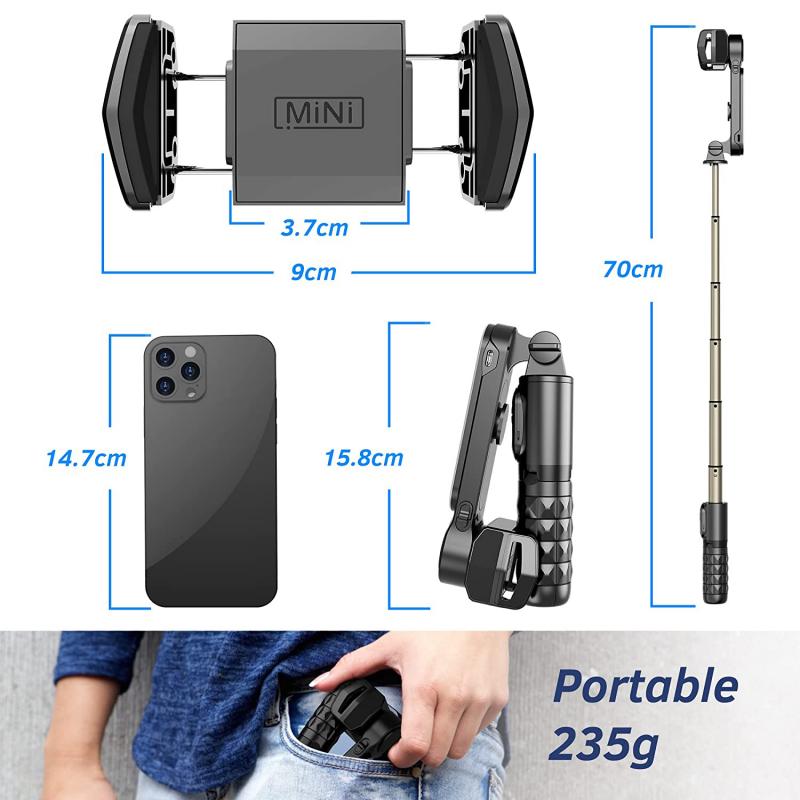
3、 Utilizing the tripod's pan and tilt features for smooth movements
Utilizing a tripod for your iPhone can greatly enhance the quality of your photos and videos by providing stability and allowing for smooth movements. Here's how you can make the most of your tripod:
1. Mounting your iPhone: Most tripods come with a universal smartphone mount. Attach your iPhone securely to the mount, ensuring it is stable and won't slip.
2. Adjusting the height: Extend the tripod legs to your desired height. Make sure the tripod is stable and level before proceeding.
3. Locking the position: Once you have set the desired height, lock the tripod legs in place to prevent any accidental movement.
4. Pan and tilt features: Many tripods come with pan and tilt features that allow you to smoothly move your iPhone horizontally (pan) and vertically (tilt). These features are especially useful for capturing panoramic shots or following a subject's movement.
5. Smooth movements: To achieve smooth movements, avoid jerky motions. Slowly pan or tilt your iPhone using the tripod's handles or knobs. This will result in professional-looking footage or photos.
6. Experiment with angles: Tripods offer flexibility in positioning your iPhone at different angles. Try shooting from low angles or overhead to add variety to your shots.
7. Stability: To ensure maximum stability, avoid touching the iPhone or tripod while capturing photos or videos. This will prevent any unwanted vibrations or shaking.
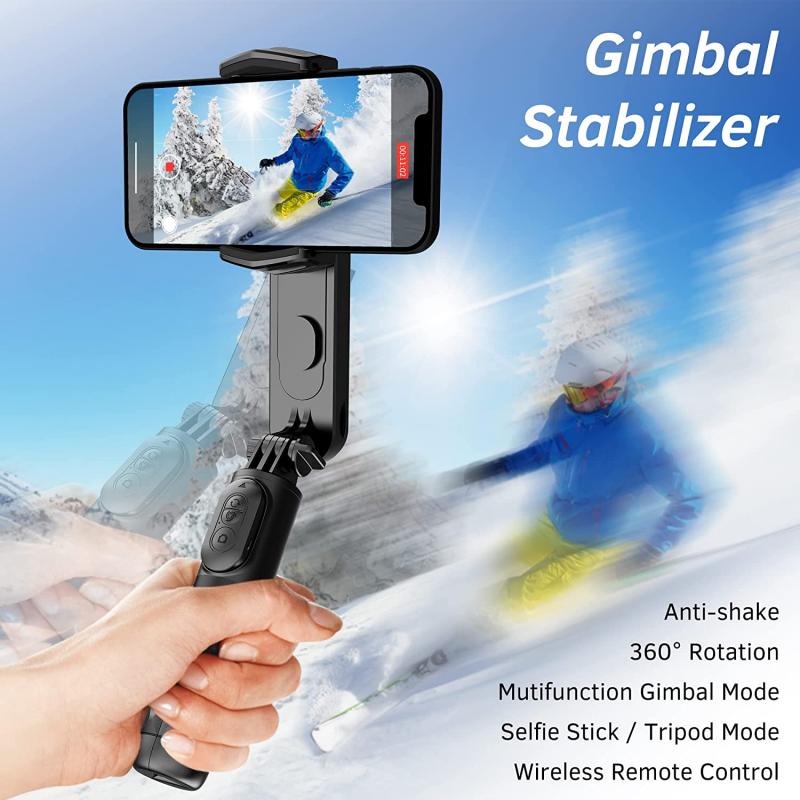
The latest point of view on using tripods for iPhones is the increasing popularity of smartphone gimbals. These motorized stabilizers provide even smoother movements and can compensate for hand movements or vibrations. They often come with additional features like object tracking and time-lapse capabilities. While tripods are still widely used and offer great stability, smartphone gimbals are becoming a popular choice for those seeking professional-quality footage.
4、 Using a remote shutter or self-timer for hands-free photography
Using a tripod for your iPhone can greatly enhance your photography experience by providing stability and allowing you to take hands-free shots. Here's how you can effectively use a tripod for your iPhone:
1. Choose the right tripod: Look for a tripod that is compatible with your iPhone model and offers stability. There are various options available, including mini tripods, flexible tripods, and traditional tripods with adjustable legs.
2. Attach your iPhone: Most tripods come with a smartphone mount or adapter. Attach your iPhone securely to the mount, ensuring it is stable and won't slip out.
3. Adjust the tripod height and angle: Set up your tripod at the desired height and adjust the angle to frame your shot perfectly. Some tripods offer 360-degree rotation, allowing you to capture shots from different perspectives.
4. Use a remote shutter or self-timer: To take hands-free shots, you can either use a remote shutter or the self-timer feature on your iPhone's camera app. A remote shutter allows you to trigger the shutter from a distance, while the self-timer gives you a few seconds to get into position before the photo is taken.
5. Experiment with different shooting modes: Take advantage of your iPhone's camera features, such as portrait mode, night mode, or time-lapse, to capture a variety of creative shots. Tripods provide stability, which is especially useful for long exposure shots or capturing moving subjects.
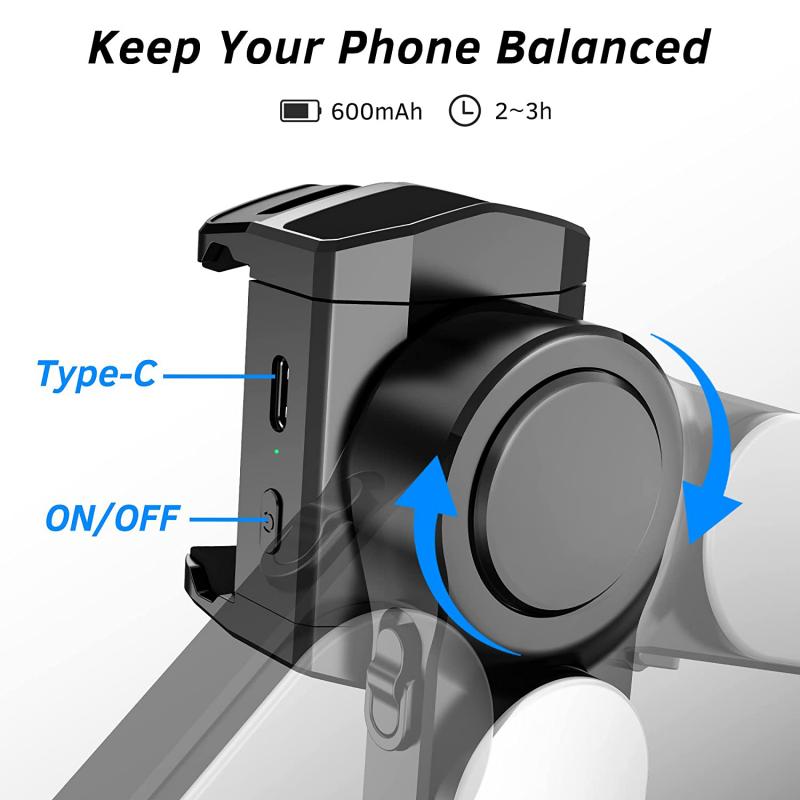
In addition to these basic steps, it's worth noting that there are also smartphone apps available that can further enhance your tripod photography experience. These apps offer features like remote control, advanced camera settings, and even motion tracking. Exploring these options can help you take your iPhone photography to the next level.
Overall, using a tripod for your iPhone allows you to capture sharp, stable, and professional-looking photos. Whether you're a beginner or an experienced photographer, incorporating a tripod into your iPhone photography toolkit can greatly expand your creative possibilities.













There are no comments for this blog.