How To Use Tripod Stand With Ring Light ?
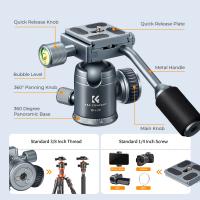
To use a tripod stand with a ring light, first, ensure that the tripod is set up on a stable surface. Attach the ring light to the tripod by screwing it onto the tripod's mounting plate or adapter. Adjust the height of the tripod to your desired level by extending or retracting the tripod legs. Make sure the tripod is securely locked in place.
Next, connect the ring light to a power source using the provided power cord. Turn on the ring light and adjust the brightness and color temperature settings according to your needs. Position the ring light at the desired angle by adjusting the tripod head or ball head mount.
Once the ring light is set up, you can place your camera or smartphone in the center of the ring light to capture well-lit photos or videos. Adjust the camera angle and settings as required. The ring light provides even illumination and reduces shadows, making it ideal for various applications such as photography, videography, makeup tutorials, or live streaming.
1、 Adjusting the tripod height for optimal lighting angle
To use a tripod stand with a ring light effectively, it is important to adjust the tripod height for optimal lighting angle. This will ensure that you achieve the best lighting conditions for your photography or video recording needs.
Firstly, set up the tripod stand on a stable surface. Make sure all the legs are fully extended and locked in place to provide a sturdy base. Place the ring light on top of the tripod's mounting plate and secure it tightly.
Next, adjust the height of the tripod to achieve the desired lighting angle. This will depend on the subject you are capturing and the effect you want to achieve. For example, if you are shooting a portrait, you may want the ring light to be positioned slightly above eye level to create flattering lighting on the subject's face.
To adjust the tripod height, loosen the locking mechanism on the tripod legs and extend or retract them as needed. Once you have set the desired height, tighten the locking mechanism to secure the legs in place.
It is also important to consider the distance between the subject and the ring light. The closer the ring light is to the subject, the softer and more diffused the lighting will be. Experiment with different distances to find the optimal lighting effect for your specific needs.
Additionally, you can adjust the angle of the ring light by tilting the tripod head. This allows you to direct the light towards your subject from different angles, creating different effects and highlighting specific features.
In conclusion, adjusting the tripod height for optimal lighting angle is crucial when using a tripod stand with a ring light. By finding the right height and angle, you can achieve the best lighting conditions for your photography or video recording, enhancing the overall quality of your work.
2、 Mounting the ring light securely onto the tripod stand
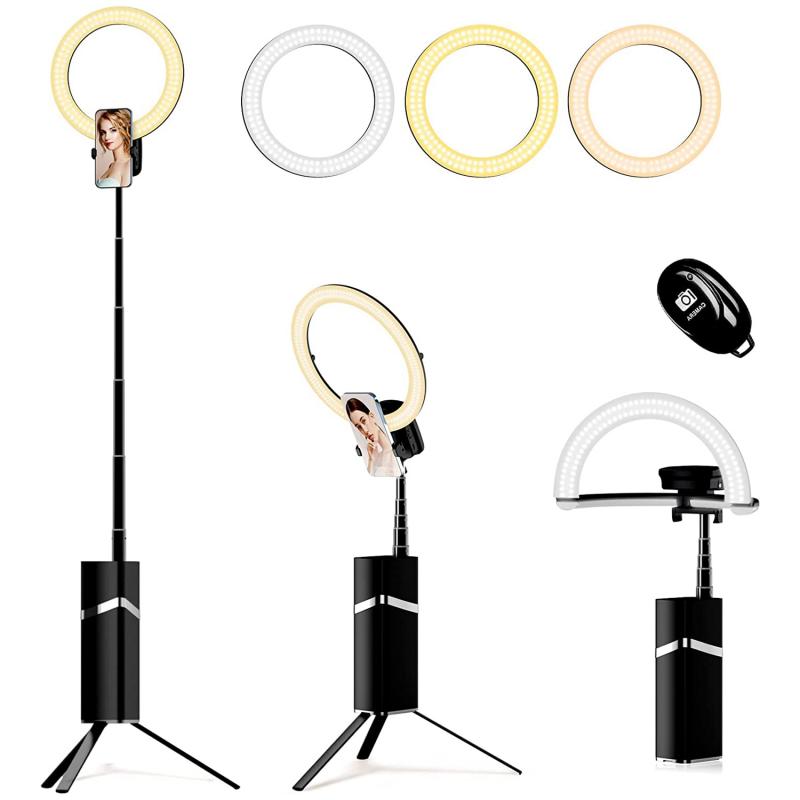
To use a tripod stand with a ring light, you need to securely mount the ring light onto the tripod stand. Here's how you can do it:
1. Start by setting up your tripod stand on a stable surface. Make sure the legs are fully extended and locked in place to provide maximum stability.
2. Locate the mounting bracket on the ring light. This is usually a circular or rectangular plate with a screw hole in the center.
3. Align the screw hole on the mounting bracket with the screw hole on the tripod stand's mounting plate. Insert the screw provided with the tripod stand into the holes and tighten it securely using a screwdriver or the provided tool.
4. Once the ring light is securely attached to the tripod stand, adjust the angle and height of the tripod stand to your desired position. Most tripod stands have adjustable legs and a central column that can be extended or retracted.
5. Turn on the ring light and adjust the brightness and color temperature settings according to your needs. Some ring lights come with built-in controls, while others can be controlled through a separate remote or smartphone app.
6. Position yourself or your subject in front of the ring light, ensuring that the light is evenly distributed and flattering. Experiment with different angles and distances to achieve the desired lighting effect.
It's important to note that the specific instructions may vary depending on the brand and model of the tripod stand and ring light you are using. Always refer to the user manual provided by the manufacturer for detailed instructions and safety guidelines.
In recent years, the popularity of ring lights has surged, especially among content creators, vloggers, and photographers. Their ability to provide soft, even lighting and create captivating catchlights in the eyes has made them a go-to tool for many professionals and enthusiasts. Additionally, advancements in LED technology have made ring lights more energy-efficient and portable, further contributing to their widespread use.
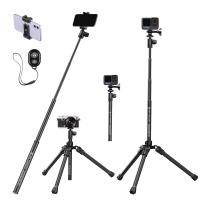
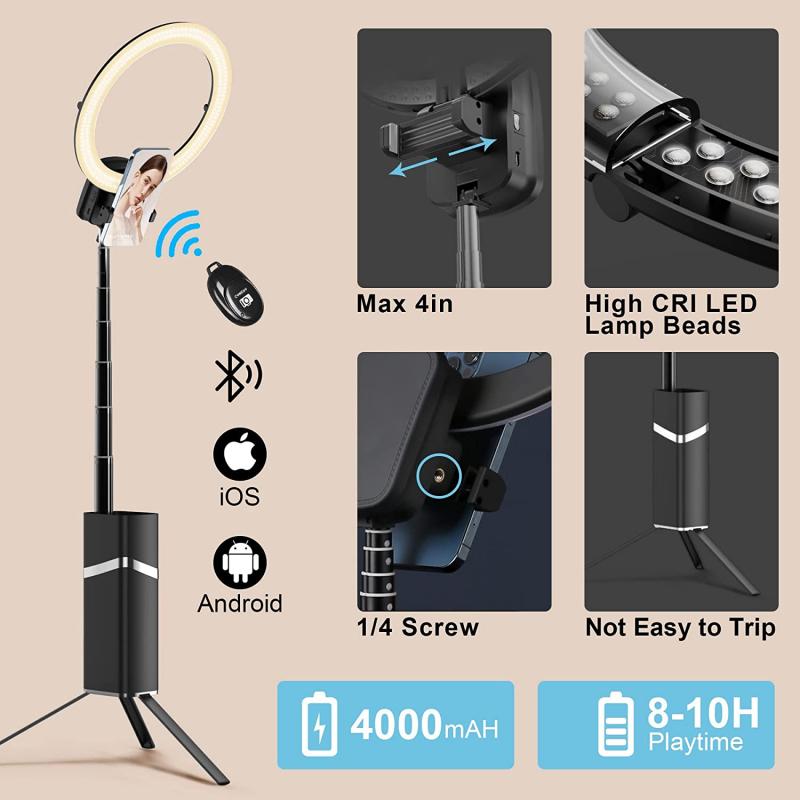
When choosing a tripod stand for your ring light, consider factors such as stability, adjustability, and weight capacity. Look for a tripod stand that can securely hold the weight of your ring light and provide the necessary flexibility to position it at different angles and heights. Some tripod stands even come with additional features like a smartphone holder or a remote control, which can enhance your shooting experience.
Overall, using a tripod stand with a ring light can greatly improve the quality of your photos and videos by providing professional-looking lighting. Whether you're a content creator, a makeup artist, or simply someone who wants to take better selfies, investing in a tripod stand and a ring light can be a game-changer for your visual content.
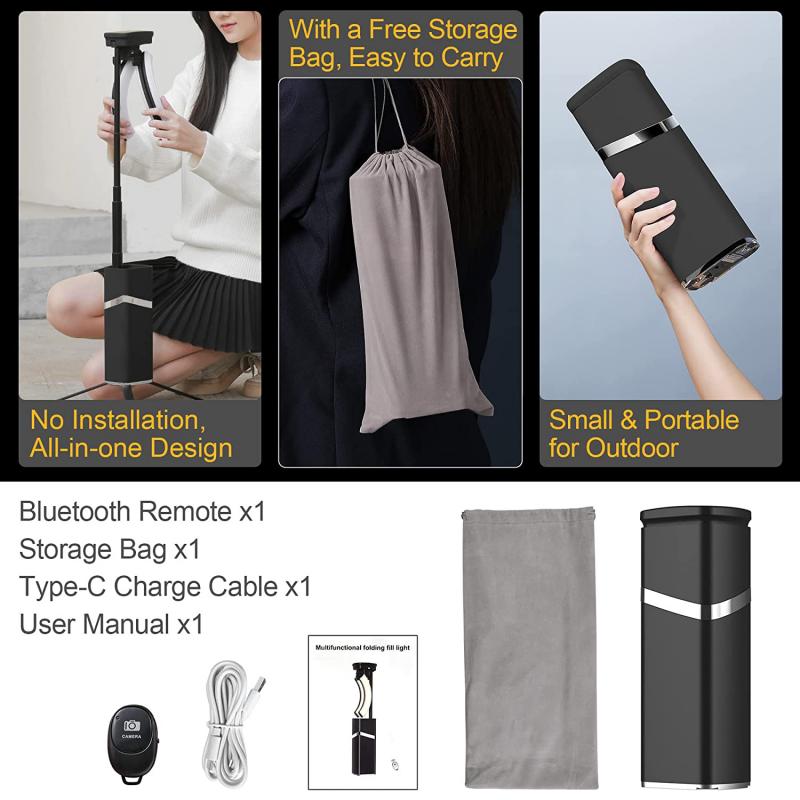
3、 Positioning the tripod stand and ring light for even illumination
To use a tripod stand with a ring light effectively, it is important to position them in a way that ensures even illumination. Here's a step-by-step guide on how to achieve this:
1. Set up the tripod stand: Start by extending the tripod legs to a height that suits your needs. Make sure the stand is stable and secure before proceeding.
2. Attach the ring light: Most ring lights come with a mounting bracket that can be easily attached to the tripod stand. Securely fasten the ring light to the bracket, ensuring it is stable and doesn't wobble.
3. Adjust the height and angle: Position the ring light at a height that aligns with your subject. This will vary depending on the type of content you are creating. For example, if you are shooting a seated interview, the ring light should be positioned slightly above eye level. Additionally, adjust the angle of the ring light to eliminate any unwanted shadows.
4. Experiment with distance: The distance between the subject and the ring light can affect the intensity and quality of the illumination. Generally, it is recommended to place the ring light at a distance of about 2-3 feet from the subject. However, this can vary depending on the specific ring light and the desired effect.
5. Fine-tune the settings: Most ring lights offer adjustable brightness and color temperature settings. Experiment with these settings to achieve the desired lighting effect. For example, warmer color temperatures are often used for a cozy and intimate atmosphere, while cooler temperatures can create a more professional and crisp look.
6. Test and adjust: Before starting your actual shoot or recording, take some test shots or footage to ensure the lighting is even and flattering. Make any necessary adjustments to the position, height, angle, or settings of the ring light to achieve the desired result.
Remember, lighting is a creative tool, and there is no one-size-fits-all approach. It's important to experiment and find the setup that works best for your specific needs and style.
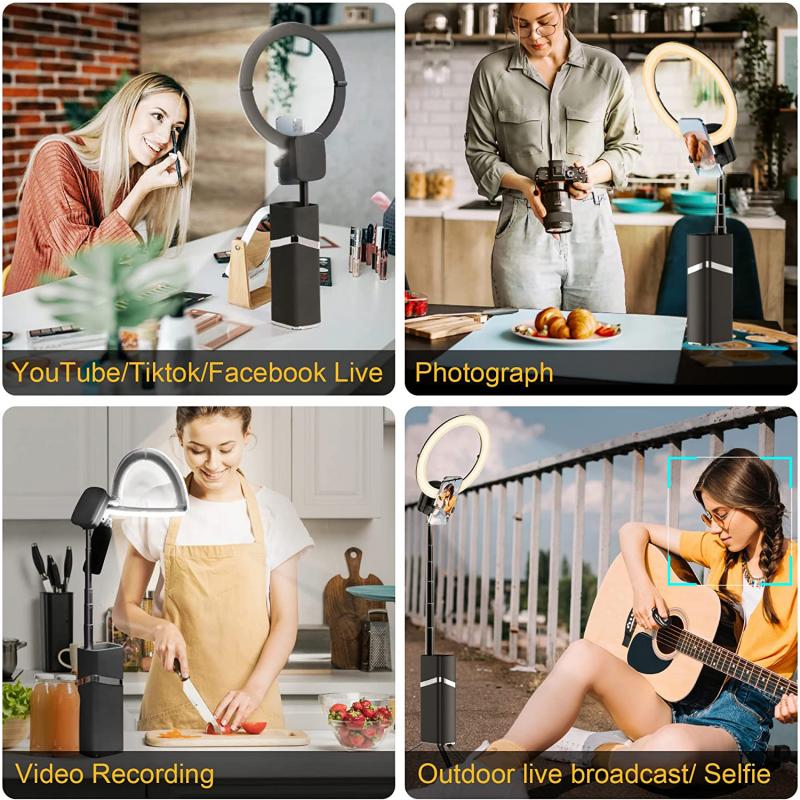
4、 Connecting the ring light to a power source for operation
To use a tripod stand with a ring light, you will first need to connect the ring light to a power source for operation. Here's how you can do it:
1. Set up the tripod stand: Extend the legs of the tripod stand and adjust the height according to your preference. Make sure the stand is stable and secure.
2. Attach the ring light: Most ring lights come with a mounting bracket or a ball head adapter. Attach the ring light to the tripod stand by securing it onto the mounting bracket or ball head adapter. Ensure that it is tightly fastened to prevent any accidents.
3. Locate the power cord: The ring light will have a power cord that needs to be connected to a power source. Locate the power cord and unravel it if necessary.
4. Plug into a power outlet: Find a nearby power outlet and plug the power cord into it. Make sure the power outlet is functioning properly and can handle the voltage requirements of the ring light.
5. Turn on the ring light: Once the power cord is connected, locate the power switch on the ring light. Flip the switch to turn on the light. Some ring lights may have adjustable brightness settings, so you can adjust the intensity of the light according to your needs.
6. Adjust the angle and position: With the ring light turned on, you can now adjust the angle and position of the tripod stand to achieve the desired lighting effect. Experiment with different angles and distances to find the best lighting setup for your needs.
Remember to always follow the manufacturer's instructions and safety guidelines when setting up and using the tripod stand with a ring light.








![4K digital camera for photography and video [autofocus and stabilisation] 48 MP video blog camera with SD card, 3 4K digital camera for photography and video [autofocus and stabilisation] 48 MP video blog camera with SD card, 3](https://img.kentfaith.de/cache/catalog/products/de/GW41.0065/GW41.0065-1-200x200.jpg)
