How To Use Usb Endoscope Camera ?
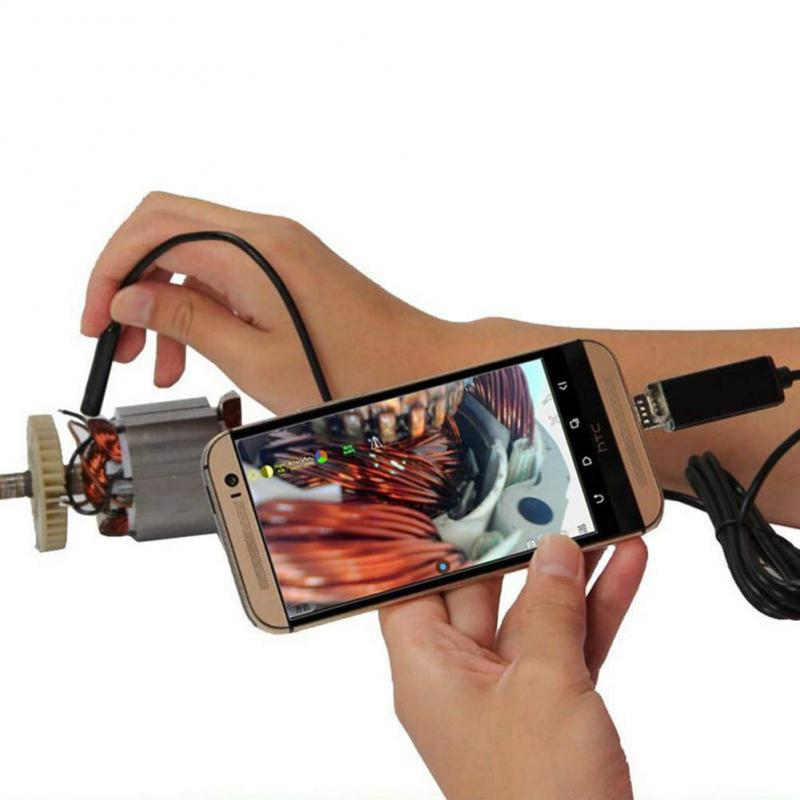
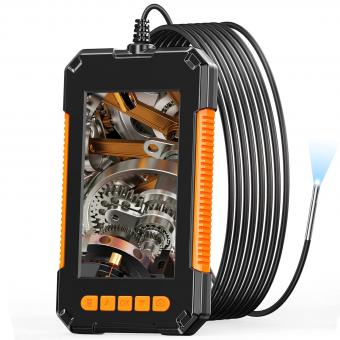
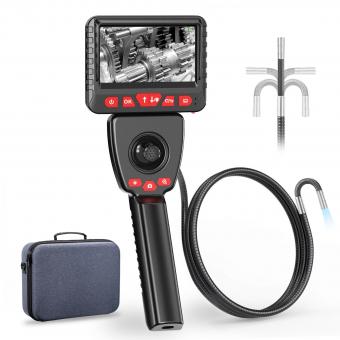
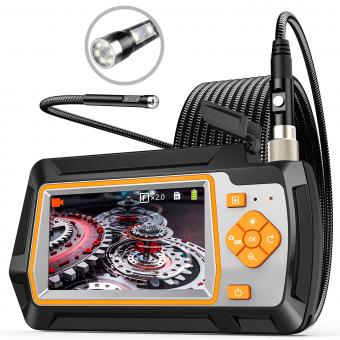
To use a USB endoscope camera, first, connect the camera to your computer or mobile device using the USB cable provided. Install any necessary drivers or software that may be required for the camera to function properly. Once the camera is connected and recognized by your device, open the software or app that is compatible with the camera. You should be able to see a live feed from the camera on your screen. Adjust the settings, such as brightness or resolution, if needed. Then, insert the endoscope camera into the desired area or object you want to inspect. Use the controls in the software or app to capture images or record videos as necessary. After you have finished using the camera, safely disconnect it from your device and store it properly.
1、 Connecting the USB endoscope camera to your device
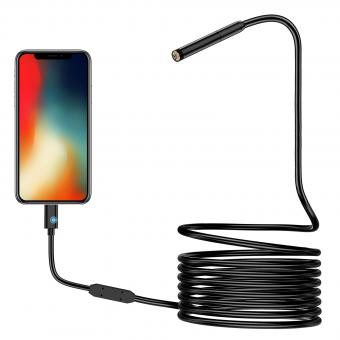
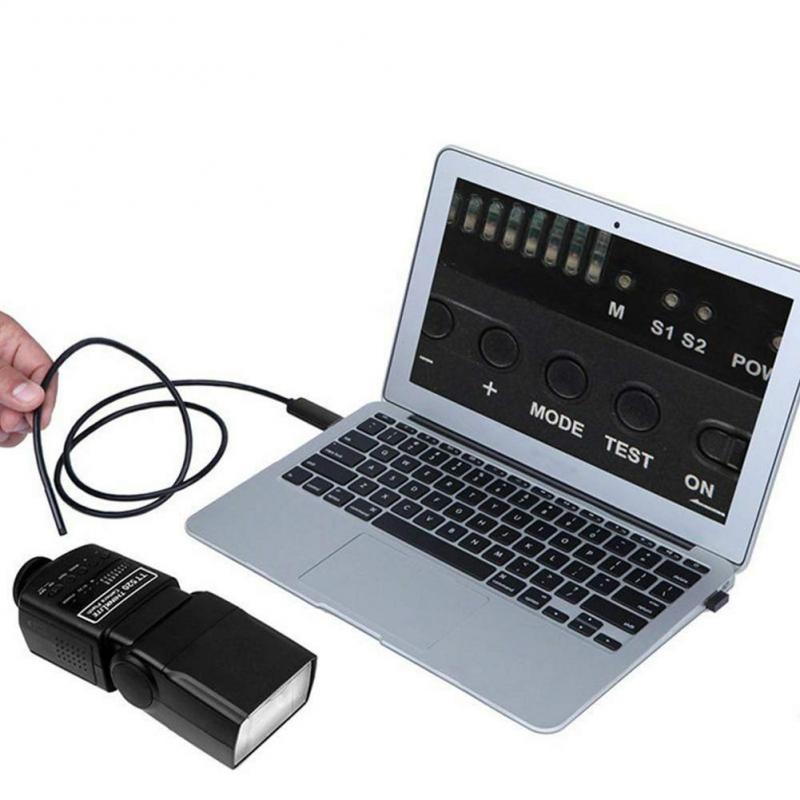
Connecting the USB endoscope camera to your device is a relatively simple process. Here's a step-by-step guide on how to use a USB endoscope camera:
1. Check compatibility: Ensure that your device (computer, smartphone, or tablet) supports USB OTG (On-The-Go) functionality. This allows you to connect external devices like the endoscope camera.
2. Install the necessary software: Depending on the device you are using, you may need to download and install an app or software that is compatible with the USB endoscope camera. These apps can usually be found on the respective app stores or the manufacturer's website.
3. Connect the camera: Plug the USB endoscope camera into the USB port of your device. If you are using a smartphone or tablet, you may need to use an OTG adapter to connect the camera.
4. Launch the app: Open the app or software that you installed in step 2. The app should automatically detect the connected USB endoscope camera.
5. Adjust settings: Once the camera is detected, you may need to adjust some settings such as resolution, brightness, or exposure depending on the app or software you are using. This will ensure optimal image quality.
6. Start using the camera: With the camera connected and settings adjusted, you can now start using the USB endoscope camera. Insert the camera into the desired area and use the app or software to view the live feed from the camera.
It's worth noting that the latest point of view on using a USB endoscope camera is the increasing availability of wireless endoscope cameras. These cameras connect to your device via Wi-Fi, eliminating the need for a physical USB connection. Wireless endoscope cameras offer greater flexibility and convenience, allowing you to use them with multiple devices without the need for adapters. However, the basic steps for connecting and using a USB endoscope camera remain the same.
2、 Installing the necessary software or app for viewing
To use a USB endoscope camera, you will need to follow a few steps. The first step is to install the necessary software or app for viewing the camera feed on your device. This software or app will allow you to see the live video feed from the endoscope camera and capture images or videos if needed.
To install the software or app, you can check the manufacturer's website or the documentation that came with the camera. They usually provide a link to download the software or app compatible with your device's operating system. Make sure to download the latest version to ensure compatibility and access to the latest features.
Once you have downloaded the software or app, follow the installation instructions provided. This usually involves running an installer file and following the on-screen prompts. After the installation is complete, you may need to restart your device for the changes to take effect.
After restarting, connect the USB endoscope camera to your device using the provided USB cable. Launch the software or app you installed earlier and look for an option to connect or detect the camera. Once the camera is detected, you should be able to see the live video feed on your device's screen.
From there, you can adjust the camera settings, such as brightness, contrast, and resolution, to optimize the image quality. You can also capture images or record videos of what the camera is capturing by using the controls provided in the software or app.
It's important to note that the specific steps may vary depending on the brand and model of the USB endoscope camera you are using. Therefore, it's always a good idea to refer to the manufacturer's instructions for detailed guidance.
3、 Adjusting the camera settings for optimal image quality
To use a USB endoscope camera, follow these steps:
1. Connect the USB endoscope camera to your computer or mobile device using the provided USB cable.
2. Install any necessary software or drivers that may be required for the camera to work properly. This can usually be found on the manufacturer's website or included in the camera's packaging.
3. Once the camera is connected and the software is installed, open the software or app that is compatible with the USB endoscope camera.
4. Position the camera at the desired location or object you want to inspect. The camera is typically attached to a flexible cable, allowing you to maneuver it into tight spaces or around corners.
5. Adjust the camera's focus by rotating the focus wheel on the camera body. This will help ensure that the image is clear and sharp.
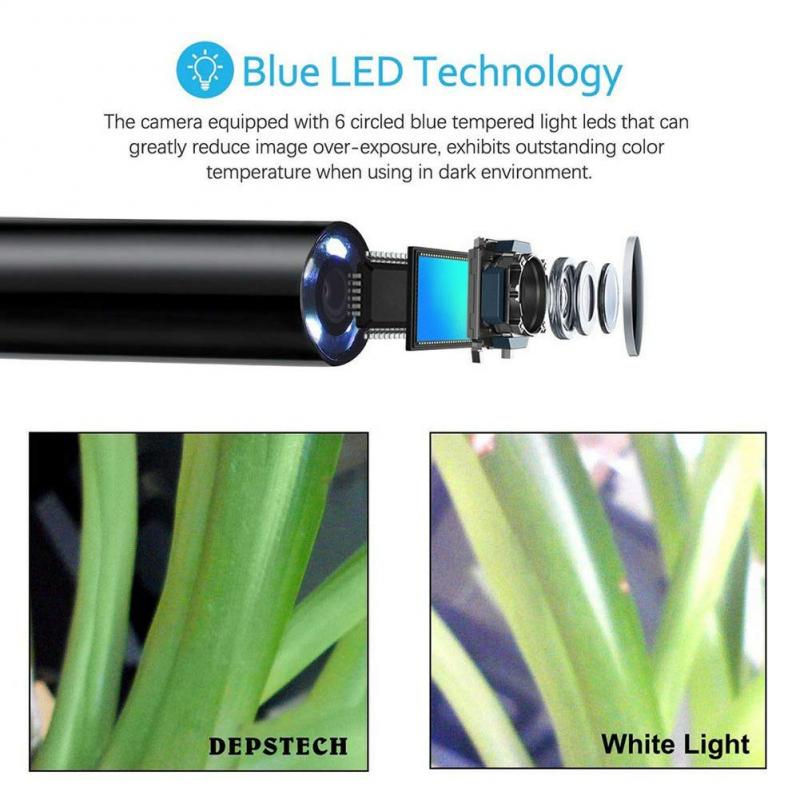
6. Use the software or app to adjust the camera settings for optimal image quality. This may include adjusting the brightness, contrast, saturation, or white balance. Experiment with these settings to find the best combination for your specific needs.
7. Once the camera settings are adjusted, you can start capturing images or recording videos using the software or app. Some cameras may also have additional features such as zoom or image stabilization that can be utilized for better image quality.
It is important to note that the latest point of view on using a USB endoscope camera may vary depending on the specific model and software being used. Manufacturers are constantly improving their products and releasing updates, so it is recommended to refer to the user manual or online resources for the most up-to-date information on using your specific camera. Additionally, user forums or online communities can be a valuable resource for tips and tricks from other users who have experience with the same camera model.
4、 Inserting the endoscope into the desired area for inspection
To use a USB endoscope camera, follow these steps:
1. Connect the endoscope camera to your computer or mobile device using the USB cable provided. Ensure that the device is compatible with the camera and has the necessary software installed.
2. Install any required drivers or software for the endoscope camera. This may involve downloading and installing the software from the manufacturer's website or using a CD that came with the camera.
3. Once the software is installed, open it on your computer or mobile device. The software will typically have a user-friendly interface that allows you to control the camera and view the live feed.
4. Before inserting the endoscope, make sure it is clean and free from any debris. You may need to wipe the lens with a soft cloth to ensure clear visibility.
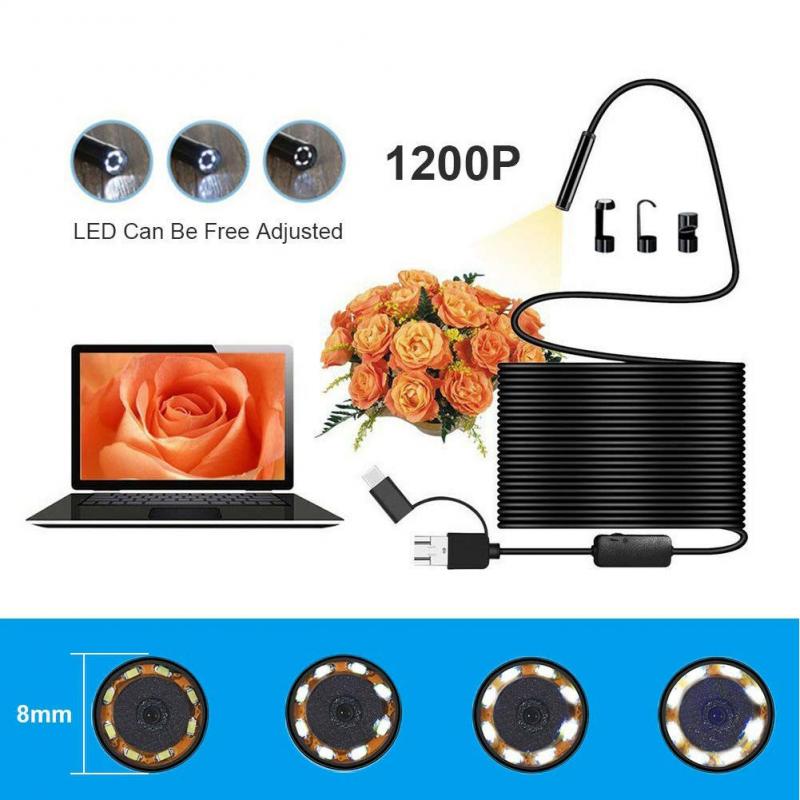
5. Insert the endoscope into the desired area for inspection. This could be a pipe, a cavity, or any other hard-to-reach space. The flexible cable of the endoscope allows it to navigate through tight spaces.
6. Use the software to adjust the camera settings, such as brightness, contrast, and zoom, to get a clear view of the inspection area. You can also capture images or record videos of the inspection for future reference.
7. Slowly maneuver the endoscope through the area, observing the live feed on your computer or mobile device. Take your time to thoroughly inspect the area and look for any abnormalities or issues.
8. Once you have completed the inspection, carefully remove the endoscope from the area. Clean the camera and cable with a disinfectant wipe or a cloth dampened with isopropyl alcohol to maintain hygiene.
It is important to note that the latest advancements in USB endoscope cameras may include features like wireless connectivity, higher resolution, and improved image quality. Always refer to the manufacturer's instructions and guidelines for the specific model you are using to ensure proper usage and maintenance.
