How To Use Usb Microscope ?
To use a USB microscope, follow these steps:
1. Connect the microscope to your computer using the USB cable provided.
2. Install any necessary software or drivers that come with the microscope.
3. Turn on the microscope and adjust the focus as needed.
4. Open the software or application that came with the microscope.
5. Place the object you want to view under the microscope lens.
6. Use the software to adjust the magnification and lighting as needed.
7. Take pictures or record videos of the object if desired.
8. When finished, turn off the microscope and disconnect it from your computer.
It's important to read the instructions that come with your specific USB microscope, as the steps may vary slightly depending on the model.
1、 Connecting the USB microscope to your computer
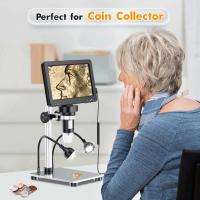
Connecting the USB microscope to your computer is the first step in using it. To do this, you will need to follow a few simple steps. First, plug the USB cable into the microscope and then plug the other end into your computer's USB port. Once the microscope is connected, your computer should automatically recognize it and install any necessary drivers.
After the drivers are installed, you can open up the software that came with your microscope or download a compatible software from the internet. This software will allow you to view and capture images and videos from the microscope.
When using the USB microscope, it is important to adjust the focus and lighting to get the best image possible. Most microscopes have a focus knob that you can use to adjust the focus. You can also adjust the lighting by using the built-in LED lights or by adjusting the brightness settings in the software.
It is also important to keep the microscope clean and free of dust and debris. Use a soft, dry cloth to wipe down the lens and body of the microscope after each use.
Overall, using a USB microscope is a simple and straightforward process. With a little practice and experimentation, you can capture amazing images and videos of the microscopic world around us.
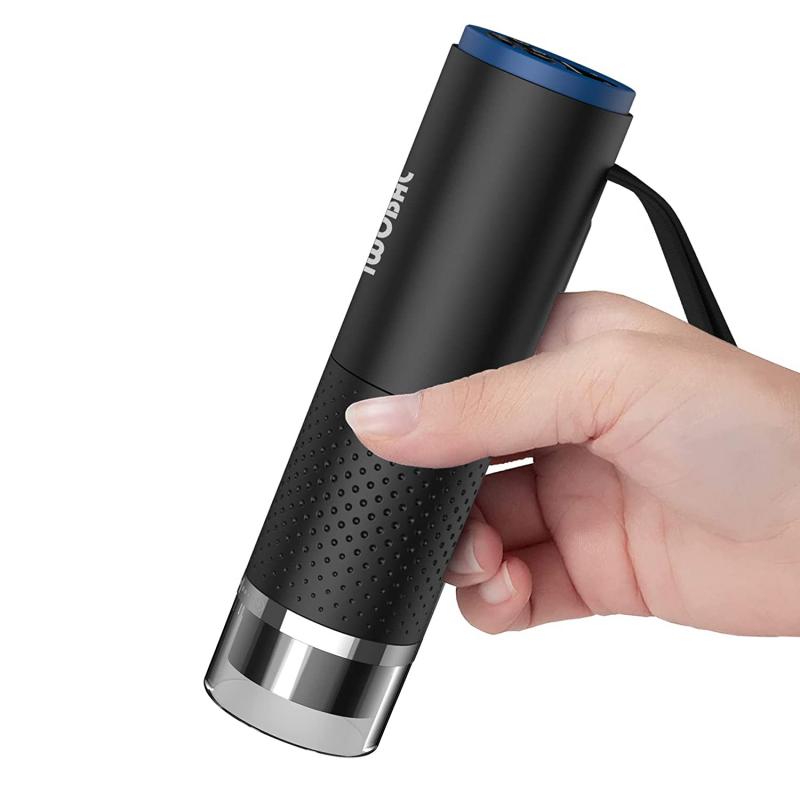
2、 Installing the necessary software and drivers
How to use USB microscope:
1. Installing the necessary software and drivers: Before using a USB microscope, you need to install the necessary software and drivers on your computer. Most USB microscopes come with a CD containing the required software and drivers. However, if your computer doesn't have a CD drive, you can download the software and drivers from the manufacturer's website.
2. Connecting the microscope to your computer: Once you have installed the software and drivers, connect the USB microscope to your computer using the USB cable provided. Make sure that the microscope is properly connected and recognized by your computer.
3. Adjusting the focus: Most USB microscopes come with a focus wheel that allows you to adjust the focus of the microscope. Use the focus wheel to adjust the focus until you get a clear image.
4. Capturing images and videos: Once you have adjusted the focus, you can start capturing images and videos using the software provided. Most software allows you to capture images and videos, adjust the brightness and contrast, and even measure the size of objects.
5. Saving and sharing your images and videos: Once you have captured your images and videos, you can save them to your computer and share them with others. You can also use the software to edit your images and videos, add annotations, and even create time-lapse videos.
In conclusion, using a USB microscope is a simple process that requires you to install the necessary software and drivers, connect the microscope to your computer, adjust the focus, capture images and videos, and save and share your work. With the latest advancements in technology, USB microscopes have become more affordable and accessible, making them a valuable tool for students, scientists, and hobbyists alike.
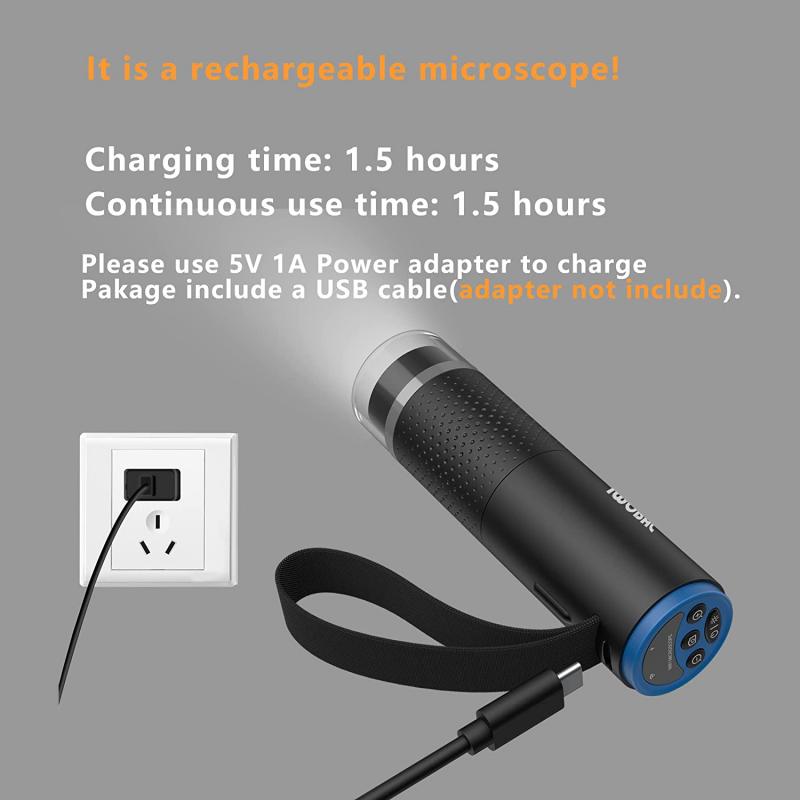
3、 Adjusting the focus and magnification
How to use USB microscope:
1. Connect the USB microscope to your computer using the USB cable provided.
2. Install the software that came with the microscope onto your computer.
3. Place the object you want to examine under the microscope lens.
4. Turn on the microscope and open the software on your computer.
5. Adjust the focus and magnification until you have a clear image of the object.
6. Use the software to capture images or videos of the object.
Adjusting the focus and magnification:
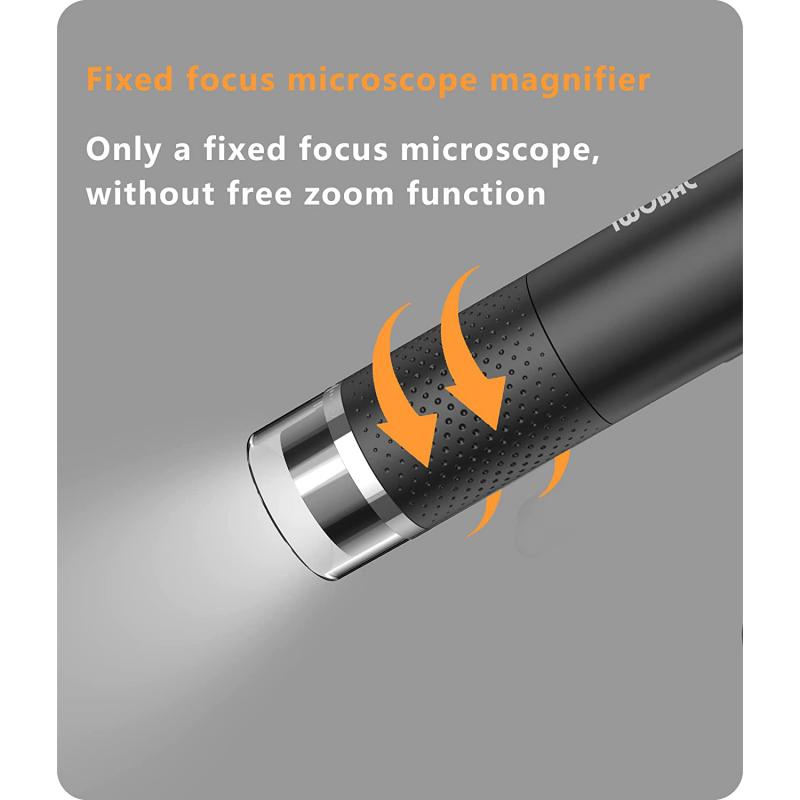
To adjust the focus, use the focus wheel located on the side of the microscope. Turn the wheel until the image is clear and in focus. If the image is still blurry, adjust the distance between the microscope and the object.
To adjust the magnification, use the zoom wheel located on the top of the microscope. Turn the wheel to increase or decrease the magnification. Some microscopes also have a digital zoom feature that allows you to zoom in even further.
It is important to note that different USB microscopes may have slightly different methods for adjusting focus and magnification. Always refer to the user manual that came with your microscope for specific instructions.
In recent years, USB microscopes have become increasingly popular for a variety of applications, including scientific research, education, and hobbyist use. With their ease of use and affordability, USB microscopes are a valuable tool for anyone looking to explore the microscopic world.
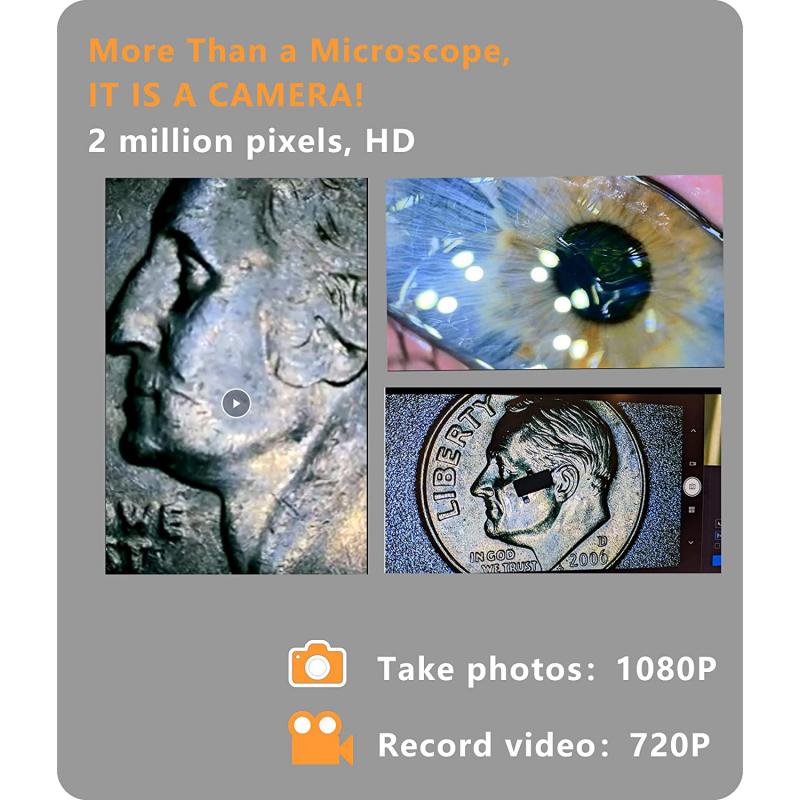
4、 Capturing images and videos
Capturing images and videos is one of the primary functions of a USB microscope. To use a USB microscope for capturing images and videos, follow these steps:
1. Connect the USB microscope to your computer using the USB cable provided.
2. Install the software that came with the microscope. This software will allow you to capture images and videos, as well as adjust the microscope's settings.
3. Place the object you want to examine under the microscope's lens.
4. Adjust the focus of the microscope until the object is clear and in focus.
5. Use the software to capture images or videos of the object. You can also adjust the microscope's settings, such as brightness and contrast, to get the best image or video possible.
6. Save the images or videos to your computer for later use.
It's important to note that the latest point of view in using a USB microscope for capturing images and videos is to use it for educational purposes. USB microscopes are becoming increasingly popular in classrooms and science labs, as they allow students to explore the microscopic world in a hands-on way. They can also be used for scientific research, quality control in manufacturing, and even for hobbyists who want to explore the world around them in a new way.










There are no comments for this blog.