How To Use Wifi Camera Plus App ?
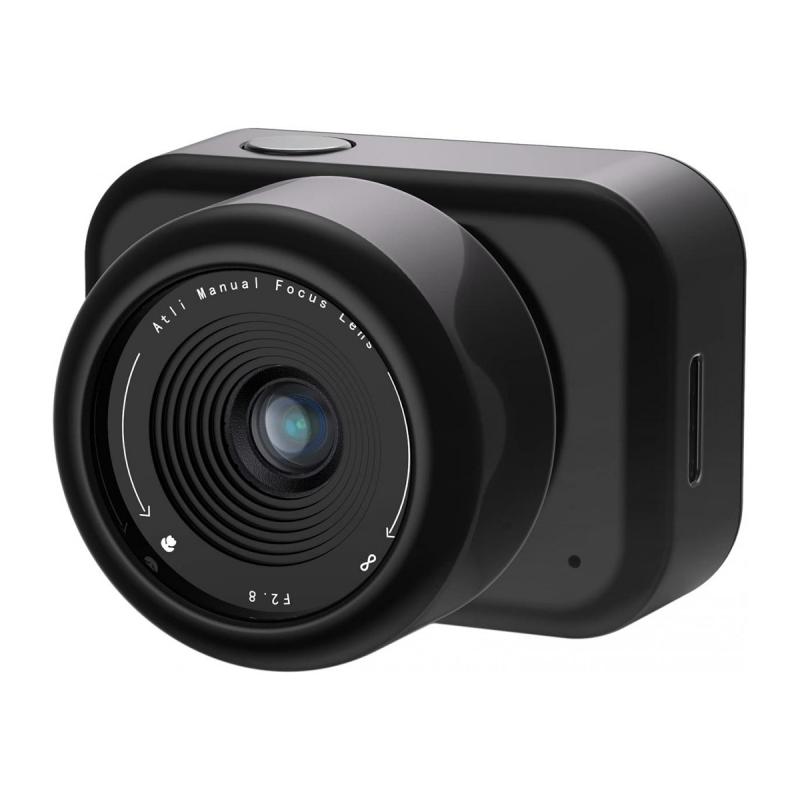
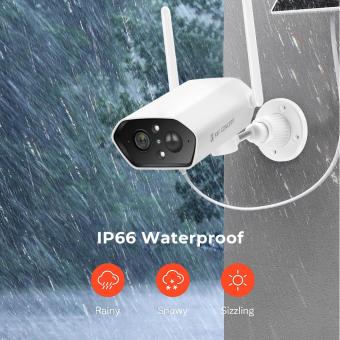
To use the WiFi Camera Plus app, first, download and install the app from the respective app store on your smartphone or tablet. Once installed, open the app and follow the on-screen instructions to connect your device to the WiFi network of the camera. Make sure the camera is turned on and in WiFi mode.
Next, within the app, you should be able to see a list of available cameras. Select the camera you want to connect to and enter the password if prompted. Once connected, you should be able to view the live feed from the camera on your device's screen.
Depending on the features of the app, you may also be able to control the camera's settings, such as adjusting the angle, zooming in or out, or capturing photos and videos. Explore the app's interface to access these features and customize your camera settings as desired.
Remember to refer to the user manual or any specific instructions provided by the manufacturer for detailed information on using the WiFi Camera Plus app with your specific camera model.
1、 Downloading and Installing the WiFi Camera Plus App
To download and install the WiFi Camera Plus app, follow these steps:
1. Open the app store on your smartphone or tablet. The WiFi Camera Plus app is available for both iOS and Android devices.
2. Search for "WiFi Camera Plus" in the app store's search bar. Look for the official app developed by the manufacturer of your WiFi camera.
3. Once you find the app, tap on the "Install" or "Get" button to begin the download and installation process. Make sure you have a stable internet connection to avoid any interruptions.
4. Wait for the app to download and install on your device. The time it takes will depend on your internet speed.
5. Once the installation is complete, locate the app on your device's home screen or app drawer and tap on it to open it.
6. Before using the app, make sure your WiFi camera is properly set up and connected to your home network. Refer to the camera's user manual for instructions on how to do this.
7. Launch the WiFi Camera Plus app and follow the on-screen instructions to connect your device to the camera. This usually involves selecting your camera from a list of available devices and entering the required credentials, such as the camera's username and password.
8. Once connected, you can use the WiFi Camera Plus app to view live video feeds from your camera, adjust camera settings, and access additional features such as motion detection and recording.
It's important to note that the specific steps may vary slightly depending on the brand and model of your WiFi camera. Always refer to the camera's user manual or the app's documentation for detailed instructions.
2、 Connecting the WiFi Camera to the App
To connect your WiFi camera to the app, follow these steps:
1. Download the WiFi Camera Plus app: Start by downloading the WiFi Camera Plus app from the App Store or Google Play Store. Make sure to download the latest version of the app to ensure compatibility with your camera.
2. Power on the camera: Turn on your WiFi camera and ensure it is connected to a stable WiFi network. Most cameras have a built-in WiFi indicator light that will turn on when the camera is connected.
3. Open the app: Launch the WiFi Camera Plus app on your smartphone or tablet. You will be prompted to create an account or log in if you already have one.
4. Add a new camera: Once you are logged in, tap on the "Add Camera" button to start the setup process. The app will guide you through the necessary steps.
5. Connect to the camera's WiFi network: The app will prompt you to connect your smartphone or tablet to the camera's WiFi network. Go to your device's settings, select the camera's network, and enter the password if required.
6. Return to the app: Once your device is connected to the camera's WiFi network, return to the WiFi Camera Plus app. It will automatically detect the camera and prompt you to complete the setup.
7. Follow the on-screen instructions: The app will guide you through the remaining setup process, which may include selecting your WiFi network, entering the password, and configuring any additional settings.
8. Start using the app: Once the setup is complete, you can start using the WiFi Camera Plus app to view live video feeds, access recorded footage, adjust camera settings, and more.
Remember to consult the user manual or the manufacturer's website for any specific instructions related to your WiFi camera model.
3、 Configuring Camera Settings through the App
To configure camera settings through the WiFi Camera Plus app, follow these steps:
1. Download and install the WiFi Camera Plus app from the App Store or Google Play Store.
2. Open the app and create an account if prompted. Log in to your account.
3. Ensure that your WiFi camera is connected to the same network as your smartphone or tablet.
4. Tap on the "Add Camera" button in the app to start the camera setup process.
5. Follow the on-screen instructions to connect your camera to the app. This usually involves scanning a QR code or entering the camera's unique identification number.
6. Once the camera is successfully connected, you can access the camera settings through the app's interface.
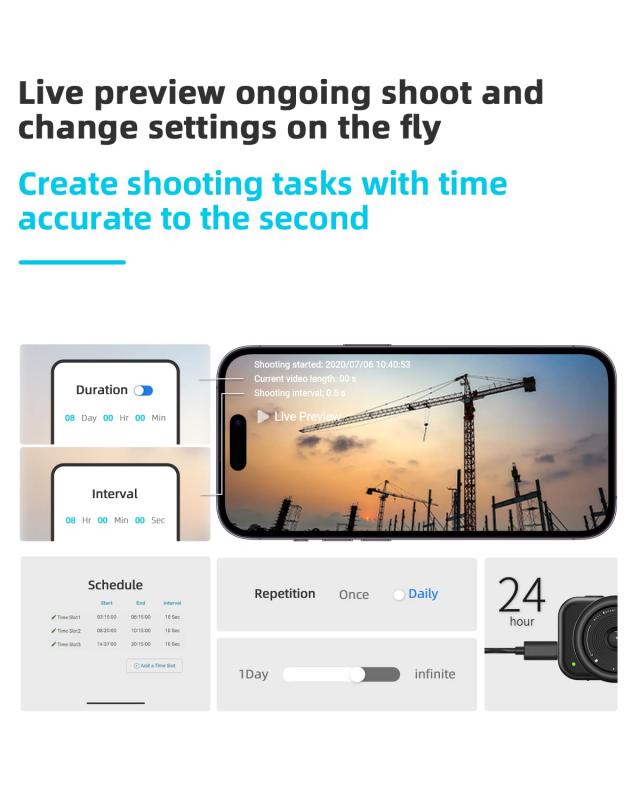
7. In the camera settings menu, you can adjust various parameters such as resolution, frame rate, motion detection sensitivity, and more. These settings may vary depending on the specific camera model and app version.
8. Make the desired changes to the camera settings and save them.
9. You can also access additional features like live streaming, recording, and playback through the app.
10. Ensure that you have a stable internet connection to effectively control and monitor your WiFi camera through the app.
It's important to note that the WiFi Camera Plus app may have updated features or a different user interface depending on the latest version. Therefore, it's recommended to refer to the app's user manual or online documentation for the most up-to-date instructions and information.
4、 Viewing Live Video Feed on the App
To view the live video feed on the WiFi Camera Plus app, follow these steps:
1. Download and install the WiFi Camera Plus app from the App Store or Google Play Store.
2. Open the app and create an account if prompted. If you already have an account, log in using your credentials.
3. Ensure that your WiFi camera is properly set up and connected to your home network. Refer to the camera's user manual for instructions on how to connect it to your WiFi network.
4. Once your camera is connected, tap on the "Live View" or "Camera" tab in the app. This will take you to the live video feed screen.
5. On the live video feed screen, you will see the video stream from your WiFi camera. You can tap on the screen to access additional controls such as zooming in or out, adjusting the camera angle, or enabling audio.
6. To switch between multiple cameras, if you have more than one connected, swipe left or right on the screen or tap on the camera selection icon.
7. You can also access other features of the app, such as recording videos, taking snapshots, or adjusting camera settings, by navigating through the app's menu or settings options.
The latest version of the WiFi Camera Plus app may have additional features or improvements, so make sure to keep the app updated to access the latest functionalities.
