How To Work Microscope ?
To work with a microscope, first, place the specimen on the stage and secure it with stage clips if necessary. Adjust the focus by turning the coarse adjustment knob to bring the specimen into view. Then, use the fine adjustment knob to sharpen the image. Adjust the magnification by rotating the objective lenses. Start with the lowest magnification and work your way up as needed. Use the condenser to control the amount of light passing through the specimen. Adjust the diaphragm to regulate the intensity of light. Finally, observe the specimen through the eyepiece and make any necessary adjustments to improve the focus and clarity of the image.
1、 Microscope Parts and Functions
To work a microscope effectively, it is important to understand its parts and functions. Here is a comprehensive guide on how to work a microscope:
1. Eyepiece: This is the part you look through to observe the specimen. Adjust the eyepiece to your eye's comfort by rotating it.
2. Objective lenses: Microscopes usually have multiple objective lenses with different magnification powers. Start with the lowest magnification lens and gradually increase as needed. Rotate the nosepiece to switch between lenses.
3. Stage: Place the specimen on the stage and secure it with stage clips or a mechanical stage. Use the stage controls to move the specimen horizontally (x-axis) and vertically (y-axis).
4. Coarse and fine focus knobs: The coarse focus knob is used to bring the specimen into rough focus. Once the specimen is in focus, use the fine focus knob to sharpen the image.
5. Condenser: Adjust the condenser to control the amount of light passing through the specimen. This helps improve the clarity and contrast of the image.
6. Light source: Microscopes can have different types of light sources, such as LED or halogen bulbs. Ensure the light source is turned on and adjust the intensity as needed.
7. Diaphragm: Adjust the diaphragm to control the amount of light entering the microscope. This can help optimize the image quality.
8. Stage controls: Use the stage controls to move the specimen around and center it under the objective lens. This allows you to explore different areas of the specimen.
9. Magnification and focus adjustments: As you switch between objective lenses, adjust the focus using the coarse and fine focus knobs to maintain a clear image.
10. Observing and recording: Look through the eyepiece and observe the specimen. If needed, use a camera attachment or smartphone adapter to capture images or videos for further analysis or documentation.
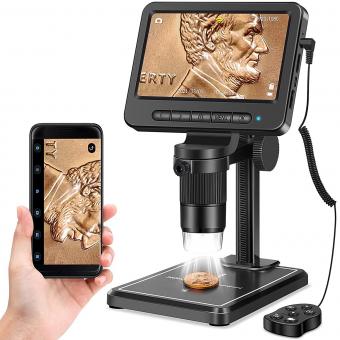
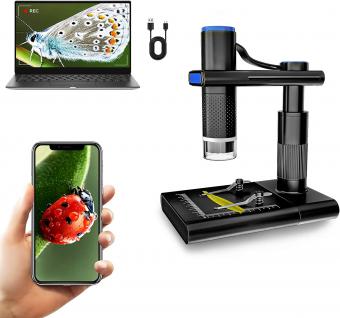
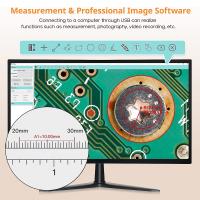
It is important to note that different microscopes may have additional or slightly different parts and functions. Always refer to the manufacturer's instructions for specific details on operating your microscope. Additionally, with advancements in technology, there are now digital microscopes available that offer features like live imaging, image analysis, and remote viewing capabilities.

2、 Microscope Setup and Calibration
Microscope Setup and Calibration: How to Work with a Microscope
Working with a microscope requires proper setup and calibration to ensure accurate and reliable results. Here is a step-by-step guide on how to work with a microscope:
1. Set up the microscope: Start by placing the microscope on a stable surface, ensuring it is level. Connect the power source and turn on the microscope. Adjust the light intensity to a comfortable level for viewing.
2. Adjust the eyepieces: Adjust the interpupillary distance by moving the eyepieces closer or further apart until you see a single circular field of view. This ensures proper alignment for both eyes.
3. Focus the specimen: Place the specimen on the stage and secure it with stage clips if necessary. Use the coarse adjustment knob to bring the specimen into rough focus. Then, use the fine adjustment knob to achieve a clear and sharp image.
4. Adjust the magnification: Rotate the objective lenses to select the desired magnification. Start with the lowest magnification and gradually increase as needed. Avoid using the high magnification objectives without proper immersion oil, if required.
5. Center the specimen: Use the mechanical stage controls to center the specimen under the objective lens. This allows for easy navigation and examination of different areas of the specimen.
6. Calibrate the microscope: Periodically, it is important to calibrate the microscope to ensure accurate measurements. This can be done using a stage micrometer, which has a known scale. Compare the scale on the micrometer to the scale seen through the microscope and make any necessary adjustments.
7. Clean and maintain the microscope: After use, clean the lenses and stage with lens paper or a soft cloth. Store the microscope in a clean and dry environment to prevent dust accumulation.
It is worth noting that with advancements in technology, digital microscopes are becoming increasingly popular. These microscopes allow for easy image capture and analysis, providing additional capabilities for research and education.
In conclusion, working with a microscope requires proper setup, calibration, and maintenance. By following these steps, you can ensure accurate and reliable results in your microscopic observations.

3、 Microscope Sample Preparation Techniques
To work with a microscope, it is important to follow proper sample preparation techniques. Here is a step-by-step guide on how to work with a microscope:
1. Start by selecting the appropriate microscope for your needs. There are different types of microscopes, such as compound microscopes for viewing small, transparent samples, and stereo microscopes for larger, opaque samples.
2. Prepare your sample by fixing it in a suitable medium. This can involve using chemicals to preserve the sample's structure and prevent decay. For example, in biological samples, formaldehyde is commonly used as a fixative.
3. Once your sample is fixed, it may need to be sectioned or sliced into thin slices for better visualization. This can be done using a microtome or a cryostat, depending on the nature of the sample.
4. Mount the sample onto a microscope slide using a mounting medium. This helps to secure the sample and provides a clear background for observation.
5. Adjust the microscope's settings, such as the magnification and focus, to obtain a clear image. Start with a low magnification and gradually increase it as needed.
6. Use appropriate lighting techniques, such as brightfield or phase contrast, to enhance the visibility of your sample. Adjust the intensity of the light source to optimize the image quality.
7. Once you have obtained a clear image, you can observe and analyze the sample. Take note of any interesting features or structures and document your findings.
It is important to note that the field of microscopy is constantly evolving, with new techniques and technologies being developed. For example, advances in fluorescence microscopy have allowed for the visualization of specific molecules within a sample, providing valuable insights into cellular processes. Additionally, techniques such as confocal microscopy and super-resolution microscopy have revolutionized the field by enabling the visualization of structures at a higher resolution. Staying updated with the latest advancements in microscopy can greatly enhance your ability to work with microscopes effectively.
4、 Microscope Focusing and Magnification
To work a microscope effectively, it is important to understand the process of focusing and magnification. Here is a step-by-step guide on how to work a microscope:
1. Start by placing the microscope on a stable surface and ensure that it is properly plugged in or has fresh batteries.
2. Turn on the microscope and adjust the light source to the desired intensity. This will provide adequate illumination for the specimen.
3. Place the specimen on the stage of the microscope and secure it using the stage clips or slide holder. Make sure the specimen is centered and in focus.
4. Begin focusing by using the coarse adjustment knob. This knob moves the stage up and down, allowing you to bring the specimen into view. Start with the lowest magnification objective lens.
5. Look through the eyepiece and slowly turn the coarse adjustment knob until the specimen comes into focus. Be gentle and avoid forcing the knob, as it may damage the microscope or the specimen.
6. Once the specimen is roughly in focus, use the fine adjustment knob to sharpen the image. This knob provides smaller, more precise movements to achieve a clear view.
7. If you need to increase the magnification, rotate the nosepiece to switch to a higher power objective lens. Repeat the focusing process using the coarse and fine adjustment knobs.
8. To enhance the clarity of the image, you can adjust the diaphragm or iris control. Opening the diaphragm will increase the amount of light passing through the specimen, while closing it will reduce the light.
9. Finally, if your microscope has a condenser, adjust its height to optimize the illumination. The condenser focuses the light onto the specimen, improving the image quality.
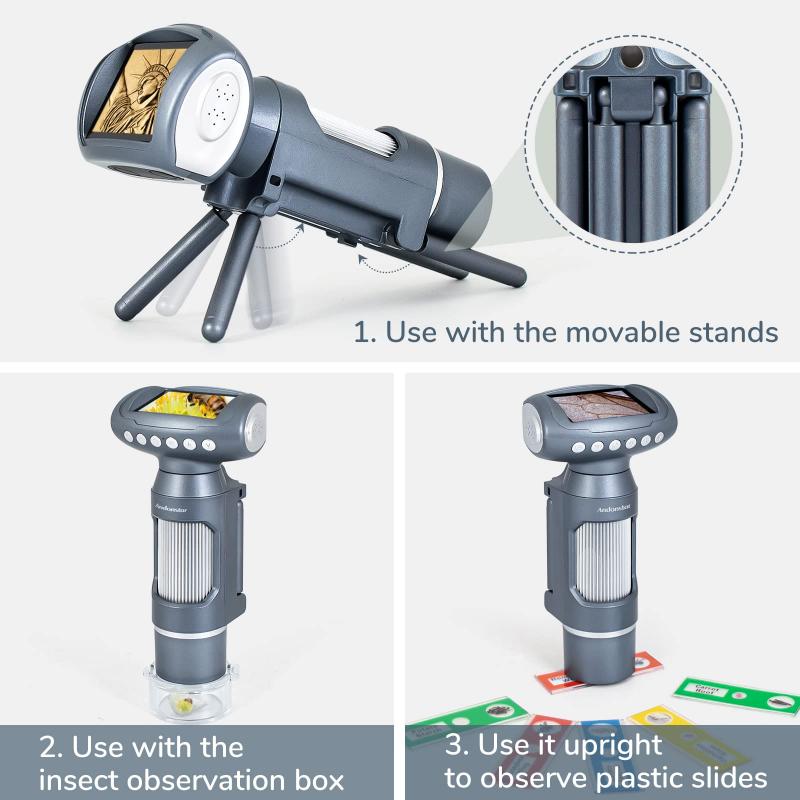
It is worth noting that the latest advancements in microscope technology have introduced digital microscopes, which allow for easier focusing and magnification adjustments. These microscopes often have built-in cameras and software that provide real-time imaging and analysis. Additionally, some microscopes now offer automated focusing systems, which can quickly and accurately bring the specimen into focus. These advancements have greatly improved the efficiency and accuracy of microscope work.


