Lavalier Microphone How To Use ?
To use a lavalier microphone, first, attach the microphone to your clothing using the provided clip or adhesive. Make sure it is positioned close to your mouth for optimal sound capture. Next, connect the microphone to a compatible audio recording device or transmitter using the provided cable. Ensure that the connection is secure. If using a wireless lavalier microphone, make sure the transmitter and receiver are properly paired and set to the same frequency. Adjust the microphone's sensitivity or gain settings on the recording device to achieve the desired audio level. Finally, test the microphone by speaking into it and monitoring the audio output to ensure it is working correctly.
1、 Positioning: Proper placement for optimal sound capture.
Lavalier microphones, also known as lapel microphones, are small and discreet microphones that are commonly used in broadcasting, presentations, and interviews. They are designed to be clipped onto clothing, allowing for hands-free operation and optimal sound capture.
To use a lavalier microphone effectively, proper positioning is crucial. The microphone should be placed approximately 6-8 inches below the speaker's mouth, ensuring clear and direct sound capture. It is important to position the microphone away from any clothing or accessories that may cause rustling or interference with the sound quality.
Additionally, the microphone should be securely attached to the clothing using the provided clip or adhesive. This ensures that the microphone stays in place and does not move or shift during use, which can result in inconsistent sound quality.
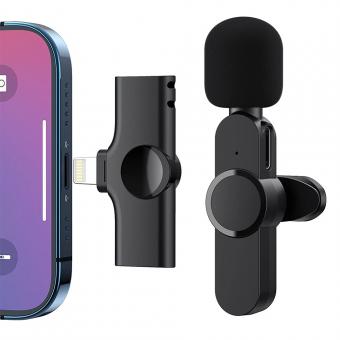
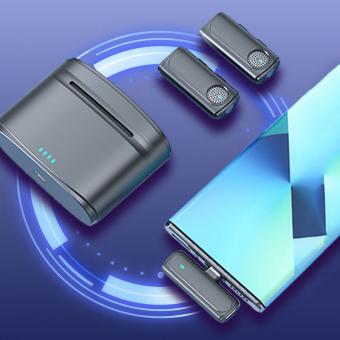
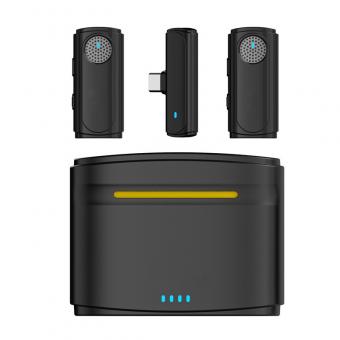
In recent years, there have been advancements in lavalier microphone technology. Some models now feature wireless capabilities, allowing for greater freedom of movement without compromising sound quality. These wireless lavalier microphones use radio frequency transmission to send the audio signal from the microphone to a receiver, eliminating the need for a physical connection between the microphone and the recording device. This can be particularly useful in situations where the speaker needs to move around or when cables may be cumbersome.
Overall, lavalier microphones are a convenient and effective tool for capturing high-quality audio in various settings. By following proper positioning techniques and taking advantage of the latest advancements in technology, users can ensure optimal sound capture and enhance their overall audio recording experience.
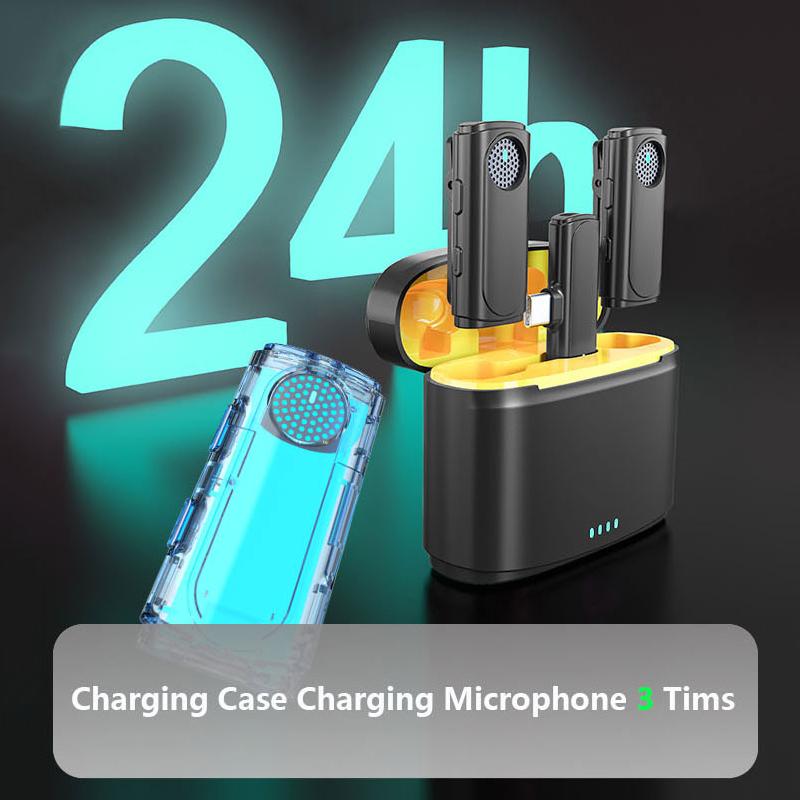
2、 Connection: Connecting the lavalier microphone to the recording device.
Lavalier microphones, also known as lapel microphones, are small, discreet microphones that are commonly used in broadcasting, presentations, interviews, and other situations where hands-free operation is required. They are designed to be clipped onto clothing, typically near the collar or lapel, and provide clear and high-quality audio capture.
To use a lavalier microphone, you need to follow a few simple steps:
1. Check the compatibility: Ensure that the lavalier microphone you have is compatible with your recording device. Most lavalier microphones use a standard 3.5mm audio jack, which is compatible with smartphones, cameras, and other recording devices. However, some microphones may require an adapter or have specific compatibility requirements.
2. Connect the microphone: Start by connecting the lavalier microphone to the recording device. Plug the microphone's audio jack into the corresponding audio input on your device. Make sure the connection is secure to avoid any audio interruptions.
3. Position the microphone: Clip the microphone onto your clothing, preferably near the collar or lapel. Ensure that the microphone is positioned close to your mouth for optimal audio capture. Avoid placing it too close to any clothing that may cause rustling or rubbing noises.
4. Adjust the settings: Depending on your recording device, you may need to adjust the audio input settings. Check the device's manual or settings menu to find the appropriate options. Set the microphone input level to an appropriate level to avoid distortion or low audio levels.
5. Test and monitor: Before starting your recording or presentation, test the microphone to ensure it is working properly. Monitor the audio levels and quality through headphones or the device's audio output to make any necessary adjustments.
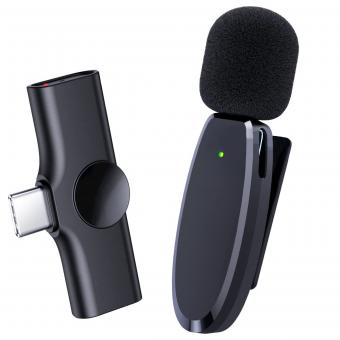
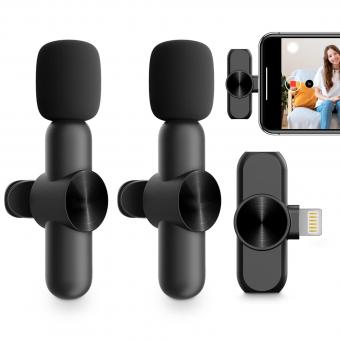
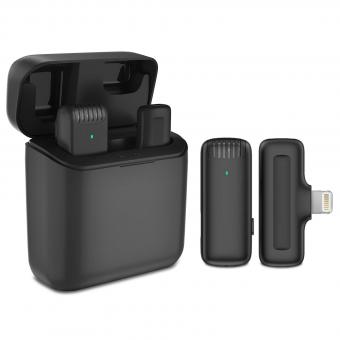
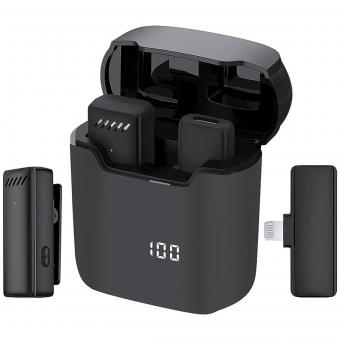
It's worth noting that advancements in technology have led to the development of wireless lavalier microphones, which eliminate the need for physical connections between the microphone and recording device. These wireless systems offer greater flexibility and freedom of movement, making them popular choices in various professional settings.
In conclusion, using a lavalier microphone involves connecting it to the recording device, positioning it correctly, adjusting the settings, and testing the audio quality. Whether you opt for a wired or wireless lavalier microphone, they provide a convenient and effective solution for capturing clear and hands-free audio in a wide range of applications.
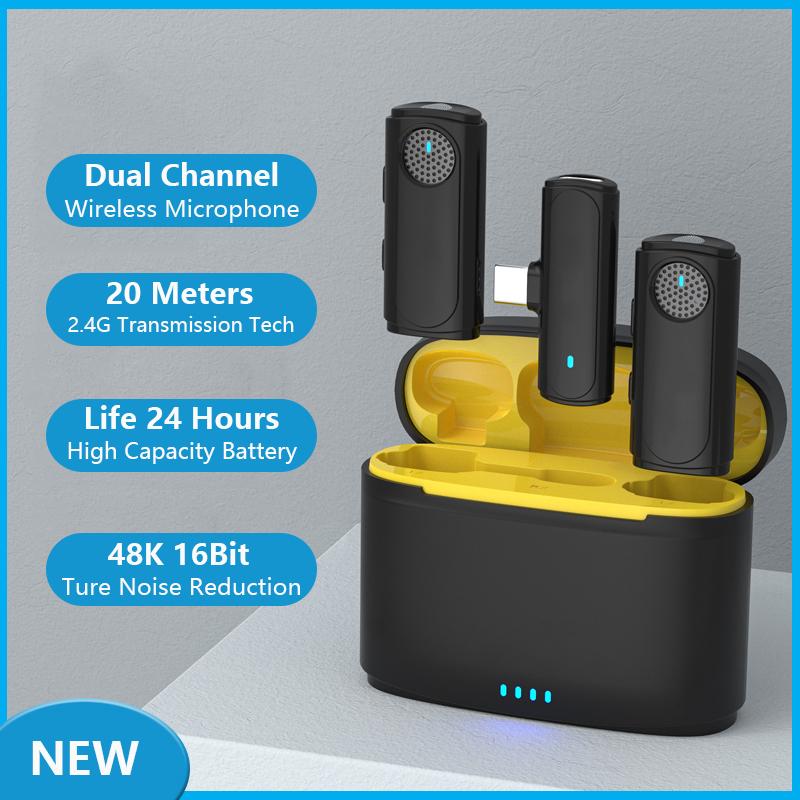
3、 Powering: Understanding power requirements and options for the microphone.
Lavalier microphones, also known as lapel microphones, are small, discreet microphones that are commonly used in broadcasting, presentations, and live performances. They are designed to be clipped onto clothing, allowing the user to have hands-free operation while still capturing clear and high-quality audio.
To use a lavalier microphone effectively, there are a few key steps to follow. First, ensure that the microphone is securely attached to the clothing, preferably near the chest area for optimal sound capture. It is important to position the microphone away from any clothing rustling or rubbing noises, as this can interfere with the audio quality.
Next, check the power requirements of the lavalier microphone. Some models require batteries for power, while others can be powered through the audio input of the recording device. Understanding the power requirements is crucial to ensure that the microphone is functioning properly. If batteries are needed, make sure they are fresh and have enough power to last for the duration of the recording or performance.
When connecting the lavalier microphone to the recording device, use the appropriate cable or wireless transmitter/receiver system. Ensure that the connections are secure and that the microphone is properly plugged in. It is also important to check the audio levels and adjust them accordingly to avoid distortion or low volume issues.
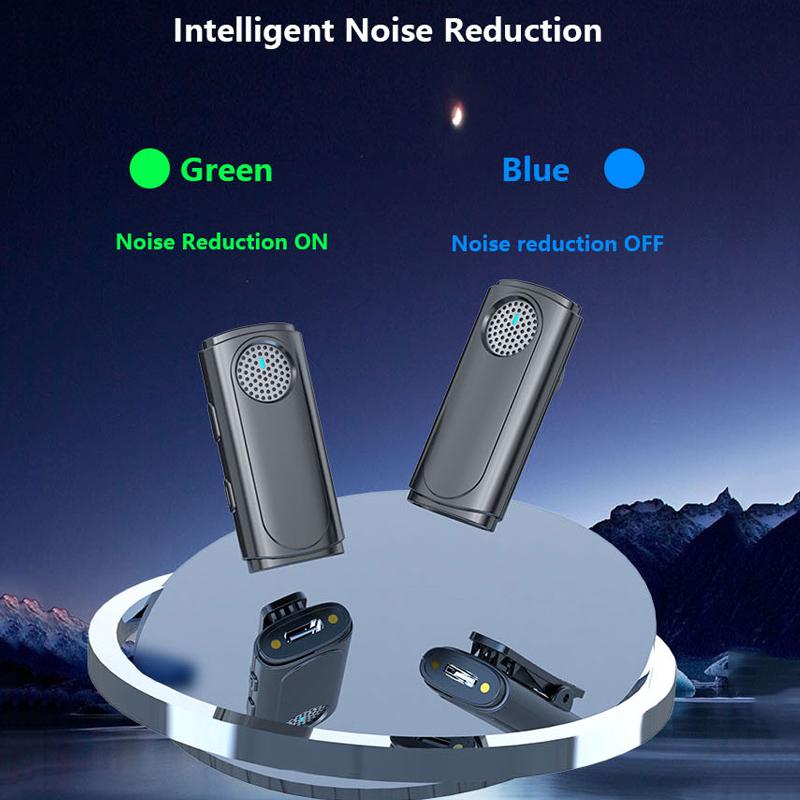
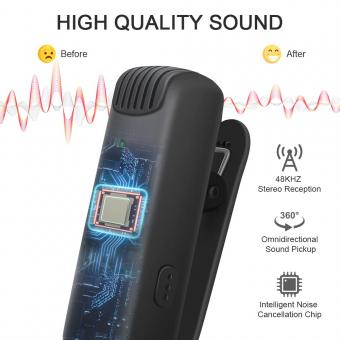
In terms of the latest point of view, advancements in technology have led to the development of wireless lavalier microphones, which offer greater flexibility and freedom of movement. These wireless systems eliminate the need for cables and allow for seamless integration with recording devices. Additionally, some lavalier microphones now come with built-in noise-cancelling features, which help to reduce background noise and improve audio clarity.
In conclusion, using a lavalier microphone involves securely attaching it to clothing, understanding the power requirements, and making proper connections to the recording device. Staying up to date with the latest advancements in lavalier microphone technology can further enhance the audio quality and user experience.

4、 Troubleshooting: Common issues and solutions when using lavalier microphones.
Lavalier microphones, also known as lapel microphones, are popular choices for capturing high-quality audio in various situations, such as interviews, presentations, and performances. To use a lavalier microphone effectively, follow these steps:
1. Positioning: Attach the microphone to the subject's clothing, preferably near the chest area, using the provided clip. Ensure that the microphone is positioned close to the mouth for optimal sound capture.
2. Cable management: Securely route the microphone cable along the subject's clothing to minimize movement noise. Use clips or adhesive tape to keep the cable in place and prevent it from rubbing against clothing or other objects.
3. Connection: Connect the lavalier microphone to a compatible audio recording device, such as a camera, smartphone, or audio recorder. Use the appropriate adapter if needed.
4. Audio levels: Adjust the input levels on the recording device to ensure the audio is neither too soft nor distorted. Perform a sound check before recording to ensure the microphone is capturing clear and balanced audio.
5. Monitoring: If possible, use headphones to monitor the audio while recording. This allows you to detect any issues, such as background noise or audio distortion, and make adjustments accordingly.
Troubleshooting: Common issues and solutions when using lavalier microphones:
1. Muffled sound: Check if the microphone is obstructed by clothing or other objects. Adjust the positioning to ensure it is not covered.
2. Wind noise: Attach a windscreen or foam cover to the microphone to reduce wind noise when recording outdoors.
3. Cable noise: Ensure the microphone cable is securely fastened and does not rub against clothing. Consider using a cable clip or tape to minimize movement noise.
4. Interference: If experiencing interference or static, try changing the frequency or using a different wireless channel if using a wireless lavalier microphone system.
5. Battery issues: If using a wireless lavalier microphone, check the battery level and replace it if necessary. Ensure the battery is properly inserted and making a good connection.
Remember to always test the microphone and equipment before important recordings or events to ensure everything is working correctly.
