Monopod Z07 1 How To Use ?
To use the monopod Z07-1, first, extend the telescopic rod by pulling it out. Then, attach your device, such as a smartphone or camera, to the mount at the top of the monopod. Adjust the angle of the mount as desired. Next, hold the monopod firmly and extend it to the desired height by twisting the sections clockwise. Make sure to tighten the sections securely to avoid any wobbling. Once the monopod is at the desired height, you can use the monopod as a stabilizing tool for capturing photos or videos. To take a photo, simply press the shutter button on your device or use a remote shutter if available. For videos, start recording on your device and hold the monopod steady. Experiment with different angles and heights to achieve the desired shots. After use, collapse the monopod by twisting the sections counterclockwise and retracting them.
1、 Assembly and setup of the Z07-1 monopod
The Z07-1 monopod is a versatile and handy tool for capturing stable and professional-looking photos and videos. Assembly and setup of the monopod is fairly straightforward and can be done in a few simple steps.
To begin, unpack the monopod and ensure that all the components are present. The monopod typically consists of three main parts: the extendable pole, the phone holder, and the wrist strap.
First, extend the pole by twisting it counterclockwise until it reaches the desired length. The Z07-1 monopod usually has a maximum extension length of around 40 inches, providing ample reach for capturing wide-angle shots or selfies.
Next, attach the phone holder to the top of the pole. The phone holder is adjustable and can accommodate various smartphone sizes. Simply expand the holder, place your phone in it, and tighten the grip to secure your device in place.
Once the phone holder is securely attached, you can connect your phone to the monopod using a Bluetooth remote or by setting a timer on your camera app. This allows you to control the shutter remotely, eliminating the need for a separate camera or relying on someone else to take your photos.
Lastly, attach the wrist strap to the bottom of the monopod to provide extra security and prevent accidental drops.
With the Z07-1 monopod assembled and set up, you are now ready to capture stunning photos and videos with ease. Whether you're taking group shots, capturing breathtaking landscapes, or filming dynamic action sequences, the monopod provides stability and flexibility to enhance your photography experience.
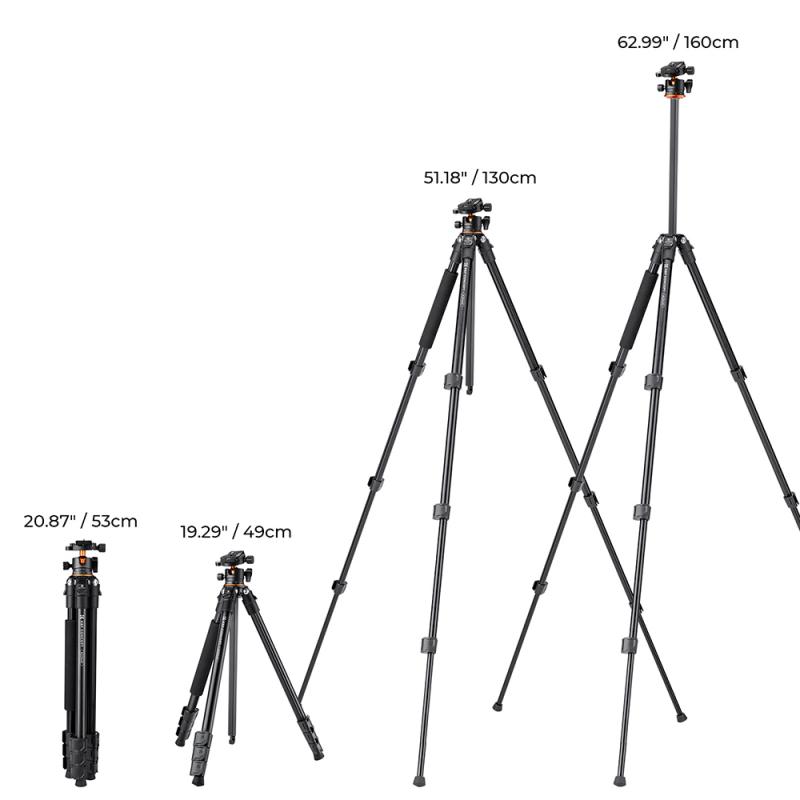
2、 Adjusting the height and angle of the monopod
The monopod Z07-1 is a versatile and handy tool for capturing stable and high-quality photos and videos. To make the most out of this device, it is essential to know how to adjust its height and angle effectively.
To begin, extend the monopod by pulling the sections apart gently. Ensure that each section is securely locked in place to prevent any accidental collapse. The monopod typically consists of multiple sections, allowing you to adjust its height according to your preference. Once extended, tighten the locking mechanism to secure the desired height.
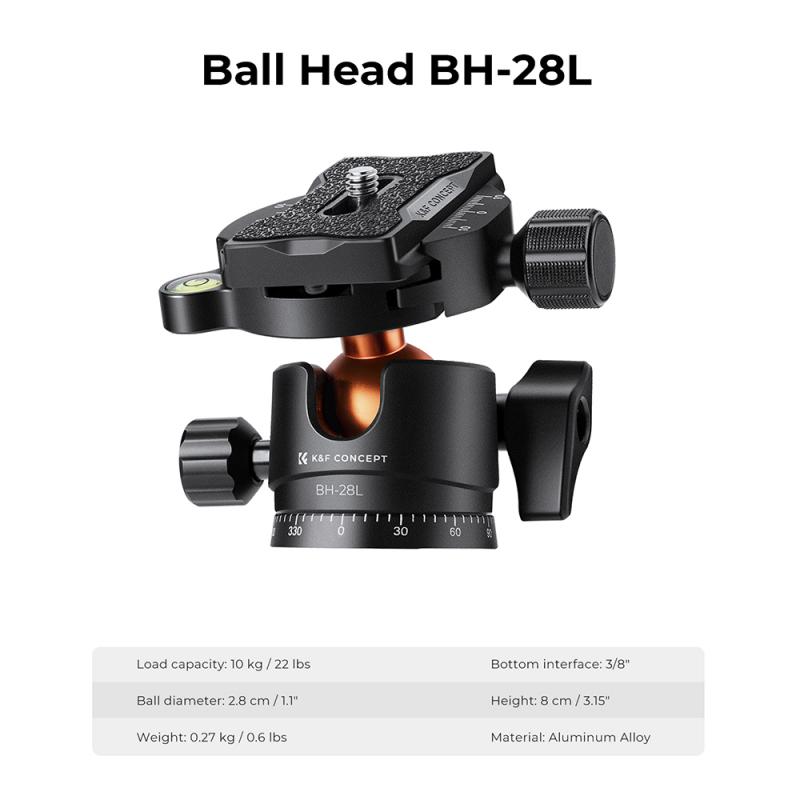
To adjust the angle of the monopod, locate the ball head mount at the top of the monopod. Loosen the knob to allow free movement of the ball head. You can then tilt the monopod forward, backward, or sideways to achieve the desired angle. Once you have positioned the monopod at the desired angle, tighten the knob to lock it in place securely.
It is important to note that the latest point of view regarding the use of the monopod Z07-1 is to ensure that the device is compatible with your camera or smartphone. Some monopods come with a universal mount, while others may require specific adapters. Additionally, always check the weight capacity of the monopod to ensure it can support your camera or smartphone adequately.
In conclusion, adjusting the height and angle of the monopod Z07-1 is crucial for capturing stable and professional-looking photos and videos. By following the steps mentioned above and considering the latest point of view, you can make the most out of this versatile tool and enhance your photography and videography skills.
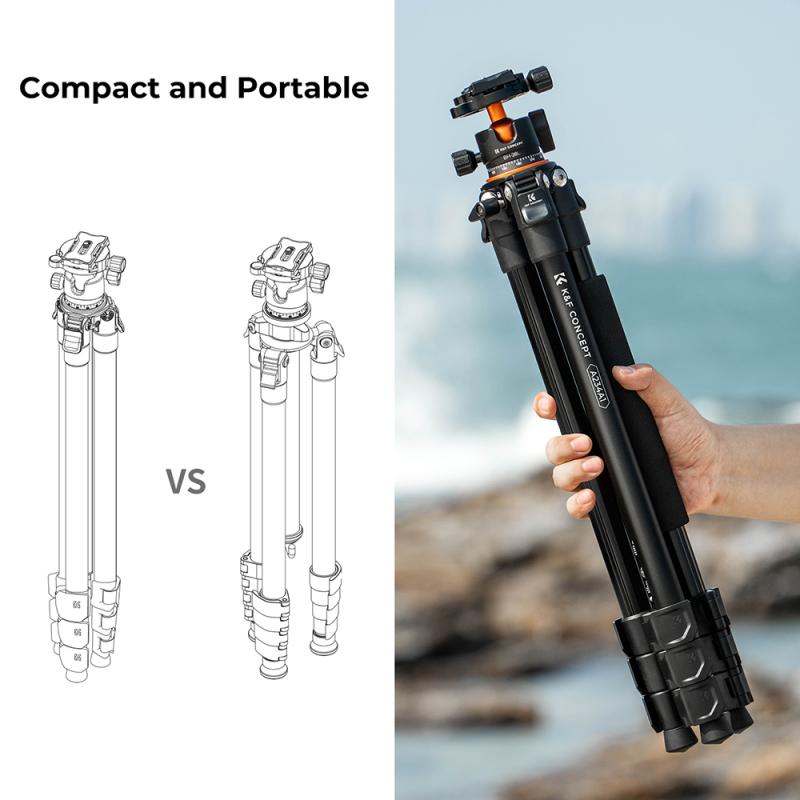
3、 Attaching a camera or smartphone to the monopod
Attaching a camera or smartphone to the monopod, such as the monopod z07 1, is a simple process that allows you to capture stable and high-quality photos and videos. To begin, ensure that your monopod is fully extended and the camera mount is securely tightened.
For cameras, most monopods come with a standard 1/4-inch screw mount, which is compatible with most camera models. Simply align the camera's tripod socket with the monopod's mount and screw it in securely. Make sure the camera is balanced and tightened to avoid any accidental drops.
When it comes to smartphones, there are a few different options available. Some monopods come with a smartphone holder that can be adjusted to fit various phone sizes. Attach the holder to the monopod's mount and adjust it to securely hold your smartphone. Ensure that the phone is centered and tightened to prevent any wobbling or slipping.
Alternatively, you can use a smartphone adapter that attaches to the monopod's mount. These adapters typically have adjustable clamps that can hold smartphones of different sizes. Simply attach the adapter to the monopod and adjust the clamp to securely hold your phone.
It's important to note that the latest point of view regarding attaching cameras or smartphones to monopods is the increasing popularity of wireless remote controls. Many monopods now come with Bluetooth or Wi-Fi connectivity, allowing you to control your camera or smartphone remotely. This feature provides added convenience and flexibility, especially for capturing group photos or selfies.
In conclusion, attaching a camera or smartphone to a monopod like the monopod z07 1 is a straightforward process. Whether using a camera or smartphone, ensure a secure and balanced attachment to capture stable and high-quality photos and videos.
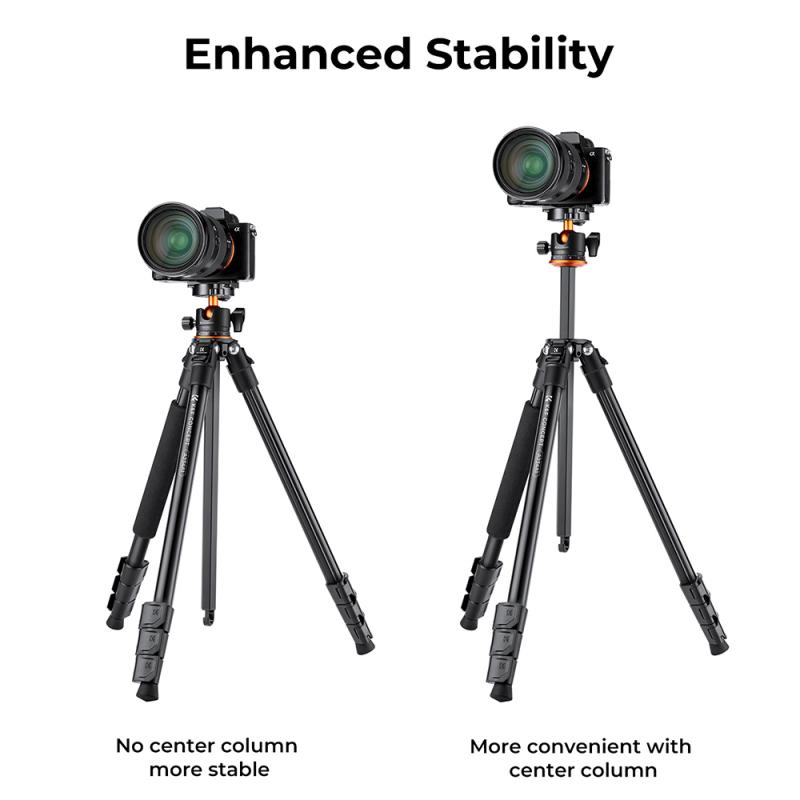
4、 Using the monopod for stable photography and videography
The monopod Z07-1 is a versatile tool that can greatly enhance your photography and videography experience by providing stability and support for your camera or smartphone. Here's a step-by-step guide on how to use the monopod effectively:
1. Adjust the height: Extend the monopod to your desired height by loosening the locking mechanism and pulling the sections out. Make sure it is secure and stable before proceeding.
2. Attach your camera or smartphone: Most monopods come with a universal mount that can accommodate various devices. Attach your camera or smartphone securely to the mount, ensuring it is tightly fastened.
3. Hold the monopod correctly: Grip the monopod firmly with one hand, while using your other hand to control the camera or smartphone. This will provide additional stability and control while shooting.
4. Find your balance: Position yourself in a way that allows you to maintain balance and stability. Keep your feet shoulder-width apart and distribute your weight evenly.
5. Use the monopod as a stabilizer: By holding the monopod with a firm grip and keeping it steady, you can minimize camera shake and achieve smoother shots. This is particularly useful when shooting in low light conditions or capturing fast-moving subjects.
6. Experiment with angles and perspectives: The monopod allows you to easily adjust the height and angle of your camera or smartphone. Take advantage of this flexibility to capture unique and interesting shots from different perspectives.
7. Practice and experiment: Like any photography or videography tool, using the monopod effectively requires practice. Experiment with different techniques, such as panning or tracking shots, to add creativity and dynamism to your footage.
In conclusion, the monopod Z07-1 is a valuable accessory for stable photography and videography. By following these steps and practicing regularly, you can enhance the quality of your shots and capture professional-looking footage.






There are no comments for this blog.