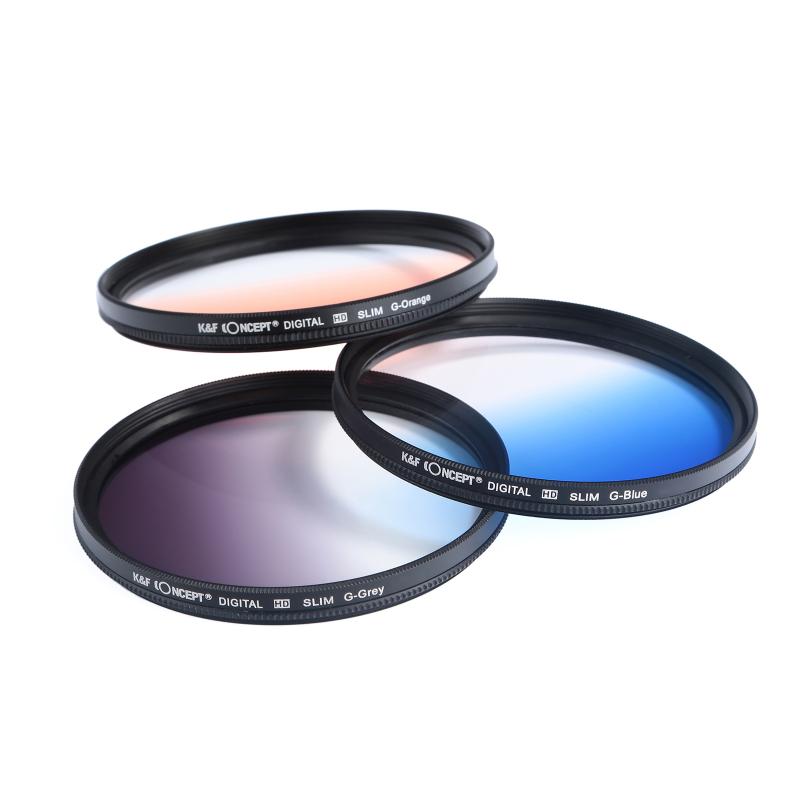
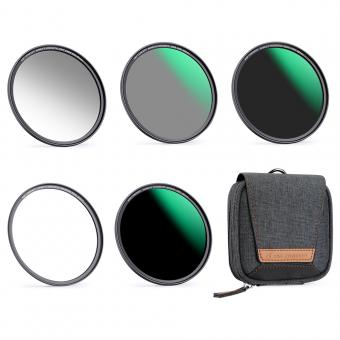
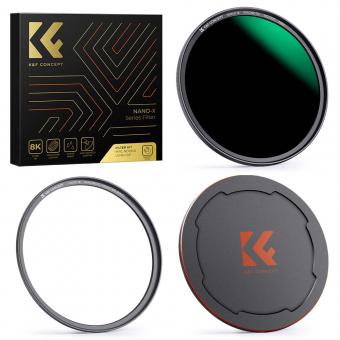
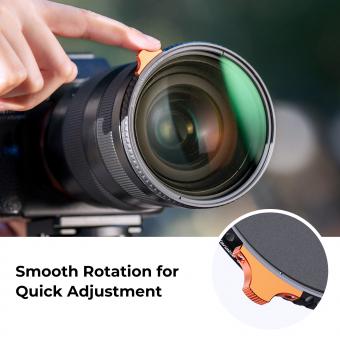
Nd Grad Filter Kit How To Use ?
To use a 2nd grad filter kit, follow these steps:
1. Attach the filter holder to your camera lens by screwing it onto the filter thread.
2. Slide the desired filter into the filter holder. A 2nd grad filter is typically used for balancing exposure between the sky and the foreground.
3. Adjust the position of the filter within the holder to achieve the desired effect. For example, if you want to darken the sky, position the filter so that it covers the top portion of the frame.
4. Take a test shot and review the results. Make any necessary adjustments to the filter position or exposure settings.
5. Once you are satisfied with the composition and exposure, capture the final image.
Remember to experiment with different filter combinations and settings to achieve the desired creative effect.
1、 Graduated Neutral Density (ND) Filter: Definition and Purpose
A Graduated Neutral Density (ND) filter is a tool used in photography to balance the exposure between the bright and dark areas of a scene. It is a rectangular or square filter that is clear at one end and gradually darkens towards the other end. The purpose of using an ND filter is to reduce the amount of light entering the camera, allowing for a more balanced exposure.
To use an ND grad filter kit, follow these steps:
1. Attach the filter holder to the front of your camera lens. Make sure it is securely fastened.
2. Slide the ND grad filter into the filter holder. Position it so that the darkened portion covers the bright area of the scene, such as the sky.
3. Adjust the position of the filter within the holder to achieve the desired effect. You can slide it up or down to control the transition between the darkened and clear portions of the filter.
4. Take a test shot and review the exposure. Make any necessary adjustments to the position of the filter or the camera settings.
5. Once you are satisfied with the exposure, capture the final image.
It is important to note that the use of an ND grad filter requires careful composition and positioning. The filter should be aligned with the horizon or any other distinct line in the scene to achieve a natural-looking transition. Additionally, different strengths of ND grad filters are available, so choose the appropriate one based on the scene's dynamic range and your desired effect.
In recent years, digital post-processing techniques have become increasingly popular, allowing photographers to achieve similar effects to those of ND grad filters. However, many photographers still prefer using physical filters as they provide more control and accuracy during the image capture process.
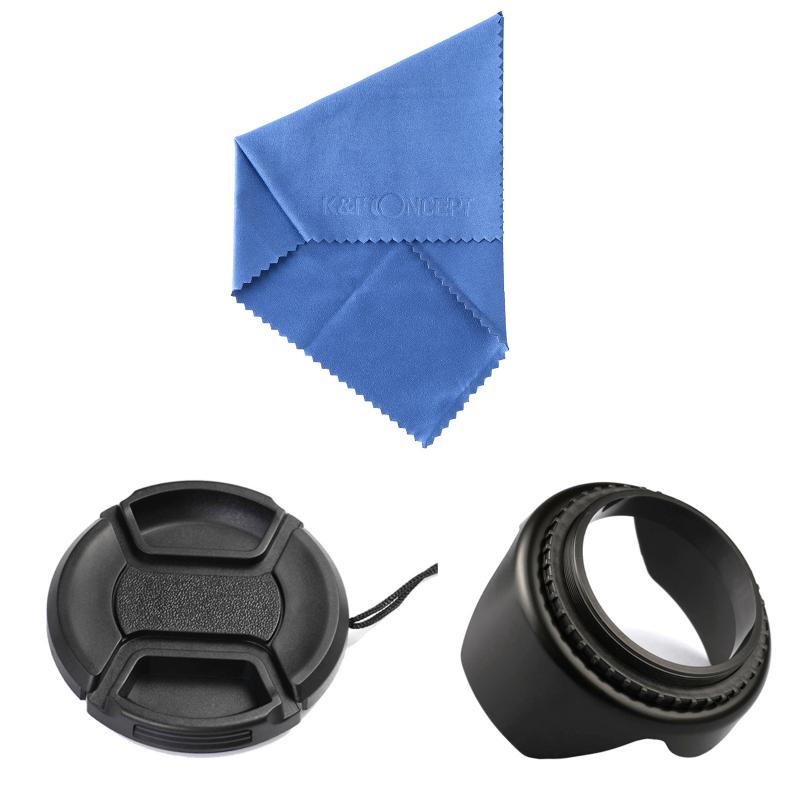
2、 Types of Graduated ND Filters and Their Characteristics
Types of Graduated ND Filters and Their Characteristics
A graduated ND (neutral density) filter is a versatile tool for landscape photographers, allowing them to balance the exposure between the sky and the foreground. There are several types of graduated ND filters available, each with its own characteristics and uses.
1. Hard-edge Graduated ND Filters: These filters have a sharp transition between the dark and clear areas, making them ideal for scenes with a distinct horizon line, such as seascapes or cityscapes. They are particularly effective when the horizon is straight and unobstructed.
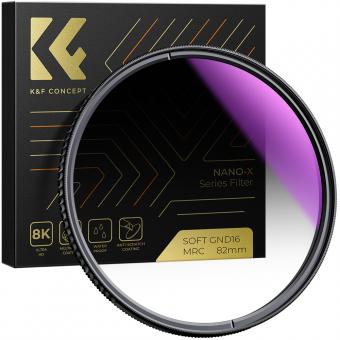
2. Soft-edge Graduated ND Filters: These filters have a gradual transition between the dark and clear areas, making them suitable for scenes with an uneven or hilly horizon line, such as mountain ranges or rolling hills. They provide a more natural and seamless blending of the exposure.
3. Reverse Graduated ND Filters: These filters have a darkened middle section that gradually becomes clear towards the top, making them perfect for capturing sunrises or sunsets where the brightest part of the scene is near the horizon. They help to balance the exposure between the sky and the foreground without underexposing the horizon.
To use a graduated ND filter kit effectively, follow these steps:
1. Attach the filter holder to your lens and insert the desired graduated ND filter into the holder.
2. Position the filter in the holder so that the darkened area covers the bright part of the scene, such as the sky.
3. Adjust the filter's position within the holder to achieve the desired effect. For hard-edge filters, align the transition line with the horizon. For soft-edge filters, position the transition line where the brightness starts to decrease.
4. Take a test shot and review the exposure. Make adjustments to the filter's position if necessary.
5. Capture the final image, ensuring a balanced exposure between the sky and the foreground.
It's important to note that the latest point of view on graduated ND filters is that they can also be simulated in post-processing using techniques like exposure blending or HDR (high dynamic range) imaging. However, using physical filters in the field can save time and provide more accurate results, especially when dealing with challenging lighting conditions or complex scenes.
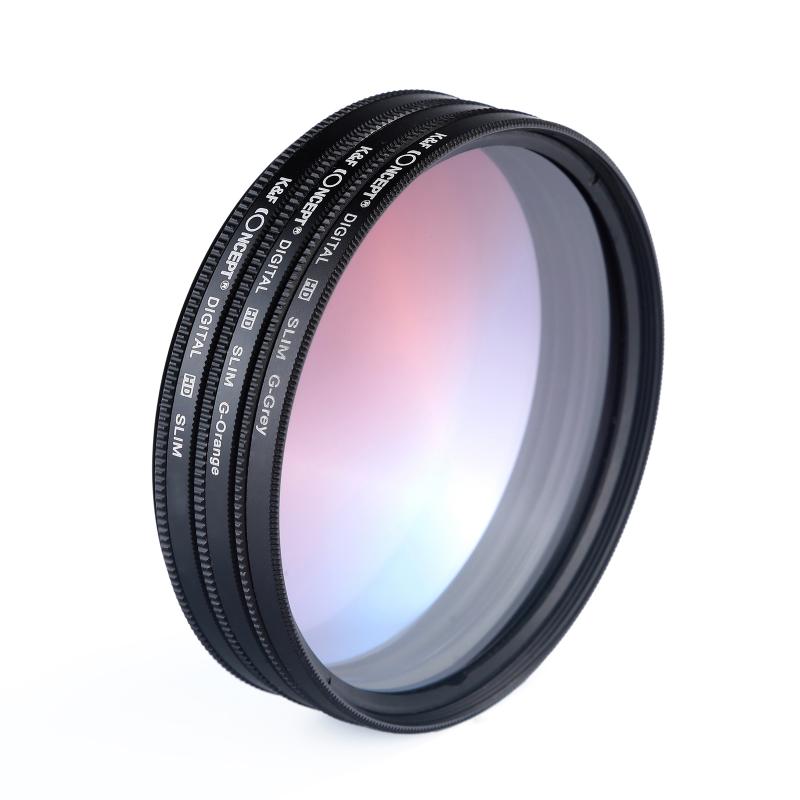
3、 Step-by-Step Guide: How to Attach a Graduated ND Filter
Step-by-Step Guide: How to Attach a Graduated ND Filter
Using a graduated ND (neutral density) filter can greatly enhance your landscape photography by balancing the exposure between the sky and the foreground. Here is a step-by-step guide on how to attach a graduated ND filter to your camera lens:
1. Choose the right filter: Graduated ND filters come in different strengths and sizes. Select a filter that suits your needs and ensure it matches the diameter of your lens.
2. Mount your camera on a tripod: To maintain stability and avoid camera shake, it is recommended to use a tripod.
3. Set up your shot: Compose your image and adjust the camera settings for the desired exposure of the foreground.
4. Attach the filter holder: Most graduated ND filters require a filter holder system. Attach the holder to the front of your lens by screwing it on or using a mounting adapter.
5. Insert the filter: Slide the graduated ND filter into the filter holder. Position the transition line of the filter where you want the darkening effect to begin.
6. Adjust the filter position: Graduated ND filters have a gradient that transitions from dark to clear. Rotate the filter holder or adjust its height to align the gradient with the horizon line or desired area of transition.
7. Check the exposure: Take a test shot and review the exposure. Make adjustments to the filter position if necessary.
8. Capture the image: Once you are satisfied with the composition and exposure, take the shot.
Remember, practice makes perfect. Experiment with different filter strengths and positions to achieve the desired effect. Additionally, consider using a remote shutter release or the camera's self-timer to further minimize camera shake.
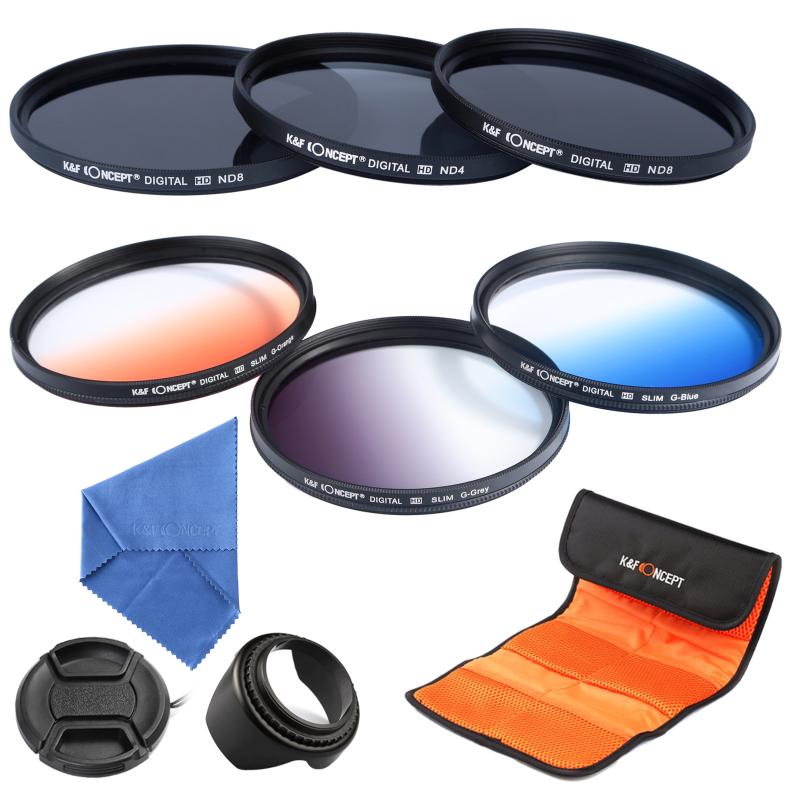
4、 Understanding Exposure Compensation with Graduated ND Filters
Understanding Exposure Compensation with Graduated ND Filters
A graduated ND (neutral density) filter kit is a valuable tool for landscape photographers looking to balance exposure in high-contrast scenes. These filters are designed to darken the bright areas of an image, such as the sky, while maintaining proper exposure in the rest of the scene. Here's how to effectively use a graduated ND filter kit:
1. Choose the right filter: Graduated ND filters come in different strengths, indicated by the number of stops they reduce the light. Select a filter that suits the scene's dynamic range. For example, a 2-stop filter is ideal for mild contrast, while a 4-stop filter is better for scenes with extreme contrast.
2. Attach the filter holder: Most filter kits come with a holder that attaches to the front of the lens. Slide the holder onto the lens and ensure it is securely fastened.
3. Position the filter: Graduated ND filters have a gradient transition from dark to clear. Align the filter so that the dark portion covers the bright area of the scene, such as the sky. The transition line should be placed where the bright and dark areas meet.
4. Adjust the exposure: Once the filter is in place, evaluate the exposure. The darkened portion of the filter will reduce the amount of light reaching the sensor, so you may need to compensate by adjusting the exposure settings. Use the camera's exposure compensation feature to increase or decrease the exposure as needed.
5. Fine-tune the composition: Graduated ND filters can affect the composition of the image, especially if there are prominent elements near the transition line. Take the time to carefully compose the shot, ensuring that the filter placement enhances the overall balance and aesthetics of the scene.
It's worth noting that some photographers prefer to achieve similar results using post-processing techniques. However, using a graduated ND filter kit in-camera can often produce more natural and pleasing results, especially when dealing with high-contrast scenes.
In recent years, advancements in digital photography have led to the development of digital graduated ND filters. These filters can be applied in post-processing, allowing photographers to selectively darken specific areas of the image. While these digital filters offer convenience and flexibility, traditional physical filters still have their advantages, such as preserving image quality and reducing the need for extensive post-processing.
Ultimately, understanding exposure compensation with graduated ND filters is crucial for achieving well-balanced exposures in landscape photography. Experiment with different filter strengths and compositions to capture stunning images with optimal exposure throughout the scene.
