Voice Recorder How To Use ?
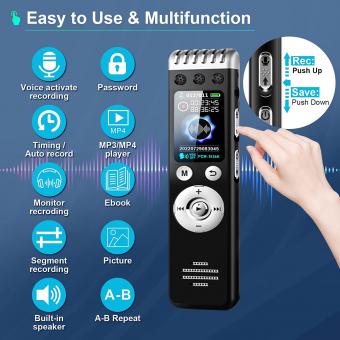
To use a voice recorder, first, make sure it is powered on and has sufficient battery life or is connected to a power source. Next, familiarize yourself with the controls and settings of the specific voice recorder you are using. This may include buttons for recording, pausing, stopping, and playing back recordings, as well as options for adjusting volume, selecting recording quality, and managing files.
To start recording, press the designated record button. Speak clearly into the built-in microphone or connect an external microphone if desired. Monitor the recording levels on the device's display or through any provided indicators to ensure optimal audio quality. When you are finished recording, press the stop button to end the recording.
To playback your recordings, locate the playback controls on the device and use them to navigate through your recorded files. Some voice recorders may also offer features like file management, editing, and the ability to transfer recordings to a computer or other devices.
Remember to consult the user manual or online resources specific to your voice recorder model for detailed instructions and additional features.
1、 Powering on and off
Powering on and off a voice recorder is a fundamental step in using this device effectively. While the specific steps may vary depending on the model and brand of the voice recorder, the general process remains relatively consistent.
To power on the voice recorder, locate the power button, usually located on the side or top of the device. Press and hold the power button until the device turns on. Some voice recorders may have a separate power switch that needs to be toggled to the "on" position.
To power off the voice recorder, press and hold the power button again until the device shuts down. Alternatively, some voice recorders may have a dedicated power off button or a combination of buttons that need to be pressed simultaneously to turn off the device.
It is important to note that some voice recorders may have additional features related to powering on and off. For example, some devices may have a sleep mode that allows the recorder to conserve power when not in use for a certain period. In such cases, pressing the power button briefly may activate the sleep mode, while a longer press may fully power off the device.
Additionally, some voice recorders may have a power-saving feature that automatically powers off the device after a certain period of inactivity. This feature helps to conserve battery life and can be useful if you often forget to turn off the recorder manually.
In conclusion, powering on and off a voice recorder is a simple process that involves locating the power button and pressing it accordingly. However, it is essential to familiarize yourself with the specific features and functions of your voice recorder to ensure proper usage and maximize its capabilities.
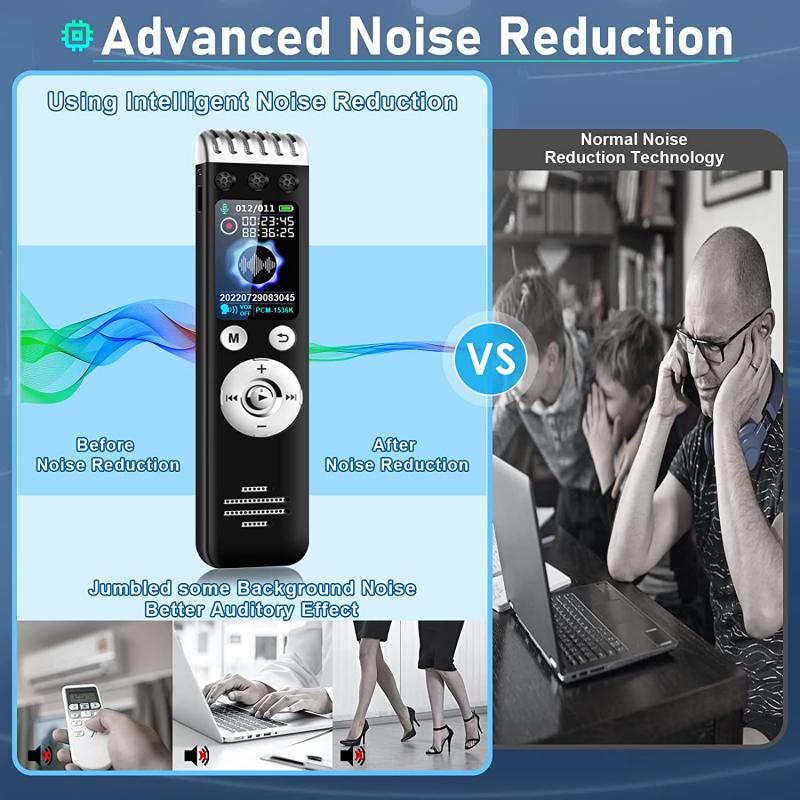
2、 Setting recording quality and format
Setting recording quality and format on a voice recorder is essential to ensure that you capture the best possible audio for your needs. Here's a step-by-step guide on how to use a voice recorder to adjust recording quality and format:
1. Locate the settings menu: Most voice recorders have a settings menu accessible through a dedicated button or a touchscreen interface. Look for an icon or label that indicates settings.
2. Access the recording settings: Once in the settings menu, navigate to the recording options. This may be labeled as "Recording Settings" or something similar.
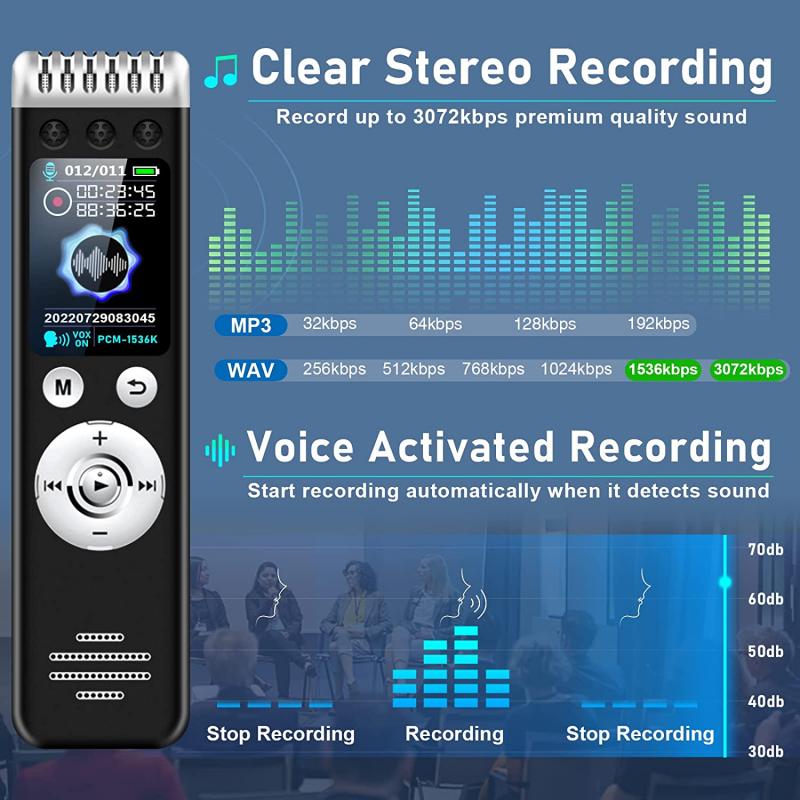
3. Select recording quality: In the recording settings, you will find options to adjust the quality of your recordings. Common options include low, medium, and high quality. Choose the desired quality based on your requirements. Higher quality settings will result in larger file sizes but better audio fidelity.
4. Choose recording format: Voice recorders typically offer various recording formats such as WAV, MP3, or AAC. Each format has its own advantages and disadvantages. WAV files offer uncompressed audio but consume more storage space, while MP3 and AAC formats are compressed and save storage space but may sacrifice some audio quality. Select the format that suits your needs best.
5. Save the settings: Once you have adjusted the recording quality and format, save the settings and exit the menu.
It's worth noting that the latest voice recorders often come with advanced features such as automatic gain control, noise reduction, and stereo recording. These features can enhance the recording quality further. Refer to the user manual or manufacturer's website for specific instructions on utilizing these features.
Remember to consider the available storage space on your voice recorder and the intended use of the recordings when selecting the recording quality and format.
3、 Starting and stopping a recording
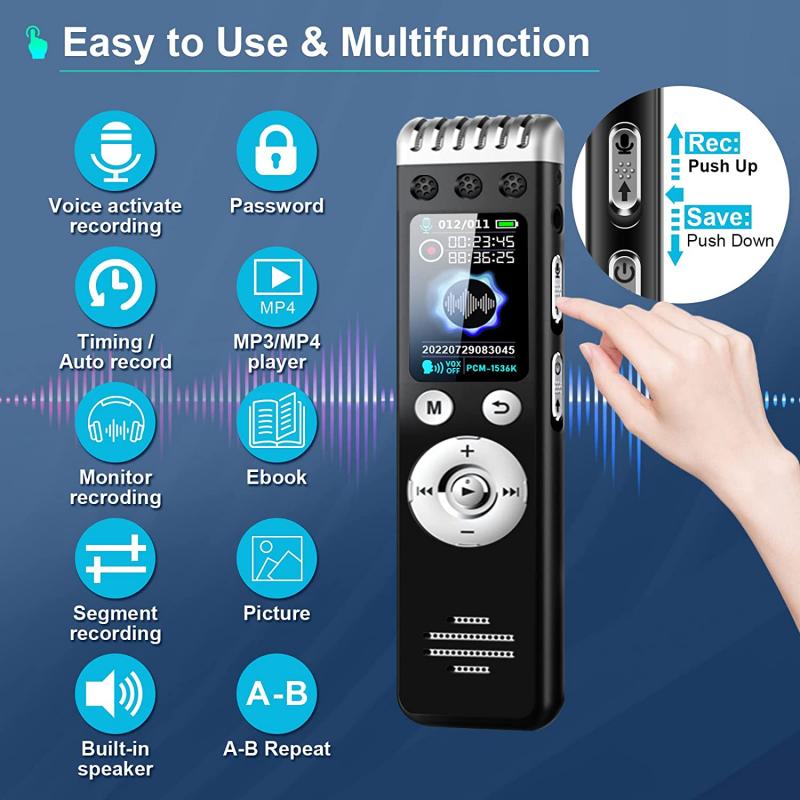
To use a voice recorder, you need to understand how to start and stop a recording. The process may vary slightly depending on the specific voice recorder you are using, but the general steps remain the same.
First, ensure that your voice recorder is powered on and has enough battery life or is connected to a power source. Locate the recording button, which is usually a prominent button on the device. Press this button to start recording. Some voice recorders may have a dedicated record button, while others may require you to navigate through a menu to find the recording option.
Once you have started recording, speak clearly into the microphone of the voice recorder. Ensure that you are in a quiet environment to capture the best audio quality. To stop the recording, press the stop button, which is typically located near the recording button. The voice recorder will then save the recording as a file, which you can access later.
It is worth noting that some voice recorders may have additional features, such as the ability to pause and resume recordings, adjust recording settings, or even automatically detect and skip silent parts. Familiarize yourself with the specific functions of your voice recorder to make the most of its capabilities.
In the latest point of view, voice recorders have become increasingly advanced, with features like noise cancellation, high-quality microphones, and longer battery life. Some voice recorders also offer wireless connectivity options, allowing you to transfer recordings to your computer or smartphone seamlessly. These advancements make voice recorders a valuable tool for professionals, students, journalists, and anyone who needs to capture audio on the go.
4、 Adjusting microphone sensitivity and volume levels
To adjust microphone sensitivity and volume levels on a voice recorder, follow these steps:
1. Locate the microphone settings: Depending on the model of your voice recorder, the microphone settings may be accessed through a menu or physical buttons on the device. Refer to the user manual for specific instructions.
2. Adjust microphone sensitivity: Microphone sensitivity determines how well the recorder picks up sound. If you're in a quiet environment, lower sensitivity can help reduce background noise. In a noisy environment, higher sensitivity can capture more sound. Use the settings to increase or decrease sensitivity as needed.
3. Set volume levels: Volume levels control the playback volume of recorded audio. Adjust the volume to a comfortable level for listening. Be mindful of not setting it too high, as it may result in distorted or clipped audio.
4. Test and fine-tune: After adjusting the microphone sensitivity and volume levels, it's important to test the settings. Record a short sample in different environments to ensure the audio quality meets your requirements. If necessary, make further adjustments until you achieve the desired results.
It's worth noting that some voice recorders may offer additional features like noise cancellation or automatic gain control. These features can enhance the recording quality by reducing unwanted noise or adjusting microphone sensitivity automatically. Familiarize yourself with the specific capabilities of your voice recorder to take advantage of these features.
Always refer to the user manual for detailed instructions tailored to your specific voice recorder model.












There are no comments for this blog.