High Camera Tripod How To Use ?
To use a high camera tripod, first extend the legs of the tripod to the desired height by loosening the leg locks and pulling the legs outwards. Make sure the tripod is stable and balanced on a flat surface. Attach the camera to the tripod by screwing it onto the tripod's mounting plate or quick release plate. Ensure that the camera is securely attached.
Adjust the camera angle by loosening the tripod head's pan and tilt locks and moving the camera to the desired position. Tighten the locks to secure the camera in place. Use the tripod's built-in level or a separate bubble level to ensure that the camera is level.
To capture steady shots, use the tripod's pan and tilt handles or knobs to smoothly move the camera. Adjust the tripod's height or leg angles as needed to frame the shot. When finished, securely tighten all locks and knobs to prevent any movement or instability.
1、 Adjusting the height of a camera tripod for stability.
Adjusting the height of a camera tripod is crucial for achieving stability and capturing the perfect shot. Whether you are a professional photographer or an amateur enthusiast, understanding how to use a high camera tripod effectively is essential.
To begin, start by extending the tripod legs to their maximum height. Most tripods have adjustable leg sections that can be loosened and tightened to achieve the desired height. Make sure all the leg locks are securely tightened to ensure stability.
Next, position the tripod on a level surface. This will prevent any unwanted tilting or wobbling during your shoot. If the ground is uneven, adjust the length of each leg accordingly to maintain stability.
Once the tripod is set up, attach your camera securely to the tripod head. Ensure that the camera is properly balanced and tightened to prevent any accidental falls or movements.
To adjust the height of the tripod, locate the center column or center post. This column is usually located in the middle of the tripod and can be extended or retracted to change the height. Loosen the column lock and adjust it to the desired height. Once set, tighten the lock to secure the column in place.
It is important to note that when extending the center column to its maximum height, the stability of the tripod may be compromised. This is because the center column acts as a lever, making the tripod more susceptible to vibrations and movements. To minimize this, it is recommended to keep the center column as short as possible while still achieving the desired height.
In recent years, some high camera tripods have introduced innovative features such as adjustable legs that can be individually positioned at different angles. This allows for greater flexibility in shooting on uneven terrain or capturing low-angle shots. Additionally, some tripods now come with built-in levels or bubble indicators to ensure that the tripod is perfectly level.
In conclusion, adjusting the height of a camera tripod is a fundamental skill for any photographer. By following these steps and considering the latest advancements in tripod technology, you can achieve stability and capture stunning images with ease.
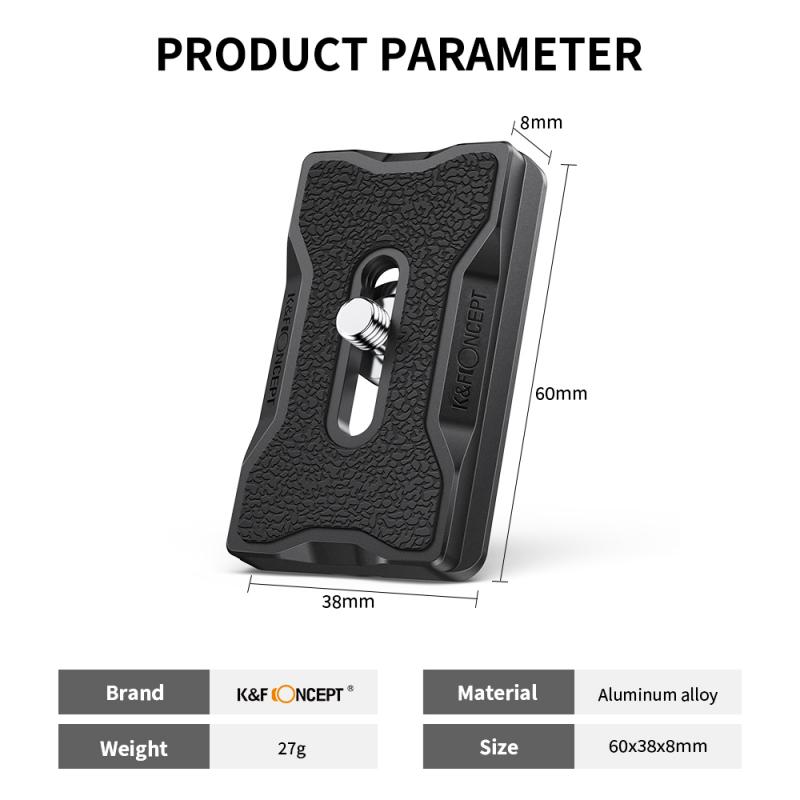
2、 Securing a camera to a tripod for steady shots.
Securing a camera to a tripod for steady shots is essential for capturing high-quality images and videos. A high camera tripod provides stability and eliminates camera shake, resulting in sharper and more professional-looking footage. Here's a step-by-step guide on how to use a high camera tripod effectively:
1. Set up the tripod: Extend the tripod legs to your desired height, ensuring that it is stable and level on the ground. Lock the legs in place to prevent any accidental movement.
2. Attach the camera plate: Most tripods come with a quick-release plate that attaches to the camera. Align the plate with the camera's tripod mount and tighten the screw securely. This plate allows for easy attachment and detachment of the camera from the tripod.
3. Mount the camera: Slide the camera onto the tripod head, making sure it is securely attached. Use the locking mechanism on the tripod head to hold the camera in place.
4. Adjust the camera position: Use the tripod's pan and tilt controls to position the camera in the desired direction. The pan control allows for horizontal movement, while the tilt control adjusts the camera vertically. Make sure the camera is level and pointing at the desired subject.
5. Fine-tune the composition: Use the tripod's height adjustment and leg angles to fine-tune the composition of your shot. Experiment with different angles and perspectives to achieve the desired framing.
6. Lock the tripod: Once you have positioned the camera and achieved the desired composition, lock the tripod in place to prevent any accidental movement during shooting.
The latest point of view on using a high camera tripod is the incorporation of advanced features such as fluid heads, which provide smoother panning and tilting movements. Additionally, some tripods now come with built-in levels and bubble indicators to ensure precise leveling. These features enhance the overall stability and ease of use, allowing photographers and videographers to capture even more professional-looking shots.
In conclusion, using a high camera tripod is crucial for achieving steady shots and professional-quality footage. By following these steps and taking advantage of the latest tripod features, you can elevate your photography and videography skills to new heights.
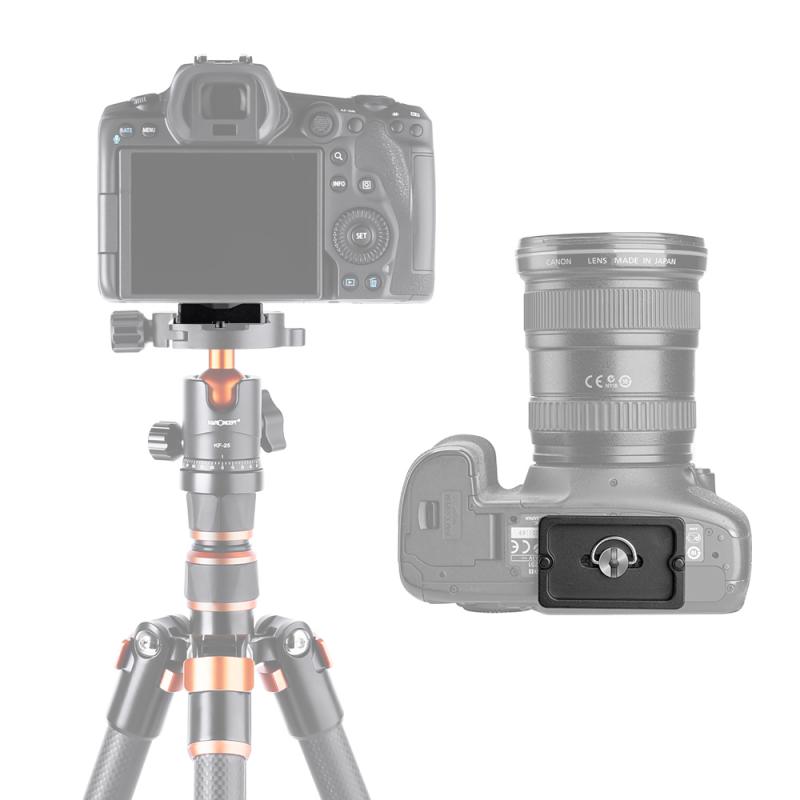
3、 Using a tripod's pan and tilt functions for smooth movements.
Using a high camera tripod can greatly enhance the quality of your photography or videography by providing stability and smooth movements. To make the most of your tripod, it is important to understand how to use its pan and tilt functions effectively.
Firstly, ensure that your tripod is set up on a stable surface and that all the legs are securely locked in place. Adjust the height of the tripod to your desired level, making sure it is balanced and steady.
To use the pan function, loosen the pan lock knob located on the tripod head. This allows you to rotate the camera horizontally, following the subject's movement. Use slow and controlled movements to achieve smooth panning shots. Once you have captured the desired shot, tighten the pan lock knob to secure the camera in place.
The tilt function allows you to adjust the camera vertically. To use it, loosen the tilt lock knob and tilt the camera up or down to frame your shot. Again, make sure to move the camera slowly and smoothly for professional-looking results. Once you have achieved the desired angle, tighten the tilt lock knob to lock the camera in place.
It is also worth noting that some high camera tripods come with additional features such as a fluid head, which provides even smoother movements. These fluid heads use a special mechanism to dampen any sudden jerks or shakes, resulting in more professional-looking footage.
In conclusion, using a high camera tripod's pan and tilt functions correctly can greatly improve the quality of your photography or videography. Remember to move the camera slowly and smoothly for smooth movements, and consider investing in a tripod with a fluid head for even better results.
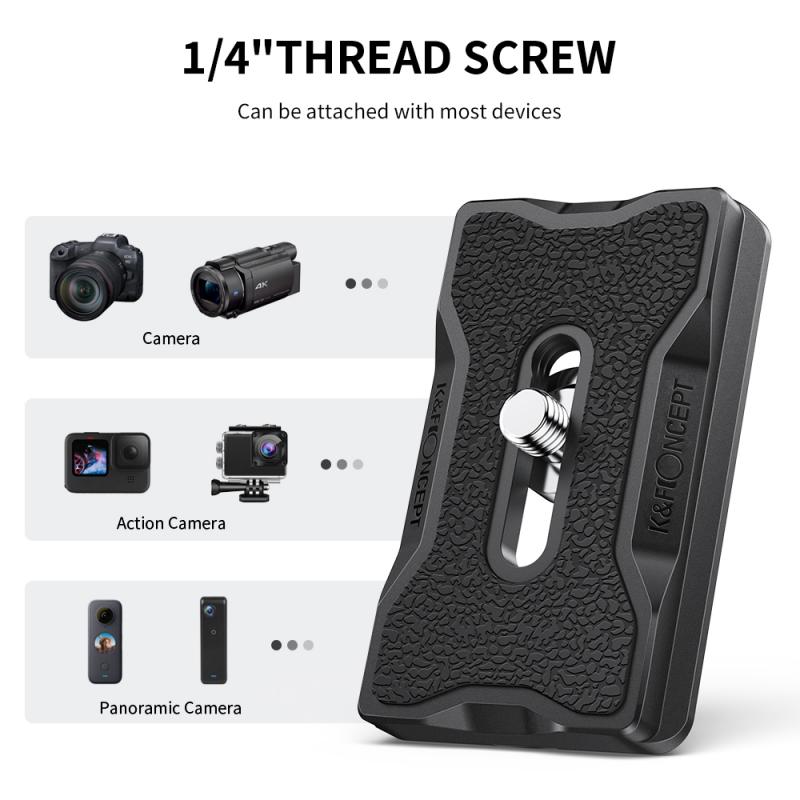
4、 Attaching a camera to a tripod's quick release plate.
Attaching a camera to a tripod's quick release plate is a fundamental step in using a high camera tripod effectively. The quick release plate is a small metal or plastic plate that attaches to the bottom of your camera and allows for easy and quick mounting onto the tripod. Here's a step-by-step guide on how to do it:
1. Start by locating the quick release plate on your tripod. It is usually a small rectangular or square plate with a screw or lever mechanism.
2. Ensure that the tripod is stable and secure before attaching the camera. This will prevent any accidental falls or damage.
3. Locate the mounting screw on the quick release plate. It is usually a threaded screw that matches the tripod's mounting socket.
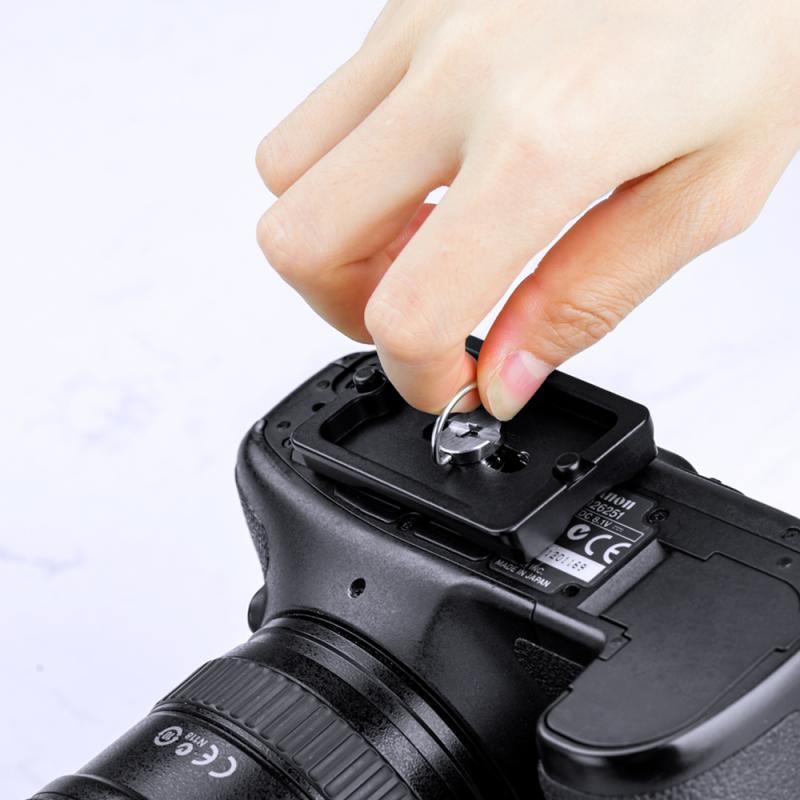
4. Align the mounting screw with the camera's tripod socket, which is typically located on the bottom of the camera. Make sure the camera is facing the desired direction.
5. Gently screw the mounting screw into the camera's tripod socket. Be careful not to overtighten it, as this may damage the camera.
6. Once the camera is securely attached, check that it is properly balanced on the tripod. Adjust the tripod's head if necessary to ensure stability.
7. Test the camera's movement by panning and tilting it. If the camera feels loose or unstable, double-check the mounting screw's tightness.
It's important to note that different tripods may have slight variations in their quick release plate mechanisms. Therefore, it's always a good idea to consult the tripod's user manual for specific instructions.
In conclusion, attaching a camera to a tripod's quick release plate is a simple process that ensures stability and allows for smooth camera movements. By following these steps, you can confidently use a high camera tripod and capture stunning shots with ease.




-200x200.jpg)







There are no comments for this blog.