How Do You Use Nd Filters ?
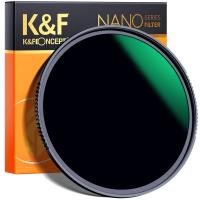
ND filters, or neutral density filters, are used in photography and videography to reduce the amount of light entering the camera without affecting the color or hue of the image. They are typically used in situations where there is too much light, such as bright daylight, and you want to achieve certain creative effects or control the exposure.
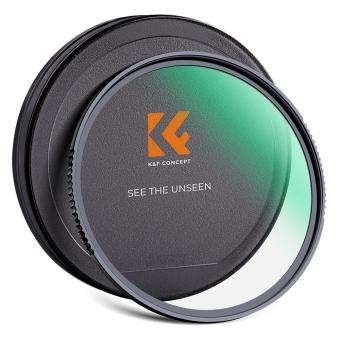
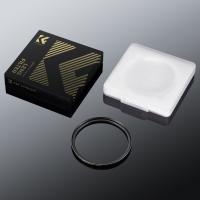
To use an ND filter, you simply attach it to the front of your camera lens. The filter will have a specific density rating, usually measured in stops, which indicates how much light it will block. The higher the density, the more light it will block.
Once the ND filter is attached, you can adjust your camera settings accordingly. Since the filter reduces the amount of light, you will need to compensate by either increasing the exposure time (shutter speed) or widening the aperture. This allows you to achieve a proper exposure while still benefiting from the desired creative effects, such as motion blur in long exposures or shallow depth of field in bright conditions.
It's important to note that different ND filters have different effects and purposes, so it's worth experimenting with different densities and brands to achieve the desired results in your photography or videography.
1、 Types of ND filters and their specific uses in photography.
ND filters, or Neutral Density filters, are essential tools for photographers looking to control the amount of light entering their camera lens. These filters are designed to evenly reduce the intensity of light without affecting the color or hue of the image. They are particularly useful in situations where there is too much light, such as when shooting in bright sunlight or capturing long exposures.
To use an ND filter, simply attach it to the front of your camera lens. The filter will reduce the amount of light passing through the lens, allowing you to use slower shutter speeds or wider apertures without overexposing the image. This can be especially useful in landscape photography, where you may want to capture motion blur in water or clouds, or achieve a shallow depth of field in bright conditions.
There are different types of ND filters available, each with its specific uses. The most common types include:
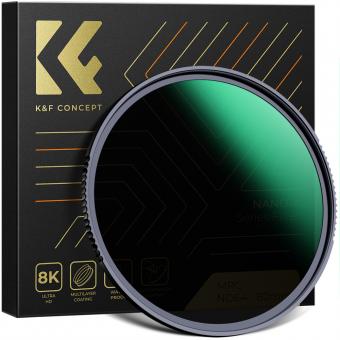
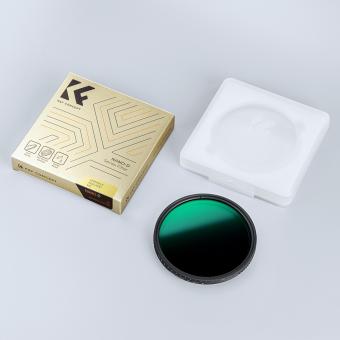
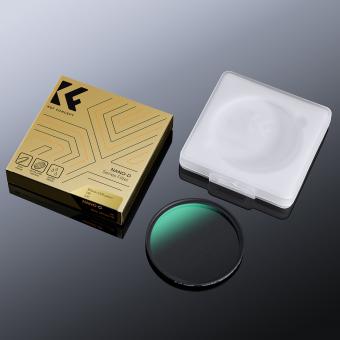
1. Solid ND filters: These filters have a consistent density throughout the entire filter, providing a uniform reduction in light. They are ideal for situations where you need a fixed amount of light reduction.
2. Graduated ND filters: These filters have a gradient density, with one half being darker than the other. They are useful when you have a scene with a significant difference in brightness between the sky and the foreground. By positioning the darker half over the brighter area, you can balance the exposure and retain detail in both areas.
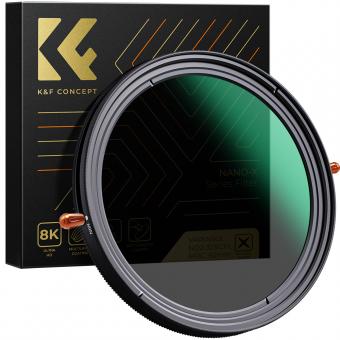
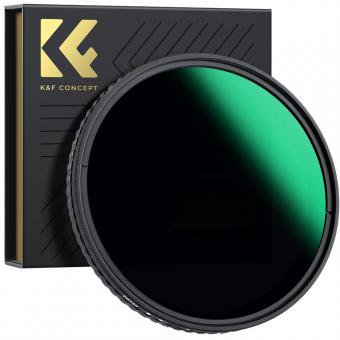
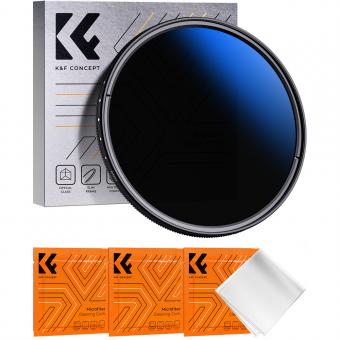
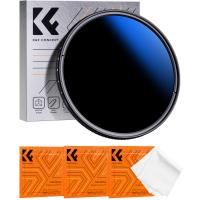
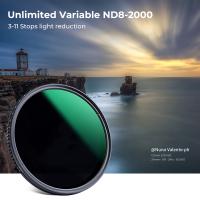
3. Variable ND filters: These filters offer adjustable light reduction by rotating the filter. They are versatile and allow you to fine-tune the amount of light reduction required for a particular shot.
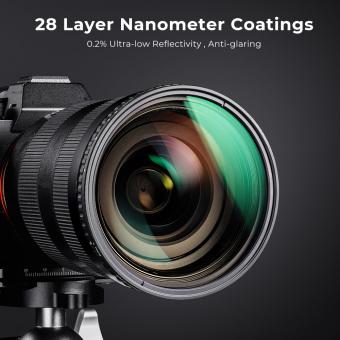
In recent years, advancements in technology have led to the development of high-quality ND filters that maintain image sharpness and color accuracy. Some filters also come with anti-reflective coatings to minimize flare and ghosting.
Overall, ND filters are indispensable tools for photographers, enabling them to have greater control over exposure and achieve creative effects in various lighting conditions.
2、 Step-by-step guide on attaching and using ND filters.
Step-by-step guide on attaching and using ND filters:
1. Choose the right ND filter: ND filters come in different strengths, indicated by the number of stops they reduce the light. Determine the amount of light reduction you need based on the shooting conditions and desired effect.
2. Attach the filter holder: Many ND filters require a filter holder system. Attach the filter holder to the front of your lens by screwing it on or using a mounting adapter.
3. Insert the ND filter: Slide the ND filter into the filter holder. Make sure it is securely in place and aligned properly.
4. Adjust the exposure settings: With the ND filter in place, the amount of light entering the lens is reduced. Adjust your camera's exposure settings accordingly to compensate for the reduced light. This may involve increasing the shutter speed, opening up the aperture, or increasing the ISO.
5. Compose your shot: Once the exposure settings are adjusted, compose your shot as desired. ND filters are commonly used in landscape photography to achieve long exposures, smooth water effects, or to balance the exposure between the sky and foreground.
6. Experiment and practice: ND filters offer creative possibilities, so don't be afraid to experiment with different strengths and shooting techniques. Practice using ND filters in various lighting conditions to understand their impact on your images.
It's worth noting that advancements in camera technology, such as high dynamic range (HDR) capabilities, have reduced the reliance on ND filters in certain situations. However, ND filters still remain a valuable tool for achieving specific creative effects and controlling exposure in bright conditions.
3、 Understanding the different ND filter strengths and their effects.
Understanding the different ND filter strengths and their effects is crucial when it comes to using ND filters effectively. ND filters, or Neutral Density filters, are essential tools for photographers and videographers to control the amount of light entering the camera without affecting the color balance. They are particularly useful in situations where there is too much light, such as when shooting in bright sunlight or capturing long exposures.
ND filters come in various strengths, typically measured in stops. The most common strengths include ND2, ND4, ND8, ND16, and ND32, with each filter reducing the amount of light entering the camera by a specific number of stops. For example, an ND2 filter reduces the light by 1 stop, while an ND16 filter reduces it by 4 stops.
The choice of ND filter strength depends on the desired effect and the lighting conditions. A lower strength ND filter, such as ND2 or ND4, is suitable for slightly reducing the light and achieving a shallow depth of field in bright conditions. On the other hand, higher strength ND filters like ND16 or ND32 are ideal for capturing long exposures or achieving motion blur in situations with intense light.
It's important to note that the latest point of view on ND filters is the increasing popularity of variable ND filters. These filters allow you to adjust the strength by rotating the filter, providing a range of stops in a single filter. Variable ND filters offer convenience and flexibility, especially when shooting in changing lighting conditions.
To use ND filters effectively, attach the filter to the lens and adjust the camera settings accordingly. Keep in mind that using ND filters may require longer exposure times, so using a tripod is often necessary to avoid camera shake. Experimenting with different ND filter strengths and their effects will help you achieve the desired results and enhance your photography or videography skills.
4、 Tips for achieving the desired exposure with ND filters.
Tips for achieving the desired exposure with ND filters:
1. Understand the purpose: ND filters are used to reduce the amount of light entering the camera, allowing for longer exposures or wider apertures in bright conditions. They are commonly used in landscape photography to create motion blur in water or clouds.
2. Choose the right strength: ND filters come in different strengths, usually measured in stops. A 1-stop filter reduces the light by half, while a 10-stop filter allows only 1/1000th of the light to pass through. Select the appropriate strength based on the desired effect and lighting conditions.
3. Adjust your camera settings: When using an ND filter, you will need to compensate for the reduced light. Start by setting your camera to manual mode and adjust the ISO, aperture, and shutter speed accordingly. Use a tripod to avoid camera shake during longer exposures.
4. Calculate exposure time: With an ND filter, the exposure time will be significantly longer than without one. To determine the correct exposure time, you can use a smartphone app or an exposure calculator. Alternatively, you can use the "Sunny 16" rule as a starting point and adjust from there.
5. Experiment and practice: ND filters offer creative possibilities, so don't be afraid to experiment with different settings and compositions. Try different exposure times to achieve the desired effect, whether it's silky smooth waterfalls or streaking clouds.
6. Consider the latest advancements: In recent years, variable ND filters have gained popularity. These filters allow you to adjust the strength by rotating the filter, providing more flexibility in changing lighting conditions. However, be aware that some variable ND filters may introduce color casts or image quality degradation.
Remember, practice is key to mastering the use of ND filters. With time and experience, you'll be able to achieve stunning long-exposure shots and capture the desired exposure in various lighting conditions.
